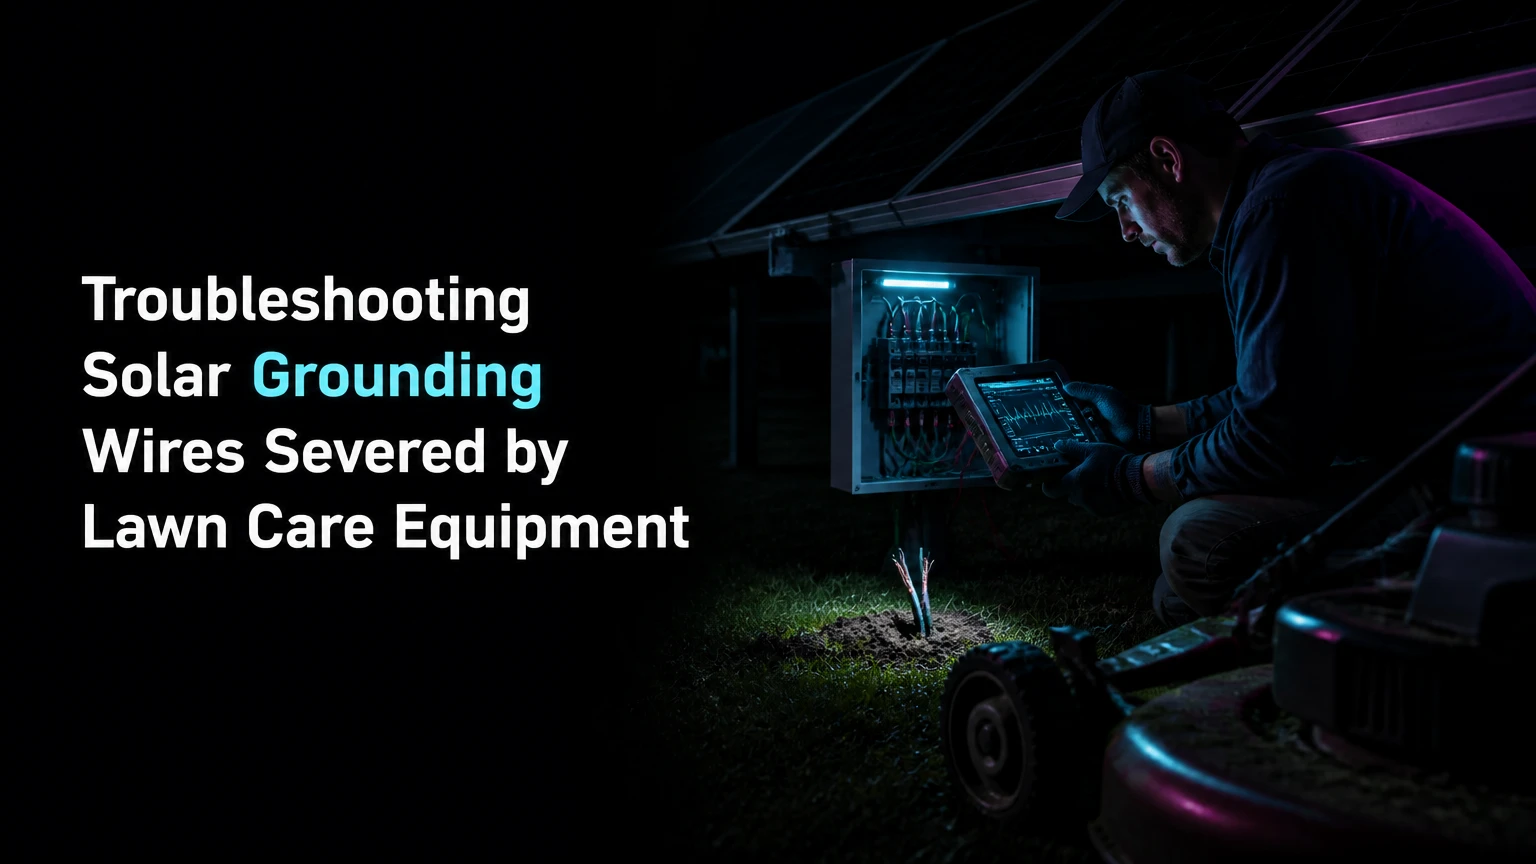
Troubleshooting Solar Grounding Wires Severed by Lawn Care Equipment requires immediate PV system isolation, identification of the damaged conductor, and a listed repair that matches the cable’s location and function. Do not assume the wire is deenergized after switching off an inverter. A qualified solar electrician should verify the system before anyone touches exposed conductors.
Key Facts at a Glance
A solar equipment grounding conductor bonds module frames, racking, metal raceways, disconnects, and inverter enclosures so a fault can operate overcurrent protection.
A grounding electrode conductor connects the bonded system to a grounding electrode, but a ground rod alone does not replace an equipment grounding path.
PV modules can produce hazardous DC voltage whenever illuminated, even after the inverter and AC disconnect are switched off.
A twist-on wire connector, ordinary electrical tape, or an unlisted buried splice is not an acceptable outdoor PV repair.
NEC conductor sizing depends on the circuit’s overcurrent protection, fault-current design, and installation method; a universal “#6 ground wire” rule is inaccurate.
Continuity testing and grounding-electrode resistance testing answer different questions and should not be treated as interchangeable.
What Wire Did the Lawn Equipment Cut?
The severed cable is usually either an equipment grounding conductor, a grounding electrode conductor, or a bonding jumper. The conductor’s origin, destination, color, size, and termination identify its function more reliably than appearance alone.
An equipment grounding conductor, or EGC, bonds exposed metal parts to the source-side grounding system. In a ground-mounted array, the EGC may run between racking sections, an inverter, a combiner box, and a grounding bus. A grounding electrode conductor, or GEC, connects the grounding and bonding system to a grounding electrode such as a ground rod, concrete-encased electrode, or ground ring. NEC Article 690 works together with Articles 250 and 300 for these installations.
| Observation at the damage point | Likely component | Typical destination | Immediate concern |
|---|---|---|---|
| Green insulated copper conductor near inverter | EGC | Inverter grounding terminal or equipment grounding bus | Fault-clearing path interrupted |
| Bare copper conductor heading toward ground rod | GEC | Grounding electrode or electrode conductor splice | Bonding-to-earth connection interrupted |
| Short braided copper strap at rack joint | Bonding jumper | Adjacent rails or tracker sections | One metal section may lose bonding |
| Cable inside conduit with PV conductors | EGC or circuit conductor | Combiner, disconnect, inverter, or array | Lawn equipment may have damaged live DC wiring |
| Small green wire at module or rail | Module bonding conductor | Racking or equipment grounding path | Frame-to-frame continuity may be lost |
Do not reconnect a conductor solely because it is green. Photovoltaic installers may use bare copper, insulated copper, listed rail-bonding hardware, or a conductor inside raceway. Photograph every termination before disturbing it, record conductor size and markings, and compare the route with the system’s as-built drawing.
Why does a severed ground wire matter?
A disconnected grounding path may leave the solar array apparently operational while removing protection against a future insulation fault. If a positive or negative PV conductor contacts a metal frame, the equipment grounding system should provide a low-impedance path that allows protective equipment to detect or clear the fault.
A ground rod is not automatically a low-resistance return path for inverter fault current. Soil has much higher impedance than metallic conductors, so the metal EGC and bonding network normally provide the intended fault-current path. Fluke describes a DC ground fault as an unintended connection between a current-carrying conductor and grounded equipment, a condition that can produce shock and fire hazards when protection fails.
What Should You Do Immediately?
Stop mowing, keep people away from the array, and arrange qualified electrical isolation before handling the severed cable. The safest first response is to document the damage, shut down the system according to the equipment manufacturer’s procedure, and prevent anyone from touching metal racking or exposed conductors.
PV shutdown procedures vary by inverter, battery, rapid-shutdown equipment, and array design. A common sequence includes turning off loads, opening the AC disconnect, opening the PV DC disconnect where provided, and following the inverter’s shutdown instructions. That sequence does not guarantee zero voltage at the modules or conductors. OSHA identifies exposed energized electrical parts as a shock and arc-flash hazard, and only qualified persons should perform electrical testing or repair.
| Action | Homeowner can usually perform | Qualified-person requirement | Reason |
|---|---|---|---|
| Stop mowing and restrict access | Yes | No | Prevents contact and secondary damage |
| Photograph the cut and labels | Yes | No | Preserves evidence for repair and warranty |
| Open labeled exterior disconnects | Usually, if the manual permits | Sometimes | Reduces system output and AC exposure |
| Test PV conductors for absence of voltage | No | Yes | Requires rated test equipment and procedure |
| Open equipment covers | No | Yes | May expose energized DC or AC parts |
| Cut, splice, or reterminate cable | No, unless specifically permitted by local rules and design | Yes | Requires code, torque, and listing compliance |
A non-contact voltage tester is not a reliable zero-voltage test for PV DC. Such testers may fail to detect direct current, may respond unpredictably outdoors, and cannot establish an electrically safe work condition. Do not use an ordinary multimeter on an unknown solar conductor unless you are trained, have the correct CAT rating, and understand the system’s maximum voltage.
How Can You Identify Secondary Damage?
Inspect the entire impact zone, not just the visible ground wire. A mower blade or string trimmer can nick insulation, crush conduit, pull a connector apart, or damage a nearby positive or negative PV cable without cutting it completely.
A qualified technician should inspect the cable route in both directions and check for displaced connectors, cracked insulation, exposed copper, damaged conduit, loose grounding lugs, and bent racking. Ground-mounted systems deserve special attention because buried conductors may have been installed too shallow or without a physical marker.
| Damage pattern | What it can indicate | Required follow-up |
|---|---|---|
| Clean cut through green wire only | Isolated grounding interruption | Identify EGC or GEC function and repair with listed hardware |
| Nick in black or red PV insulation | Potential DC insulation failure | Insulation and polarity testing before reenergization |
| Split PVC or liquid-tight conduit | Mechanical protection failure | Replace damaged raceway and inspect conductors |
| Pulled rail lug or loose stainless hardware | Lost bonding connection | Rebuild bond using listed compatible hardware |
| Burn mark, melted jacket, or soot | Possible arcing or fault event | Keep system isolated and investigate before repair |
| Multiple cuts along mowing path | Route-design failure | Consider rerouting, conduit, or landscape redesign |
One practitioner rule is particularly useful: if the conductor was shallow enough for a trimmer to reach, repairing only the cut leaves the original installation vulnerability in place. The repair should address both electrical continuity and the mechanical reason the damage occurred.
Which Repair Method Is Appropriate?
The correct repair depends on conductor type, installation location, manufacturer instructions, local code, and whether the cable remains long enough for a listed termination. A direct-burial splice can be acceptable when the connector is specifically listed for the conductor, voltage, environment, and burial application; otherwise, replacing the run is safer.
Do not use a wire nut, crimp terminal intended for indoor wiring, solder-only joint, or electrical tape as the primary repair. A listed compression connector may require a specified die and calibrated crimping tool, while a mechanical connector requires the manufacturer’s torque value. Adhesive-lined heat-shrink protects a suitable connection from moisture, but it cannot correct an unlisted connector.
| Repair strategy | Typical material cost | Typical labor time | Best application | Main limitation |
|---|---|---|---|---|
| Listed direct-burial mechanical splice | $20-$75 | 1-2 hours | Accessible copper conductor with adequate slack | Adds a buried connection |
| Listed irreversible compression splice | $35-$120 | 1-3 hours | Permanent conductor repair by trained installer | Requires matching tool and die |
| New continuous grounding run | $100-$400 | 2-6 hours | Short cable, corrosion, repeated damage | Requires new routing and terminations |
| Schedule 80 protective riser | $25-$100 | 1-3 hours | Exposed transition from soil to rack | Does not replace burial compliance |
| New conduit-protected route | $150-$700 | 4-10 hours | Repeated mower or trimmer exposure | Requires trenching and possible permit |
When is a full conductor replacement better?
Full replacement is preferable when the severed wire has insufficient slack, multiple damaged sections, corrosion, uncertain gauge, inaccessible connections, or an unknown original installation. Replacement also avoids leaving a buried splice where future inspection would be difficult.
A splice is a repair component, not an automatic improvement. A new continuous conductor can reduce connection count, simplify testing, and restore the documented design, but the replacement must use the correct conductor type and termination hardware. NEC 250.122 generally sizes an EGC from the circuit overcurrent protective device, while NEC 250.66 governs many GEC sizing calculations with specific exceptions.
How Should a Technician Repair the Grounding Conductor?
A qualified technician should repair the conductor in five controlled stages: isolate, identify, prepare, connect, and verify. The technician should follow the connector listing, installation instructions, torque requirements, and the authority having jurisdiction rather than applying a universal wire size or burial depth.
Step 1: Establish a safe work condition.
Use the inverter and array manufacturer’s shutdown procedure, isolate AC and DC sources as applicable, and verify absence of voltage with properly rated instruments. The success checkpoint is documented voltage testing at the actual conductors being handled, not merely a dark inverter screen. The common mistake is treating a non-contact tester or open disconnect as proof that PV DC is absent.
Step 2: Identify the conductor and preserve its route.
Record conductor markings, size, insulation type, termination points, and the location of every grounding electrode. Expose enough cable to inspect it without damaging adjacent conductors. The success checkpoint is a clear determination of EGC, GEC, or bonding jumper function. The common mistake is joining a grounding conductor to a nearby metal object without confirming the original circuit.
Step 3: Remove damaged sections.
Cut back to clean, bright, mechanically sound conductor. Do not reuse copper with blackened strands, deep nicks, flattened sections, or corrosion under insulation. The success checkpoint is a conductor end that matches the connector’s allowed strip length and material. The common mistake is stripping too much insulation or nicking strands.
Step 4: Install the listed connection.
Use a connector listed for the conductor material, size range, wet location, direct burial if applicable, and PV installation. Apply the specified torque to mechanical hardware or use the specified crimp die for compression hardware. The success checkpoint is a mechanically secure connection with visible markings or documented torque. The common mistake is substituting a generic split bolt because its size appears compatible.
Step 5: Seal and protect the repair.
Use the connector’s required enclosure or sealing system. Adhesive-lined heat-shrink may be part of that system, but the completed joint must remain suitable for its environment and burial status. Protect the above-ground transition with Schedule 80 PVC or another approved raceway where physical damage is likely. The success checkpoint is a supported, sealed, strain-relieved connection. The common mistake is burying a connector that is only rated for damp locations.
Step 6: Test and document.
Perform continuity and bonding checks appropriate to the system, then inspect inverter status after controlled reenergization. A low ohmic reading through a short copper conductor does not prove correct electrode resistance, correct conductor sizing, or the absence of a DC insulation fault. The success checkpoint is a recorded test result, normal equipment status, and updated site documentation.
What Testing Actually Proves?
Continuity testing proves that a conductive path exists between selected points; it does not prove that the path can safely clear a fault. Grounding-electrode resistance testing measures the electrode system under a particular method and soil condition; it does not replace bonding verification.
The commonly repeated targets of less than 0.5 ohms for every repair and less than 25 ohms for every ground rod are not universal acceptance rules. The NEC contains grounding and bonding requirements, but the applicable result depends on system design, electrode type, equipment instructions, local amendments, and the test method. A technician may use a low-resistance ohmmeter, clamp-on ground tester, fall-of-potential test, insulation resistance tester, or manufacturer-specific diagnostic process.
| Test | Measures | Does not prove | Typical equipment |
|---|---|---|---|
| Continuity or low-ohm test | Conductor path between two points | Electrode quality or insulation condition | Calibrated low-resistance meter |
| Bonding verification | Connection between metal equipment parts | Correct PV polarity or insulation | Meter and visual inspection |
| Grounding-electrode resistance | Electrode-to-earth performance | Continuous EGC path | Fall-of-potential or clamp tester |
| Insulation resistance | Leakage from PV conductors to ground | Correct bonding hardware | PV-rated insulation tester |
| Inverter diagnostic scan | Detected faults and operating status | Hidden intermittent mechanical damage | Manufacturer software or display |
A normal inverter display is not a clean bill of health. Some inverters monitor ground faults, insulation resistance, or residual current, but a broken equipment grounding conductor may remain undetected until a separate fault occurs.
Which Cable and Protection Options Fit the Site?
Bare copper is common for some grounding electrode applications, while insulated copper such as THWN-2 is often used where a conductor runs in wet-location raceway. Equipment selection must account for copper-to-aluminum contact, ultraviolet exposure, moisture, movement, corrosion, and the connector’s listing.
Ground-mounted solar arrays need mechanical protection at mowing height and at every soil-to-rack transition. Underground burial depth is not one universal number. NEC Table 300.5, cable type, raceway type, location, vehicle loading, and local amendments determine the required cover, so a generic six-inch or eighteen-inch instruction can be wrong for a particular installation.
| Installation location | Common protection choice | Design issue | Verification needed |
|---|---|---|---|
| Soil-to-rack riser | Schedule 80 PVC or listed rigid raceway | Impact from trimmers and weed whips | Raceway support and conductor fill |
| Open lawn trench | Listed direct-burial cable or raceway | Cover depth and future aeration | Local code and utility-locate review |
| Rack expansion joint | Listed braided bonding jumper | Movement and fatigue | Manufacturer bonding instructions |
| Inverter wall entry | Listed wet-location raceway fitting | Water migration | Seal and strain relief |
| Corrosive or coastal soil | Compatible tinned or protected hardware | Galvanic and soil corrosion | Material compatibility review |
Copper and aluminum require compatible listed lugs or connectors. A bare copper conductor fastened directly to aluminum racking can accelerate galvanic corrosion, especially where moisture and salt are present. UL 2703-listed mounting and bonding systems provide installation-specific guidance for module and racking bonding.
What Are the Cost and Time Trade-Offs?
A simple accessible repair commonly costs $150-$400 when performed by a professional, while rerouting a damaged ground-mount circuit through a new protected route commonly costs $400-$1,200. Actual pricing varies with trenching, permits, travel, system voltage, battery equipment, soil, and whether secondary PV conductors were damaged.
Material-only estimates can mislead because safe PV work may require shutdown coordination, specialized testing, excavation, and documentation. A quote should state whether it includes fault testing, connector replacement, conduit, burial restoration, permit fees, and post-repair commissioning.
| Scope | Typical total cost | Typical duration | Cost increases when |
|---|---|---|---|
| Inspect and diagnose one cut | $100-$300 | 1-2 hours | Fault codes or inaccessible route exist |
| Listed splice and protection | $150-$450 | 2-4 hours | Excavation and custom connectors are required |
| Replace short exposed run | $250-$700 | 3-6 hours | New rack terminations are needed |
| Trench and reroute ground-mount wiring | $400-$1,200 | 1-2 days | Rock, concrete, or permit work is present |
| Repair with battery and multiple disconnects | $500-$1,500 | 1-2 days | Storage backfeed and shutdown complexity apply |
Homeowners should contact the installer before changing a system under warranty. Photographs, the equipment serial numbers, the damage date, and the landscaping contractor’s incident report can help preserve warranty and insurance options.
Which Prevention Measures Work Best?
The strongest prevention plan removes lawn equipment from the wire’s path, then protects unavoidable exposed sections with listed raceway. Conduit alone cannot compensate for an incorrectly sized conductor, poor bonding hardware, or inadequate burial.
For a ground-mounted residential array, practical measures include a gravel or geotextile maintenance strip, a defined no-mow perimeter, visible route markers, and a Schedule 80 riser at each exposed transition. Warning signs help, but physical separation works better because string trimmers can reach areas that operators believe are clear.
| Prevention measure | Typical installation | Expected benefit | Limitation |
|---|---|---|---|
| No-mow gravel strip | 2-3 feet around rack perimeter | Removes routine trimming contact | Requires landscape maintenance |
| Schedule 80 riser | Exposed vertical transition | Resists blade and trimmer impact | Ends at the underground transition |
| Route marker tape | Above buried conductor route | Warns future digging crews | Tape does not stop aeration tools |
| Deep, code-compliant burial | Entire vulnerable run | Reduces routine surface damage | Does not protect from excavation |
| As-built route map | Photos plus measured offsets | Supports future repairs | Depends on accurate records |
| Mowing exclusion procedure | Written contractor instruction | Reduces repeat incidents | Requires contractor compliance |
A useful field rule is to measure the trimmer’s reach from the operator’s normal path, not from the rack post. The protected zone should cover the entire swing area, including corners and sloped ground.
When Should You Call a Solar Electrician?
Call a qualified solar electrician whenever the damaged wire is connected to PV equipment, enters a combiner or inverter, runs with DC circuit conductors, belongs to a battery system, or has unknown identity. Professional service is also appropriate when the inverter reports ground-fault, insulation, arc-fault, or residual-current errors after the incident.
DIY landscaping cleanup is reasonable after the system has been made safe, but DIY electrical repair creates several hidden risks: PV voltage remains present in daylight, a battery may energize circuits independently, and an incorrect bond can create objectionable current or fail to clear a fault. The repair may also require a permit, inspection, or manufacturer-approved component.
Do not reenergize the array after finding melted insulation, smoke, arc marks, repeated inverter trips, water inside conduit, or damage to a battery enclosure. Keep the equipment isolated and obtain an electrical fault investigation.
FAQ
Can a solar system keep working after the grounding wire is cut?
Yes, a solar system can continue producing power after an equipment grounding conductor is severed because the grounding path normally carries no operating current. Continued production does not demonstrate safety. A later insulation fault could energize racking or fail to operate protective equipment, so the system requires inspection before normal use.
Is a ground rod enough if the solar ground wire is broken?
No. A ground rod provides an electrode connection, but it does not replace the equipment grounding and bonding path needed to connect exposed metal to the fault-clearing system. Soil impedance can be too high to operate protective devices quickly. The EGC, bonding network, GEC, and electrode must be evaluated as one system.
Can I bury the repaired wire six inches deep?
Possibly, but six inches is not a universal requirement or permission. Required cover depends on the conductor or raceway, location, physical protection, and local code amendments. A technician should apply NEC Table 300.5 and local rules, then protect exposed risers from mower and trimmer impact.
Should I replace bare copper with green THWN-2?
Not automatically. Bare copper and THWN-2 serve different installation conditions, and the correct choice depends on whether the conductor is an EGC, GEC, or bonding jumper, plus raceway, wet-location, corrosion, and termination requirements. The replacement must match the design and the listed connectors.
What if the inverter shows a ground-fault error after repair?
Leave the system isolated and have a qualified technician test PV insulation, polarity, bonding, connectors, and conduit. The error may indicate secondary damage to a current-carrying conductor rather than a problem with the repaired grounding wire. Repeated resets can conceal an active fault and increase fire risk.
Does homeowners insurance cover a mower-cut solar wire?
Coverage depends on the policy, cause of loss, deductible, installer warranty, and whether a contractor caused the damage. Photograph the site before repair, retain damaged components when practical, obtain a written diagnosis, and notify the insurer and solar installer promptly.
The Bottom Line
Troubleshooting Solar Grounding Wires Severed by Lawn Care Equipment starts with controlled isolation, not with a wire splice. Identify whether the damaged conductor is an EGC, GEC, or bonding jumper, inspect nearby PV wiring, use a connector listed for the conductor and environment, verify bonding with appropriate instruments, and protect the repaired route from future landscaping damage. A qualified solar electrician should approve the repair before reenergization.