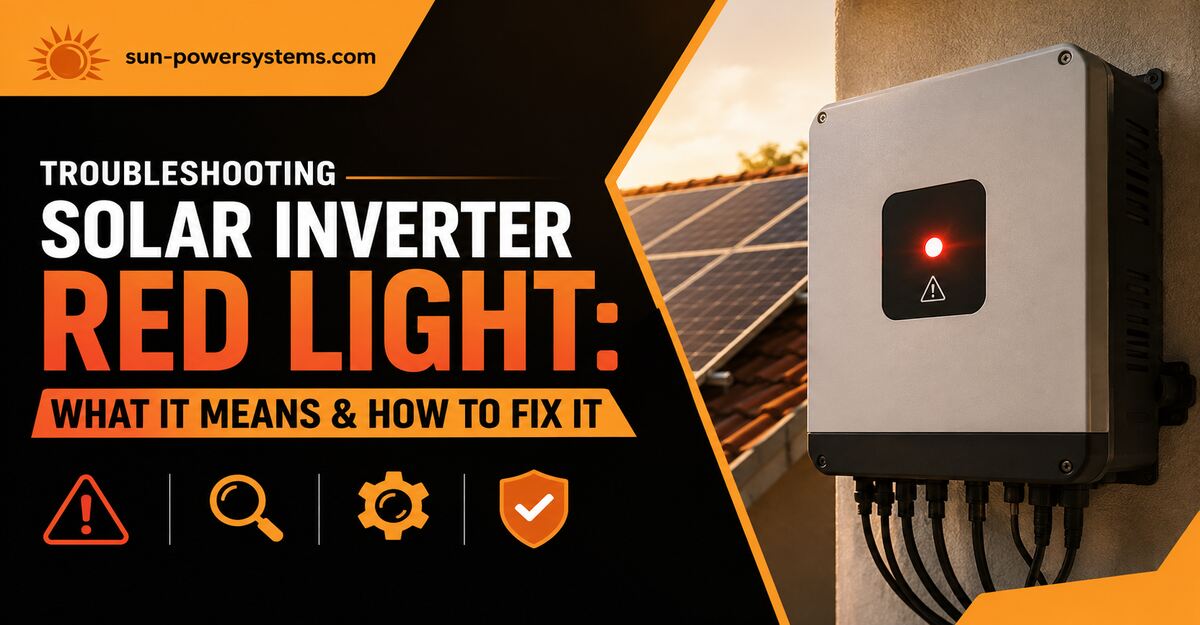
A red light on a solar inverter indicates a critical safety shutdown triggered by an internal hardware fault, a grid anomaly, or an environmental hazard. The inverter has physically opened its internal relays to disconnect your solar panels from the home and grid, preventing electrical damage. Resolving this requires logging the specific error code and performing a systematic safe power cycle.
Key Facts / At a Glance
- Solid Red Light: Indicates a hard permanent fault requiring manual intervention, a hard reset, or component replacement.
- Flashing Red Light: Indicates a soft temporary fault (like grid voltage spikes) the inverter is actively trying to self-resolve.
- DC Voltage Danger: Residential solar strings carry 600 to 1,000 Volts DC; internal capacitors remain lethal for up to 10 minutes after shutdown.
- Reset Requirement: 30% of red light errors are nuisance trips that can be cleared with a standard 6-step power cycle.
- Cost Expectation: Software resets are free to $150, while out-of-warranty string inverter replacements cost $1,200 to $3,000.
What Does a Red Light on a Solar Inverter Mean?
A red light on a solar inverter means the internal microprocessor has detected electrical values outside strict legal or hardware safety boundaries. The system continuously monitors parameters like grid voltage, internal temperature, and DC insulation resistance. When a limit is breached, the inverter halts AC power production to protect your property.
Inverters use a universal multi-color LED logic system to communicate health status.
- Solid Green: The system is actively generating AC power and syncing with the grid.
- Flashing Yellow: The system is operating at reduced capacity due to minor environmental factors (shading) or communication dropouts.
- Flashing Red (Soft Fault): A temporary condition prevents operation. This usually happens when local grid voltage fluctuates outside the 240V nominal range or during transient weather events. The inverter will automatically attempt to reconnect every 5 minutes.
- Solid Red (Hard Fault): A permanent safety exception or physical hardware failure has occurred. The system will not attempt to restart on its own and requires a manual hard reset or a technician visit.
Before You Start: Preparation and Safety
Resetting an inverter takes roughly 15 minutes and requires zero technical tools if you are only performing a soft reset. Attempting to diagnose wiring requires specialized safety equipment.
- Total Time: 15 minutes.
- Difficulty: Beginner (for power cycle) to Expert (for multimeter diagnostics).
- Cost: $0 for reset.
- Prerequisites: Access to the main home electrical panel and the solar inverter location.
- Tools (DIY only): Multimeter rated for Category III (1,000V DC), non-contact voltage detector, insulated gloves.
How Do You Fix a Solar Inverter Red Light?
You fix a solar inverter red light by executing a Safe Power Cycle Sequence to drain residual voltage and force the onboard computer to reboot. This process clears nuisance software trips and transient grid errors.
Step 1: Turn OFF the AC Breaker
Locate your home’s main distribution board or the dedicated AC disconnect switch situated next to the inverter. Flip this breaker to the OFF position. This severs the physical connection between the solar system and your home electrical network.
- Success checkpoint: The AC disconnect lever is visibly in the down/off position.
Step 2: Turn OFF the DC Isolator Switch
Locate the rotary switch typically mounted underneath or directly adjacent to the inverter, labeled “DC Disconnect.” Turn this dial to the OFF position. This stops the flow of raw high-voltage electricity coming from the roof panels into the inverter.
- Success checkpoint: You will hear a distinct mechanical “clack” as the internal contacts separate.
Step 3: Wait 10 Minutes for Capacitor Discharge
Wait a minimum of 10 minutes before proceeding. High-capacity internal capacitors store lethal amounts of electrical energy. Giving the system time allows this residual voltage to bleed off entirely.
- Success checkpoint: The LCD screen or LED indicator lights on the inverter go completely dark.
- Common Mistake: Rushing this step. Flipping switches back on while the screen is still faintly glowing will fail to reboot the internal microprocessor.
Step 4: Turn ON the DC Isolator Switch First
Turn the rotary DC Disconnect switch back to the ON position. Providing direct current first allows the inverter’s internal computer to boot up using clean solar power before it attempts to synchronize with the external utility grid.
Step 5: Turn ON the AC Breaker Second
Flip the AC breaker back to the ON position to re-engage the connection with your home panel. The inverter now possesses both power sources required to operate.
Step 6: Observe the Synchronization Process
Watch the LED panel for up to 5 minutes. The inverter will run mandatory legal checks on grid voltage and frequency before exporting power.
- Success checkpoint: The light transitions from flashing yellow or red to solid green. If the solid red light returns, the hardware fault is permanent, and you must log the error code displayed on the screen.
What Are the Most Common Solar Inverter Error Codes?
The exact cause of a permanent red light is tied directly to the alphanumeric error code displayed on the inverter screen or the manufacturer’s mobile app. Identifying the code tells you whether the issue is environmental, grid-related, or a hardware failure.
| Fault Type | Common Codes | Physical Meaning | Next Step |
| Isolation / Ground Fault | RISO, F01 | Moisture has degraded panel wire insulation, leaking DC current into the metal mounting racks. Common after heavy rain or heavy morning dew. | Wait 24 hours for dry weather. If the fault persists, an installer must locate the bare wire on the roof. |
| Grid Overvoltage | OverVolt, F03 | Utility grid voltage exceeds legal thresholds (often >253V in 240V markets). Common at midday when neighborhood solar export peaks. | Contact your solar installer to request a grid profile widening, or call your utility to step down local transformer voltage. |
| Thermal Overload | OverTemp, F05 | Internal components exceed 75°C (167°F). | Remove debris blocking cooling fins. Ensure the unit is shaded. |
| Hardware Failure | IGBT Fault, HW Err | Critical internal switching components have physically burned out. | Record the serial number and initiate a warranty claim for unit replacement. |
How Do Inverter Types Impact Failures and Repair Costs?
The architecture of your solar system dictates both how a fault manifests and the financial impact of repairing it. Standard string inverters have an average lifespan of 10 to 15 years, meaning hardware failure is inevitable over the life of a 25-year panel array.
- String Inverters: These single central wall units present a single point of failure. If the unit throws a red light, the entire solar array goes dark. However, diagnostic complexity is low, and replacing an out-of-warranty unit typically costs $1,200 to $3,000, taking 3 to 7 days.
- Microinverters: These miniature units sit under every panel. If one fails, only that specific panel stops producing. While redundancy is high, replacing a broken unit requires roof access, resulting in $200 to $400 in labor costs even if the part is under warranty.
- Hybrid Inverters: These central units integrate with battery storage. Faults here are complex, potentially originating from the panels, the grid, or the battery bank’s Battery Management System (BMS). They are the most expensive to repair and demand highly specialized technicians.
Common Mistakes to Avoid When Troubleshooting
- Taping or Forcing Breakers: If an AC or DC breaker immediately trips upon reset, never tape it down or hold it in place. This bypasses critical thermal protection and will cause an electrical fire or permanent catastrophic damage to the inverter logic board.
- Using the Wrong Multimeter: DIY enthusiasts often attempt to measure string voltage with standard household multimeters. Solar arrays generate up to 1,000V DC. Using a meter not rated for Category III (CAT III) 1000V will cause the meter to explode in your hands.
- Washing Hot Panels to Clear Faults: Do not spray cold hose water onto baking-hot solar panels at midday to clean them in hopes of clearing an isolation fault. The extreme thermal shock will instantly shatter the tempered glass overlay.
- Opening the Inverter Chassis: Never remove the protective internal metal covers. Even with all disconnects off, capacitors retain fatal charges.
Expert Recommendations by User Type
For Everyday Homeowners
Keep a physical folder containing your commissioning date, installer contact information, and warranty certificates. Standard string inverters carry 5-to-10-year warranties. If the 6-step power cycle fails to clear a red light, photograph the exact error code on the screen and email it to your installer. Do not pay for parts if you are inside the 10-year window.
For DIY Enthusiasts and Off-Grid Operators
Limit your physical interventions to external checks. You can safely verify open-circuit string voltage ($V_{oc}$) at the MC4 couplers if you own the correct CAT III tools. Do not attempt to solder or repair internal printed circuit boards. Utilize manufacturer technical forums with your exact error code to isolate the broken component before ordering proprietary replacement boards.
For Commercial and Small-Scale Solar Managers
Transition away from reactive break-fix management. Establish automated SMS alerts inside your monitoring portals (SMA, SolarEdge, Enphase) to catch inverter red lights the moment they trip. Sign an Annual Maintenance Contract (AMC) that includes guaranteed 48-hour response times to limit production downtime and revenue loss.
FAQ
Can a solar inverter fix a red light on its own? Yes, if the red light is flashing. A flashing red light indicates a soft fault, typically caused by a temporary grid voltage spike or frequency drop. The inverter will automatically test the grid every five minutes and resume operation once external conditions stabilize.
Why is my inverter screen completely blank during the day? A blank screen during daylight hours indicates a complete loss of DC power from the roof. This is not a software fault; it means either the DC isolator is turned off, a main solar cable has been severed, or the panels are entirely covered by heavy snow.
Will a red light on the inverter drain my solar battery? It can. If a hybrid inverter throws a hard red fault, it stops charging the battery from the solar