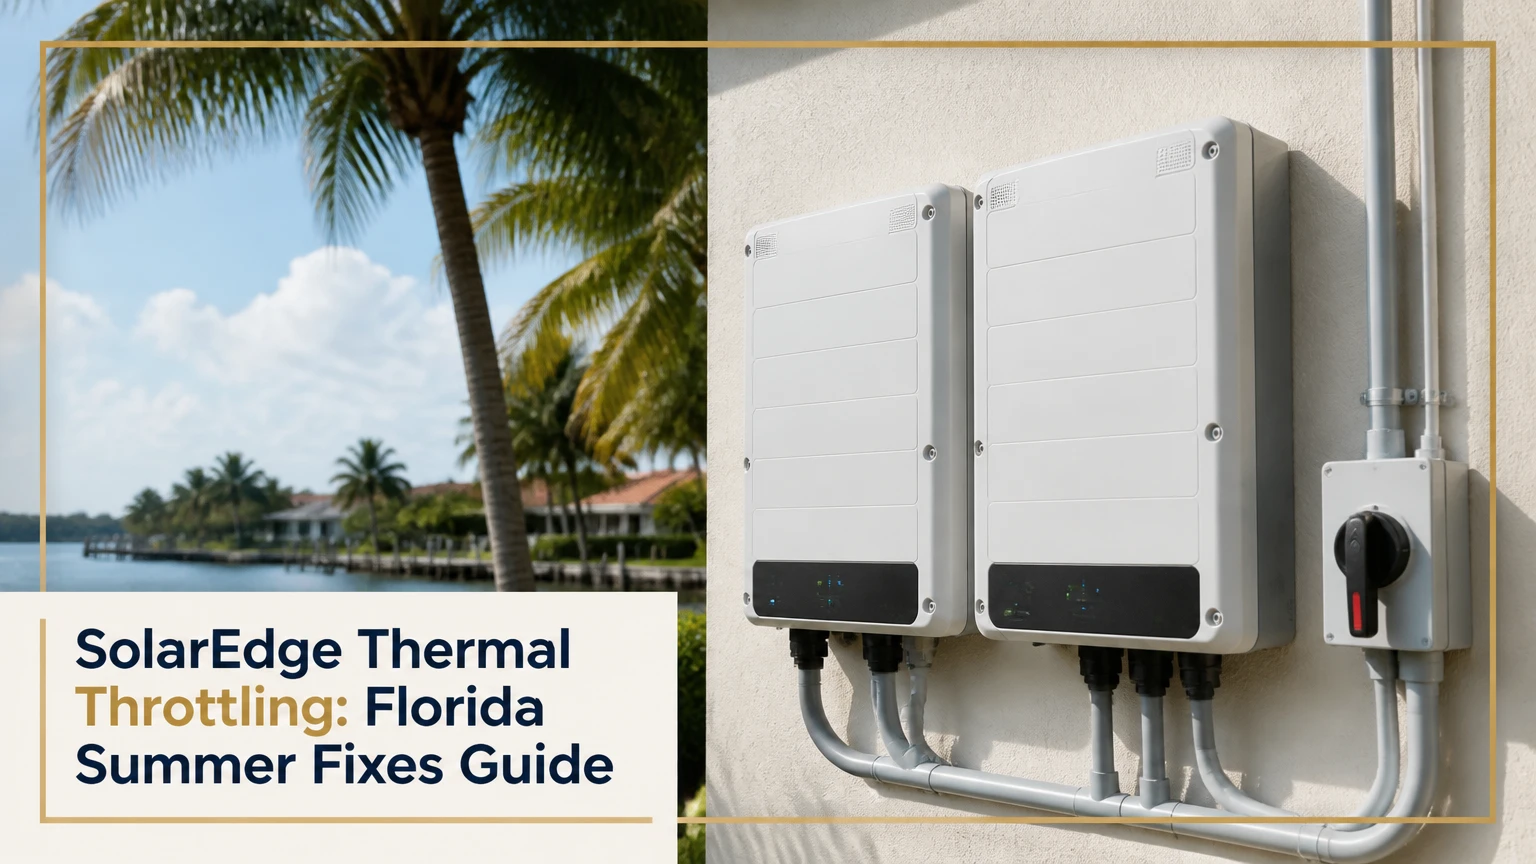
SolarEdge thermal throttling is automatic inverter derating that limits AC power when internal temperatures approach the equipment’s protection range. In Florida, high outdoor temperature, direct sun on the enclosure, restricted airflow, and strong midday production can combine to reduce output, but the correct remedy is to verify heat as the cause before adding a fan or replacing equipment.
Key Facts at a Glance
SolarEdge thermal throttling reduces inverter AC output to protect heat-sensitive power electronics.
A 70-75°C reading is not a universal SolarEdge trigger; the applicable threshold depends on the inverter model, sensor, firmware, and operating state.
A flat production curve can indicate normal DC-to-AC clipping, export control, battery behavior, or thermal derating.
Blocking direct sun and restoring the manufacturer’s required clearances are lower-risk first remedies than modifying the inverter.
A canopy must provide shade without trapping hot air or obstructing service access.
Homeowners should not open a live inverter, bypass thermal protection, or install unlisted wiring modifications.
What SolarEdge Thermal Throttling Means
SolarEdge thermal throttling is a protective reduction in inverter output, also called thermal derating. The inverter senses heat at one or more internal locations and lowers operating power when continued full-load operation could stress semiconductors, capacitors, circuit boards, or other components.
Thermal throttling is not a failure by itself. It is a control response. A short derating period on an exceptionally hot afternoon may be normal, while daily derating from noon through late afternoon indicates a design, installation, maintenance, or equipment problem worth investigating.
SolarEdge power optimizers do not automatically mean that the inverter itself cannot overheat. Optimizers manage module-level maximum power point operation and communicate with the inverter, but the inverter still performs DC-to-AC conversion and dissipates heat through its enclosure and heatsink. The inverter, not the optimizer, is the central thermal bottleneck in this scenario.
Why Florida conditions increase inverter temperature
Florida’s heat load comes from more than the weather-station temperature. A south- or west-facing enclosure can absorb direct solar radiation, while a wall-mounted unit may have little air movement behind its heatsink. High humidity does not directly create the same temperature rise as irradiance, but it limits overnight drying and increases corrosion risk around fans, connectors, and metal hardware.
A useful field distinction is ambient temperature versus enclosure temperature. An inverter in 95°F air can become substantially hotter when dark surfaces receive direct afternoon sun. A shaded enclosure with open airflow may operate more comfortably than an unshaded enclosure mounted in cooler morning air.
How the Temperature Control Loop Works
SolarEdge thermal protection follows a feedback loop: internal sensors measure temperature, the control firmware compares measurements with model-specific limits, and the inverter reduces electrical loading when necessary. As the heat sink and power stage cool, the inverter can raise output again, producing a repeating afternoon pattern.
During conversion, switching devices and magnetic components generate heat in proportion to electrical load and conversion losses. The heatsink transfers that heat to surrounding air. Restricted clearance, dust, insect nests, a failed fan, or direct radiation slows the heat path from the power stage to the environment.
The common 70-75°C figure should be treated as a field clue, not a universal SolarEdge specification. SolarEdge publishes different operating limits and thermal behavior by product family, region, enclosure, firmware, and installation configuration. Use the exact installation manual and installer diagnostic data for the installed model.
| Thermal factor | Typical field effect | What to inspect | Practical implication |
|---|---|---|---|
| Outdoor air temperature | 90-98°F summer afternoons | Local shade and ventilation | Higher baseline heat |
| Direct wall sun | Several additional degrees at enclosure surface | South and west exposure | Shade often has high value |
| Inverter loading | Highest near solar noon | AC power and DC input charts | Full output raises heat generation |
| Restricted clearance | Variable, sometimes severe | Roofs, shelves, adjacent units | Convection becomes less effective |
| Dust or insect debris | Variable across seasons | Heatsink fins and fan path | Cleaning may restore airflow |
| Failed internal fan | Rapid temperature rise | Model-specific fan status | Requires qualified service |
What changes when derating begins?
The inverter may reduce AC output gradually, step down in stages, or cycle between higher and lower output as temperature moves around a control limit. The exact curve is model dependent. A production chart alone cannot prove thermal throttling because several unrelated controls can create the same shape.
SolarEdge’s monitoring documentation supports analysis of power charts and system events, but installers may need SetApp, service access, or model-specific logs to identify an internal temperature condition. Homeowners should record the time, weather, AC output, inverter status, and event messages rather than relying on a single screenshot.
How to Verify Heat-Related Derating
Confirm thermal throttling by correlating a repeatable output reduction with high inverter temperature or a thermal event, while ruling out clouds, grid limits, battery charging, and ordinary clipping. The strongest evidence is a recurring temperature-linked reduction that disappears or shortens after shade or airflow improves.
Use this sequence:
- Compare several clear-sky days, preferably one cooler day and one hot day.
- Inspect SolarEdge monitoring charts for AC power, DC power, inverter status, and events.
- Note whether the output ceiling changes with temperature rather than remaining fixed all year.
- Check whether the utility or battery system imposes an export or charging limit.
- Photograph the installation at the time of the suspected event.
- Ask the installer to review model-specific temperature and fault data.
Do not interpret every flat-topped curve as overheating. If the inverter reaches the same AC ceiling on cool and hot days, ordinary inverter capacity clipping is more likely. If the ceiling changes with temperature, thermal derating becomes more plausible.
| Pattern in monitoring data | More likely cause | Confirming evidence | First response |
|---|---|---|---|
| Same ceiling on cool and hot days | Normal DC-to-AC clipping | Inverter rated AC limit | Review system design |
| Ceiling only on hot afternoons | Thermal derating | Temperature event or log | Inspect shade and airflow |
| Output capped below inverter rating | Export control | Utility or battery setting | Check commissioning settings |
| Sudden zero output | Trip, grid event, or fault | Event code and grid voltage | Contact installer |
| Repeating high-low cycling | Thermal control or unstable fault | Temperature correlation | Request service diagnosis |
| Reduced output during clouds | Weather variation | Irradiance and nearby arrays | No thermal conclusion |
Is Thermal Throttling the Same as Clipping?
Thermal throttling and normal clipping both reduce observed output, but they have different causes and remedies. Clipping occurs when available DC power exceeds the inverter’s AC conversion capacity; thermal throttling occurs when heat requires the inverter to reduce operation below what it could otherwise convert.
A properly designed system can experience brief clipping without a defect. Oversizing the array may improve annual energy because panels produce less than their nameplate rating for much of the year. Reducing the DC array solely to eliminate a few hours of clipping can lose more annual energy than it saves.
Grid curtailment is different again. A utility, smart meter, battery controller, or site export setting may intentionally limit delivery to the grid even when the inverter is cool. Firmware updates, communication problems, and battery state of charge can also alter the visible production curve.
| Condition | Limiting entity | Typical chart signature | Correct remedy |
|---|---|---|---|
| DC clipping | Inverter AC rating | Repeated ceiling near rated AC output | Evaluate DC/AC design |
| Thermal derating | Inverter protection control | Hot-weather reduction below normal ceiling | Improve thermal conditions |
| Export limitation | Utility or site controller | Grid delivery cap with local load variation | Review interconnection settings |
| Battery charge limit | Battery inverter or BMS | Reduced PV during high state of charge | Review battery operation |
| Grid overvoltage | Utility voltage or inverter protection | Trips or power reduction by event | Electrician and utility review |
Which Cooling Measures Work Best?
For most Florida installations, start with direct-sun reduction and manufacturer-compliant clearance, then investigate airflow or relocation. External fans can help in specific installations, but they introduce moisture, corrosion, noise, maintenance, and warranty questions that make them a secondary measure rather than a universal fix.
Shade and relocation
A ventilated canopy blocks radiant heat while allowing air to move around the enclosure. The canopy should remain clear of disconnects, conduit entries, cooling fins, labels, and service space. A sealed decorative box is counterproductive because it turns the enclosure into a heat trap.
Relocation to a shaded wall or suitable garage can improve conditions, but moving a SolarEdge inverter changes conduit routing, wire length, disconnect location, grounding, and sometimes rapid-shutdown or battery wiring. Electrical work may require a licensed contractor, permit revision, inspection, or utility documentation.
External fans
A thermostatically controlled, outdoor-rated fan can lower the local heatsink temperature when natural convection is insufficient. The fan must not block the designed airflow path, blow saltwater or rain toward openings, create an unlisted electrical connection, or require drilling into the inverter enclosure.
SolarEdge does not endorse every aftermarket cooling kit. Ask the installer whether the proposed device affects the listing, enclosure rating, warranty, service access, or manufacturer clearances. A fan that masks a failing internal fan or blocked heatsink can delay the correct repair.
Design changes and replacement
DC/AC oversizing is a design decision, not a repair for an overheated enclosure. SolarEdge limits vary by inverter model and application, so the installed model’s datasheet controls. A larger inverter may reduce conversion loading, but it will not fix direct sun, blocked airflow, failed fans, poor connections, or an undersized circuit.
| Remedy | Typical material or labor cost in Florida | Typical time | Main benefit | Main limitation |
|---|---|---|---|---|
| Simple ventilated shade | $50-$250 | 1-3 hours | Reduces radiant heating | Cannot cool below ambient air |
| Professional canopy | $250-$800 | 2-6 hours | Durable weather protection | Must preserve clearances |
| Heatsink cleaning | $100-$250 service visit | 30-90 minutes | Restores blocked airflow | Does not repair failed parts |
| Outdoor fan assessment | $150-$500 installed | 1-3 hours | Adds forced airflow | Moisture and warranty concerns |
| Inverter relocation | $700-$2,000 typical | 1-2 days | Removes chronic exposure | Conduit and permit work |
| Inverter replacement | $1,500-$4,000 installed | 1-3 days plus approvals | Resolves failed hardware | Does not guarantee cooler siting |
Costs are typical planning ranges, not quotations. Florida labor rates, roof height, conduit distance, permitting, battery integration, and the inverter model can change the final price substantially.
A Safe Diagnostic Sequence
A homeowner can document conditions and inspect external airflow, but only a qualified solar electrician should open the enclosure or test energized DC conductors. SolarEdge systems can retain hazardous DC voltage in sunlight, and turning off one disconnect does not make every conductor safe.
Step 1: Record the symptom
Write down the date, outdoor temperature, cloud conditions, inverter model, displayed status, and approximate production loss. Capture at least three comparable days because one hot afternoon cannot separate heat from weather or grid behavior.
Success checkpoint: The suspected reduction occurs at a similar time on clear days and correlates with heat or a recorded event.
Common mistake: Comparing a hot, hazy day with a cool, cloudless day and calling the difference thermal loss.
Step 2: Check monitoring and events
Review AC power, DC power, inverter status, battery state, and event history. Ask the installer for temperature data if the homeowner portal does not expose it.
Success checkpoint: The installer can identify either a thermal event or a competing limit such as clipping, export control, or grid voltage.
Common mistake: Treating a fixed AC ceiling as proof of overheating.
Step 3: Inspect the installation externally
Look for direct sun, blocked top or bottom airflow, leaves, wasp nests, salt deposits, corrosion, damaged conduit, and nearby heat sources. Compare the installation with the exact SolarEdge clearance diagram, not a generic ten-inch rule.
Success checkpoint: The inverter has the manufacturer’s listed clearances and a clear heatsink path.
Common mistake: Cleaning or spraying inside the enclosure. Do not use water or compressed air where debris can be driven into electronics.
Step 4: Add reversible shade
Use a temporary, rigid, nonconductive or properly grounded shade that blocks direct radiation while leaving service access and airflow open. Do not attach a canopy to conduit, disconnect handles, or the inverter housing.
Success checkpoint: On a similar weather day, the derating begins later, ends sooner, or disappears.
Common mistake: Installing a tight cover that raises the air temperature around the inverter.
Step 5: Escalate persistent derating
Request a licensed installer to test the fan, heatsink, temperature sensor, firmware, connections, and loading. If the inverter is under warranty, document the issue before making any permanent modification.
Success checkpoint: The installer identifies a documented cause and verifies output after repair.
Common mistake: Buying an aftermarket fan before determining whether the inverter itself has a failed component.
What Installation Location Works Best in Florida?
A shaded, well-ventilated location that follows the model-specific SolarEdge manual is generally preferable to an exposed west-facing wall. A garage can work when its daytime temperature, humidity, clearances, and ventilation remain within the inverter’s environmental specifications.
| Installation location | Heat exposure | Service access | Florida-specific concern | Suitability |
|---|---|---|---|---|
| Shaded north wall | Low direct radiation | Usually straightforward | Wind-driven rain and insects | Often favorable |
| Unshaded west wall | High afternoon radiation | Usually straightforward | Peak heat coincides with production | Frequently problematic |
| Open breezeway | Moderate, airflow dependent | Good if accessible | Humidity and salt exposure | Model dependent |
| Ventilated garage | Low sun exposure | Good | Garage heat and code requirements | Good when verified |
| Sealed cabinet outdoors | High trapped-air risk | Poor | Condensation and service difficulty | Avoid |
| Coastal exterior wall | Sun varies by orientation | Variable | Salt corrosion | Requires inspection discipline |
A garage is not automatically cooler. A closed Florida garage can exceed outdoor temperature after several hours of solar heating, especially under a dark roof. Measure or estimate the daytime garage environment and preserve the required working space around the inverter.
What Problems Can Look Like Thermal Throttling?
Several electrical and software conditions resemble heat-related derating. A failed temperature sensor can report an implausible high value, while a weak connection, obstructed fan, or firmware issue can create intermittent power reduction without a simple flat-topped curve.
| Symptom | Possible cause | Useful check | Likely next action |
|---|---|---|---|
| Derating starts after direct sun reaches wall | Radiant heating | Compare shaded and unshaded days | Install ventilated shade |
| Derating occurs in a cool garage | Fan, sensor, or electronics fault | Installer diagnostic test | Warranty service |
| Output cap is identical daily | Normal clipping or export limit | Compare AC rating and settings | Design or utility review |
| Inverter resets repeatedly | Fault, voltage, or thermal trip | Event log and grid readings | Licensed diagnosis |
| Corrosion near fan or terminals | Coastal moisture exposure | Visual inspection without opening | Service and weather assessment |
| One inverter underperforms | Unit-specific issue or array imbalance | Compare strings and units | Electrical testing |
An expert rule of thumb is to treat a temperature-linked symptom as a systems problem, not merely a cooling problem. The heat may result from high resistance at a connection, a defective fan, excessive internal loading, or a failing component. Cooling the enclosure can reduce the symptom while leaving the hazard in place.
When Should You Replace the Inverter?
Replace a SolarEdge inverter when diagnostics identify failed thermal hardware, repeated protective trips, unavailable parts, or a warranty-approved defect, not simply because the enclosure feels hot. Relocation or shade should precede replacement when the primary cause is direct radiation or restricted airflow.
Replacement becomes more defensible when:
- The inverter derates in a verified compliant, shaded location.
- A fan, sensor, heatsink, or power stage fails testing.
- Error events repeat after firmware and connection checks.
- The unit is near the end of its practical service life.
- The cost of repeated service and lost energy approaches replacement cost.
- A new model materially improves battery integration or system compatibility.
A replacement inverter installed in the same overheated location can repeat the original problem. The installer should document ambient conditions, clearances, circuit ratings, array sizing, and any battery or export-control behavior before selecting the replacement.
Florida Maintenance Schedule and Costs
SolarEdge owners in Florida should inspect the inverter externally at least twice yearly and after severe storms, with coastal systems receiving closer visual checks for corrosion. Professional electrical inspection is appropriate when events recur, output changes suddenly, or the system includes batteries and complex export controls.
| Maintenance action | Suggested interval | Typical cost | Homeowner or professional |
|---|---|---|---|
| Visual shade and clearance check | Every 6 months | $0 | Homeowner |
| Insect and debris observation | Quarterly in active seasons | $0 | Homeowner |
| Monitoring event review | Monthly | $0 | Homeowner |
| Professional thermal diagnosis | When symptoms recur | $150-$350 | Professional |
| Electrical connection inspection | Every 2-5 years or symptom-based | $200-$500 | Professional |
| Coastal corrosion assessment | Yearly near saltwater | $150-$400 | Professional |
Do not wash the inverter, coat heatsink fins, paint the enclosure dark, or place reflective material against ventilation openings. Do not bypass a thermal alarm to preserve production. The protective reduction is safer than forcing full output through an overheating power stage.
Common Questions About SolarEdge Thermal Throttling
Can hot weather permanently damage a SolarEdge inverter?
Thermal throttling is intended to reduce damage risk, but repeated high-temperature operation can accelerate aging of capacitors, fans, seals, and power electronics. A protected inverter is not automatically healthy. Persistent derating requires diagnosis of location, airflow, loading, sensors, and electrical connections.
Does adding solar panels cause more thermal throttling?
Additional panels can increase the duration of high inverter loading, but panel oversizing alone does not prove overheating. The installed SolarEdge inverter must remain within its model-specific voltage, current, power, and DC/AC design limits. Review the datasheet before adding modules.
Will a canopy keep the inverter at room temperature?
No. A canopy reduces direct solar radiation but cannot lower the inverter below the surrounding air temperature without active cooling. A canopy works best when its roof is separated from the inverter and open sides preserve natural convection.
Can I install a SolarEdge inverter in a Florida attic?
An attic is usually a poor location because attic temperatures can exceed outdoor air temperature and service access may be limited. Installation is acceptable only when the exact inverter’s environmental rating, clearances, wiring, ventilation, and local electrical requirements are satisfied.
How much energy can thermal throttling waste?
The loss depends on the derated power, duration, array size, and weather. For example, a 7.6 kW inverter limited by 1.5 kW for two hours loses approximately 3 kWh during that event, before accounting for any later recovery. Monitoring data provides the credible estimate.
Should I turn the system off during a Florida heat wave?
Do not routinely shut down a properly operating system solely because the weather is hot. If the inverter displays a fault, smells overheated, shows visible damage, or repeatedly trips, follow the SolarEdge shutdown procedure and contact the installer rather than experimenting with disconnects.
The Bottom Line
SolarEdge thermal throttling in Florida is a protective AC-output reduction caused by excessive internal temperature, but the symptom must be separated from normal clipping, export limitation, battery control, and grid faults. Verify the pattern first, then restore model-required clearances and block direct sun without enclosing the inverter.
A ventilated canopy is usually the lowest-risk first intervention. External fans belong in a documented, installer-approved solution, while relocation or replacement is appropriate when the installation environment or hardware remains outside acceptable operating conditions. The best result comes from correcting the heat path, not bypassing the protection.