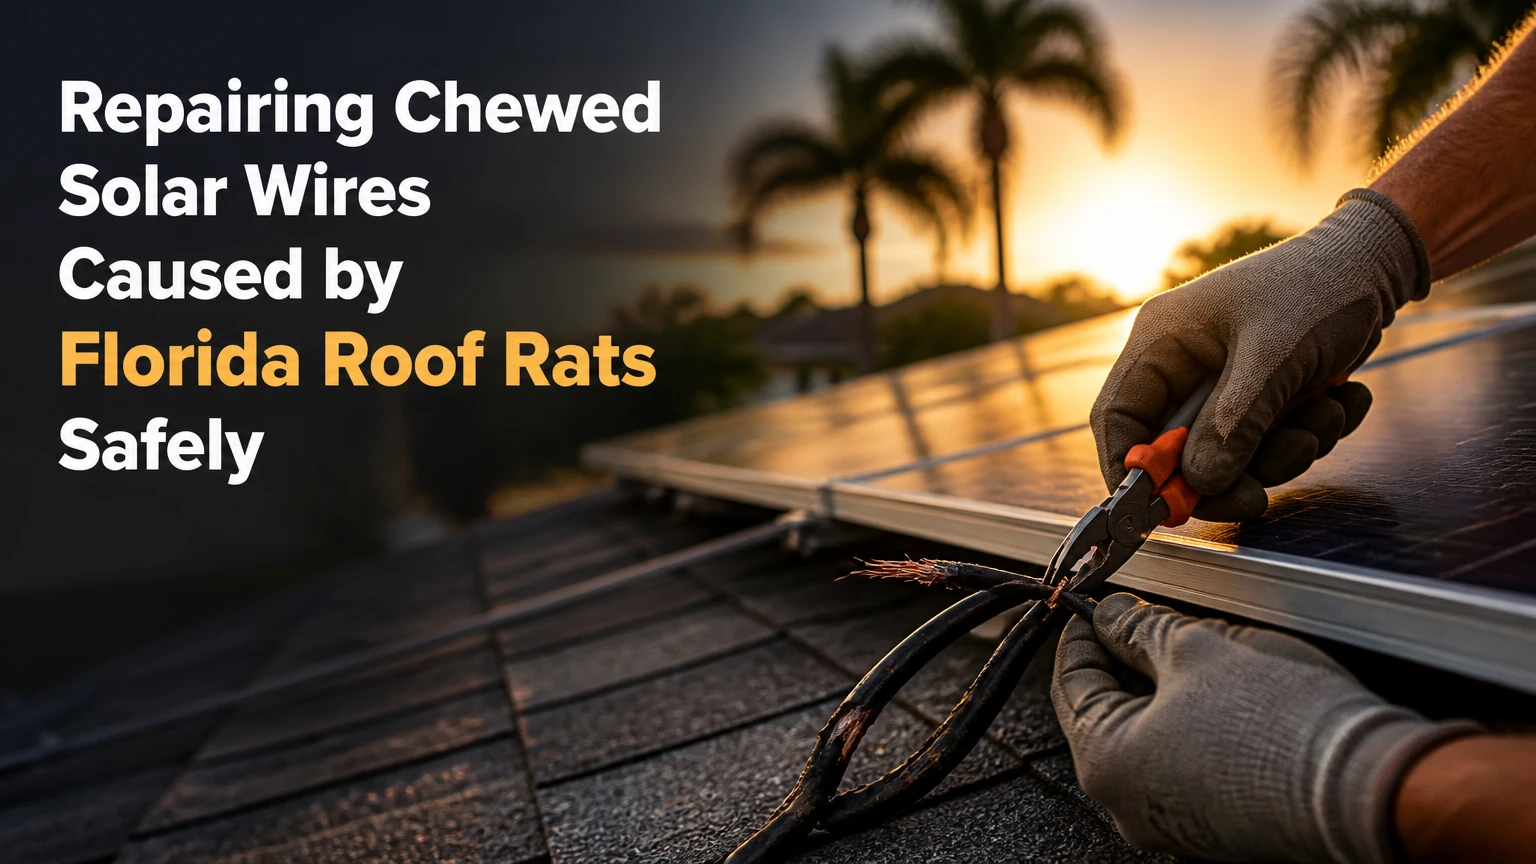
Repairing chewed solar wires caused by Florida roof rats requires qualified solar and electrical inspection, safe system isolation, replacement of damaged PV cable or listed connectors, and rodent exclusion beneath the array. Exposed conductors can cause ground faults, arc faults, corrosion, or fire, while rooftop DC circuits may remain energized in daylight after shutdown.
Key Facts at a Glance
- Florida roof rats, Rattus rattus, commonly travel across roofs, trees, attics, and solar-array spaces.
- Turning off the inverter does not eliminate photovoltaic DC voltage while sunlight reaches the modules.
- A damaged cable should be replaced or repaired with components listed for the cable type, voltage, temperature, and outdoor exposure.
- PVC-coated galvanized steel mesh usually provides better long-term exclusion than rodent-repellent tape alone.
- Typical residential costs range from $200-$800 for limited accessible wiring repairs and $2,000-$4,500 when modules must be removed and multiple circuits rewired.
- Rodent exclusion is incomplete if roof access, palm contact, attic openings, food sources, and nesting sites remain untreated.
Why Is Chewed PV Wiring an Urgent Problem?
Chewed photovoltaic wiring becomes urgent when insulation is breached, copper is exposed, connectors are damaged, or a cable can contact grounded metal or a wet roof. The immediate response is to stop investigating, keep people away from the array and inverter, contact the installer or a qualified solar electrician, and document inverter alerts without repeatedly resetting the system.
Rats gnaw because their incisors grow continuously and gnawing helps maintain them. Florida roof rats are agile climbers that often use vegetation, utility routes, roof edges, and attic openings to reach sheltered spaces. Their presence under panels is plausible, but droppings, nesting material, tooth marks, and a matching cable location provide stronger evidence than species assumptions alone.
The claim that modern PV insulation is generally soy-based and therefore attracts rats should not guide a repair decision. Cable formulations vary by manufacturer, and reliable field diagnosis depends on physical evidence, not an assumed ingredient. Rodent damage also occurs to plastic connector bodies, cable clips, roof underlayment, module backsheets, and insulation outside the array.
What damage can occur?
| Damage condition | Electrical consequence | Typical visible symptom | Urgency |
|---|---|---|---|
| Outer jacket nicked, conductor intact | Moisture ingress and corrosion risk | Tooth marks or shallow grooves | Inspection within 24-72 hours |
| Copper exposed near racking | Ground fault or shock hazard | Bare copper, dark tracking | Same-day qualified inspection |
| Conductor severed | Open circuit and lost production | Offline module or string | Prompt repair |
| Connector body chewed | High-resistance connection or arcing | Cracked latch or heat discoloration | Immediate shutdown and replacement |
| Cable insulation carbonized | Arc tracking and fire risk | Blackening, melting, soot | Emergency electrical assessment |
How Can You Confirm Florida Roof-Rat Damage?
A technician confirms Florida roof-rat damage by correlating physical gnaw marks and nesting evidence with the affected circuit, then testing cable insulation, continuity, polarity, and connectors. Monitoring data can identify an underperforming string or module group, but software cannot prove that rats caused the failure.
Look for cylindrical droppings, shredded leaves, palm fibers, oily rub marks, urine odor, tunnels through perimeter vegetation, and fresh tooth grooves. A roof-rat nest beneath modules can also create concentrated debris that holds moisture and obstructs cooling airflow. Do not handle droppings or nesting material casually; the Centers for Disease Control and Prevention advises wetting contaminated material with disinfectant and avoiding sweeping or vacuuming dry rodent waste.
| Diagnostic method | What it can establish | Important limitation | Typical field use |
|---|---|---|---|
| Monitoring portal | Affected module or string | Cannot identify physical cause | First screening |
| Visual inspection | Gnawing, nests, connector damage | May miss damage below modules | Every service call |
| Thermal camera | Abnormal heat under load | No heat does not prove safe insulation | Loaded daytime checks |
| Multimeter | Voltage, polarity, continuity | Does not fully assess insulation integrity | Qualified testing |
| Insulation-resistance tester | Leakage between conductors and ground | Requires correct test procedure | Ground-fault diagnosis |
Which inverter type changes the diagnosis?
Microinverter systems place conversion equipment beneath individual modules, so damage may affect one panel’s output, a branch circuit, or a short AC whip. String-inverter systems use longer series circuits with potentially high DC voltage, and one damaged cable can disable or endanger an entire string. Power optimizers add module-level electronics while retaining DC conductors.
Ask the technician for the inverter manufacturer, model, array map, and circuit design before approving work. Enphase, SolarEdge, and string-inverter systems do not share identical shutdown procedures, connector types, monitoring data, or replacement parts.
How Should a Technician Repair Chewed Solar Wires?
A compliant repair starts with a documented shutdown and verification procedure, followed by access, damage mapping, cable or connector replacement, secure routing, electrical testing, and commissioning. The technician should use PV-rated materials and follow the equipment manufacturer’s instructions, the National Electrical Code requirements in NEC Article 690, and applicable local inspection rules.
Step 1: Isolate the system and control the work area
The technician opens the photovoltaic AC disconnect or breaker and follows the inverter-specific DC shutdown sequence. They then verify the condition of the circuit with appropriately rated test equipment, because daylight can keep module and string conductors energized even when the inverter is off.
A roof worker also needs fall protection and safe access. OSHA’s residential construction guidance generally requires protection at unprotected edges 6 feet or more above lower levels, subject to the applicable work conditions and compliance method. Homeowners should not climb onto a wet, steep, fragile, or tile roof to inspect wiring.
Success checkpoint: The technician records the equipment state, measured voltage, circuit identity, and lockout or warning controls.
Common mistake: Treating the inverter screen or app as proof that rooftop DC voltage is zero.
Step 2: Map the circuit before removing modules
The technician records module positions, cable routes, connector orientation, inverter channels, and monitoring symptoms before disturbing the array. Thermal imaging can locate abnormal heating when the circuit is operating, but it is a prioritization tool rather than a substitute for close inspection and insulation testing.
Module removal is not automatic. Accessible perimeter damage may require no removal, while damage beneath center modules, cable trunks, optimizers, or roof attachments often requires a controlled removal and reinstallation plan.
Success checkpoint: Every suspect cable and connector has a panel location and electrical circuit designation.
Common mistake: Replacing the first visibly damaged lead while leaving the hidden section beneath a module unexamined.
Step 3: Classify replacement versus repair
A shallow jacket abrasion may be repairable only when the conductor, insulation system, and manufacturer instructions permit an approved listed method. Severed, crushed, heat-damaged, corroded, repeatedly chewed, or connector-damaged cable normally requires replacement of the affected cable assembly or the complete connectorized lead.
PV wire is not interchangeable with ordinary building wire, automotive cable, speaker wire, or indoor extension cord. The replacement must match conductor size, insulation rating, wet-location suitability, temperature rating, voltage rating, polarity, connector family, and environmental exposure. UL 4703 covers photovoltaic wire constructions, but a compliant cable still requires compatible listed connectors and installation.
Success checkpoint: The work order identifies the cable marking, conductor size, connector model, and replacement length.
Common mistake: Joining two incompatible connector brands because they appear to click together.
Step 4: Make an approved connection
A technician removes the damaged section far enough to reach clean conductor and uses a connector or splice method specifically approved for the installation. Crimped PV connectors require the correct die, strip length, conductor size, insertion depth, and pull-test or manufacturer verification; generic butt connectors and household wire nuts do not belong in exposed PV circuits.
Solder alone is a poor default for rooftop PV repairs because thermal cycling, mechanical strain, moisture, and connector requirements can make an improvised joint unreliable. Adhesive-lined heat-shrink may provide environmental protection where the product and authority having jurisdiction permit it, but heat-shrink does not correct an unlisted splice or a mechanically weak crimp.
Success checkpoint: The connection is mechanically secure, sealed as specified, polarity-correct, strain-relieved, and supported without sharp bends.
Common mistake: Covering a poor splice with heat-shrink and calling it waterproof.
Step 5: Route and secure the cables
PV conductors should remain supported, protected from abrasion, clear of standing water, and separated from hot or sharp surfaces according to the racking and equipment instructions. A technician should avoid roof penetrations, frame drilling, compressed cables, blocked drainage paths, and unsupported connectors hanging from module leads.
Stainless module clips or approved racking attachments generally outlast ordinary nylon zip ties in Florida’s ultraviolet exposure and heat. Wire loom can add abrasion protection, but it is not a substitute for rodent exclusion and should not trap water against a connector.
Success checkpoint: No cable sags onto the roof, rubs against tile or metal, or carries connector weight.
Common mistake: Fastening conductors tightly enough to stress the cable jacket during thermal expansion.
Step 6: Test and recommission
The technician checks polarity, open-circuit voltage, operating voltage, current behavior, insulation resistance where appropriate, connector condition, grounding and bonding, inverter messages, and monitoring output. The final readings should be compared with the design expectations and recorded with photographs.
The system is returned to service only after the repair area is closed, loose debris is removed, modules and clamps are torqued as specified, and all accessible cable routes are protected. Monitoring should be reviewed again after the next full production day, because a partial repair can initially appear successful.
Success checkpoint: The affected circuit produces expected output without ground-fault, arc-fault, insulation, or communication alarms.
Common mistake: Declaring success because the inverter starts, without checking the previously failed module or string.
What Does Solar Wire Repair Typically Cost in Florida?
Typical residential solar wire repair costs $200-$800 for one to three accessible damaged wires, while panel removal, extensive rewiring, sanitation, and critter guarding can bring the project to $2,000-$6,000 or more. Roof access, tile handling, inverter type, circuit count, permit requirements, and hidden damage drive the final quote.
These are practitioner planning ranges, not guaranteed Florida prices. Request an itemized proposal that separates diagnosis, electrical repair, module removal, pest control, waste remediation, roof repair, and guard installation.
| Work scope | Typical price range | Typical duration | Main price driver |
|---|---|---|---|
| Diagnostic visit and testing | $150-$400 | 1-3 hours | Access and test depth |
| One to three accessible cable repairs | $200-$800 | 2-4 hours | Connector and roof access |
| Several cables with limited module removal | $800-$2,000 | 0.5-1 day | Number of modules |
| Array removal and extensive rewiring | $2,000-$4,500 | 1-2 days | Array size and circuit design |
| Critter guard retrofit | $600-$2,000 | 0.5-1 day | Perimeter length and roof type |
| Pest cleanup and disinfection | $500-$1,500 | 2-6 hours | Waste volume and contamination |
A low quote can exclude the work that prevents recurrence. Compare the scope, cable specifications, testing records, warranty, roof protection, guard fasteners, and disposal method rather than comparing labor totals alone.
Which Solar Critter Guard Works Best?
PVC-coated galvanized steel mesh is usually the strongest general-purpose choice for Florida residential arrays because it blocks roof-rat access while preserving ventilation and avoiding roof or module drilling. Solid barriers can suit specialized low-slope installations, while capsaicin tape is better treated as a temporary supplement than a complete exclusion system.
A guard must close the perimeter without crushing module frames, obstructing drainage, contacting conductors, or creating a new climb point. Mesh openings around 1/2 inch are commonly specified for small-animal exclusion, but installers should select the opening and attachment method for the actual pest, roof, and array geometry.
| Protection option | Typical service life | Typical installed cost | Main limitation |
|---|---|---|---|
| PVC-coated galvanized steel mesh | 15-20 years | $600-$2,000 | Visible perimeter profile |
| Stainless steel mesh | 20+ years | $900-$2,500 | Higher material cost |
| Rigid polycarbonate barrier | 10-15 years | $1,000-$2,500 | Can restrict airflow |
| Solid metal perimeter shield | 10-15 years | $1,200-$3,000 | Roof and frame compatibility |
| Capsaicin rodent tape | 2-4 years | $50-$300 | Degrades and covers limited areas |
What should a guard installation include?
A proper installation includes a continuous perimeter, approved clips or hooks, tight transitions at corners, sealed gaps around conduit and roof obstructions, clearance from conductors, and an inspection for trapped leaves or nesting debris. The installer should also explain how the guard will be removed if a module or optimizer later needs service.
A guard does not repair damaged wiring, remove an active rat population, seal an attic, or correct vegetation touching the roof. It solves one access route.
How Do Roof Type and Weather Change the Repair?
Asphalt shingles usually permit straightforward perimeter clipping, concrete tile requires careful load distribution and tile replacement planning, and metal roofs demand special attention to sharp edges, thermal movement, and fastener sealing. Florida rain, humidity, salt air, and hurricane winds make drainage, corrosion resistance, and attachment strength part of the repair specification.
| Roof or site condition | Required attention | Frequent failure | Better practice |
|---|---|---|---|
| Asphalt shingle roof | Avoid lifting shingles unnecessarily | Water-shedding damage | Use nonpenetrating approved clips |
| Concrete Spanish tile | Prevent cracked or displaced tiles | Broken tiles and leaks | Use tile-safe access and spare tiles |
| Standing-seam metal | Protect coating and seams | Scratched coating or loose cable | Use compatible clamps and edge guards |
| Coastal Florida property | Control galvanic corrosion | Rust at mixed-metal attachments | Use compatible stainless or coated hardware |
| Palm-lined roof | Remove access bridges | Rats bypass perimeter guard | Trim branches and inspect routes |
Never drill through a module frame to attach mesh. Do not drill the roof for a guard unless a qualified roofing and solar professional designs the penetration, flashing, sealant, and warranty responsibility.
Can a Homeowner Repair Chewed Solar Wires?
A homeowner can document damage from the ground, save monitoring alerts, trim obvious roof-access vegetation from a safe location, and contact the installer. A homeowner should not open PV connectors, lift modules, cut energized conductors, enter a contaminated nest, or rely on an inverter shutdown as proof that rooftop DC wiring is safe.
DIY work becomes especially unsuitable on steep roofs, tile roofs, systems with string voltages that exceed ordinary low-voltage assumptions, arrays with batteries, damaged connectors, arc-fault alerts, or suspected roof leakage. Solar installation warranties may also exclude unauthorized alterations, and equipment manufacturers can require specific replacement connectors and service procedures.
Ask for these deliverables:
- Circuit-level photographs before and after repair.
- Cable and connector manufacturer, model, and ratings.
- Voltage, polarity, insulation, and commissioning records.
- Module removal and reinstallation terms.
- Critter-guard attachment and roof-leak responsibility.
- Warranty treatment and permit responsibility.
What Happens If Rats Return After the Repair?
Repeated rat damage usually indicates an unresolved access route, food source, nesting site, or vegetation bridge rather than a defective wire repair. Coordinate a licensed pest-control assessment with solar service, then address roof-to-tree contact, soffit and attic openings, unsecured trash, pet food, fruit, bird seed, and nearby harborages.
Do not place poison beneath the array without professional guidance. A poisoned rat can die in an inaccessible cavity, create odor and insect problems, and expose pets or wildlife to secondary poisoning. Trapping and exclusion decisions should follow local wildlife and pesticide rules.
Rat waste requires separate sanitation controls. The CDC recommends ventilation before cleanup, wet disinfection, gloves, and careful handling of contaminated materials; dry sweeping can aerosolize particles. Electrical technicians should not be expected to perform specialized wildlife remediation unless their contract and training explicitly cover it.
Common Repair Failures and Their Fixes
| Failure mode | Why it fails | Corrective action | Prevention |
|---|---|---|---|
| Generic wire nut or butt splice | Not rated for exposed PV conditions | Replace with approved PV method | Specify parts in the quote |
| Nylon zip ties outdoors | UV brittleness and cable sag | Re-route with approved clips | Inspect annually |
| Rodent tape alone | Limited coverage and aging | Install physical exclusion | Treat tape as supplemental |
| Frame drilling | Warranty and corrosion risk | Remove and reinstall correctly | Use nonpenetrating attachments |
| Partial visual repair | Hidden damage remains | Test and inspect full circuit | Map affected zone first |
| Unsealed roof disturbance | Creates leak pathway | Roofing professional repairs flashing | Assign roof responsibility |
One practitioner rule matters most: a repair that restores output but leaves the array accessible is an incomplete repair. The next chewing event may occur in a different cable and produce a more expensive failure.
How Should You Choose the Repair Scope?
Choose a targeted cable repair when damage is isolated, the cable route is accessible, testing passes, and a continuous exclusion guard can be installed without broad module removal. Choose array-level rewiring when damage is widespread, cables are brittle or heat-affected, nests cover several zones, or the technician cannot inspect hidden conductors reliably.
| Homeowner situation | Recommended scope | Avoid | Expected planning result |
|---|---|---|---|
| One exposed lead, no nest | Replace lead and inspect nearby cables | Tape-only patch | $200-$800 repair |
| Several offline modules | Circuit mapping and selective removal | Resetting inverter repeatedly | Same-day diagnostic |
| Active nest under center modules | Pest control, removal, sanitation, repair | Sealing rats inside | $1,500-$4,500+ |
| Coastal home with corrosion | Replace affected hardware and cables | Mixed bare metals | Higher durability |
| System under installer warranty | Original installer inspection | Unauthorized third-party alteration | Better warranty documentation |
FAQ
Are roof rats the only animals that chew solar wiring?
No. Squirrels, mice, raccoons, birds, and other animals can damage cable jackets, connectors, and insulation. Florida roof rats are a strong possibility when the array is near palms, trees, attics, or roof access routes, but tooth marks, droppings, nesting material, and wildlife inspection should establish the cause before selecting controls.
Does rain make exposed solar wire more dangerous?
Yes. Rain can reduce insulation resistance and create a conductive path between damaged conductors, grounded racking, and roofing materials. Do not touch exposed copper or attempt a temporary waterproofing repair during wet conditions. Arrange qualified isolation and inspection, particularly when the inverter reports a ground fault or arc fault.
Should damaged solar wire always be replaced instead of spliced?
No, but replacement is the safer default when the conductor, jacket, connector, or insulation system has extensive damage. A splice is acceptable only when the equipment instructions, applicable electrical requirements, connector listing, cable compatibility, mechanical protection, and environmental sealing all support that method.
Will homeowners insurance pay for roof-rat solar damage?
Coverage varies by policy, cause, exclusions, deductible, and resulting-loss language. Photograph the damage, preserve the inspection report, obtain an itemized estimate, and ask the insurer whether wiring, modules, roof damage, cleanup, pest control, and exclusion work are treated separately. Do not assume pest damage is covered.
How often should a Florida solar array receive a rat inspection?
Inspect the perimeter and monitoring data at least annually, and inspect sooner after an inverter fault, hurricane, roof work, extended production loss, or visible wildlife activity. Homes beside palms, dense canopy, canals, or wooded lots benefit from checking vegetation bridges and guard integrity every few months.
The Bottom Line
Repairing chewed solar wires caused by Florida roof rats is an electrical, roofing, wildlife, and exclusion problem, not a tape-and-zip-tie maintenance task. Have a qualified technician isolate and test the PV circuit, replace damaged cable or connectors with listed compatible materials, verify commissioning data, and install a ventilated physical guard while another qualified professional removes the wildlife pathway. This approach costs more than a surface patch, but it addresses the fault, the roof risk, and the cause.