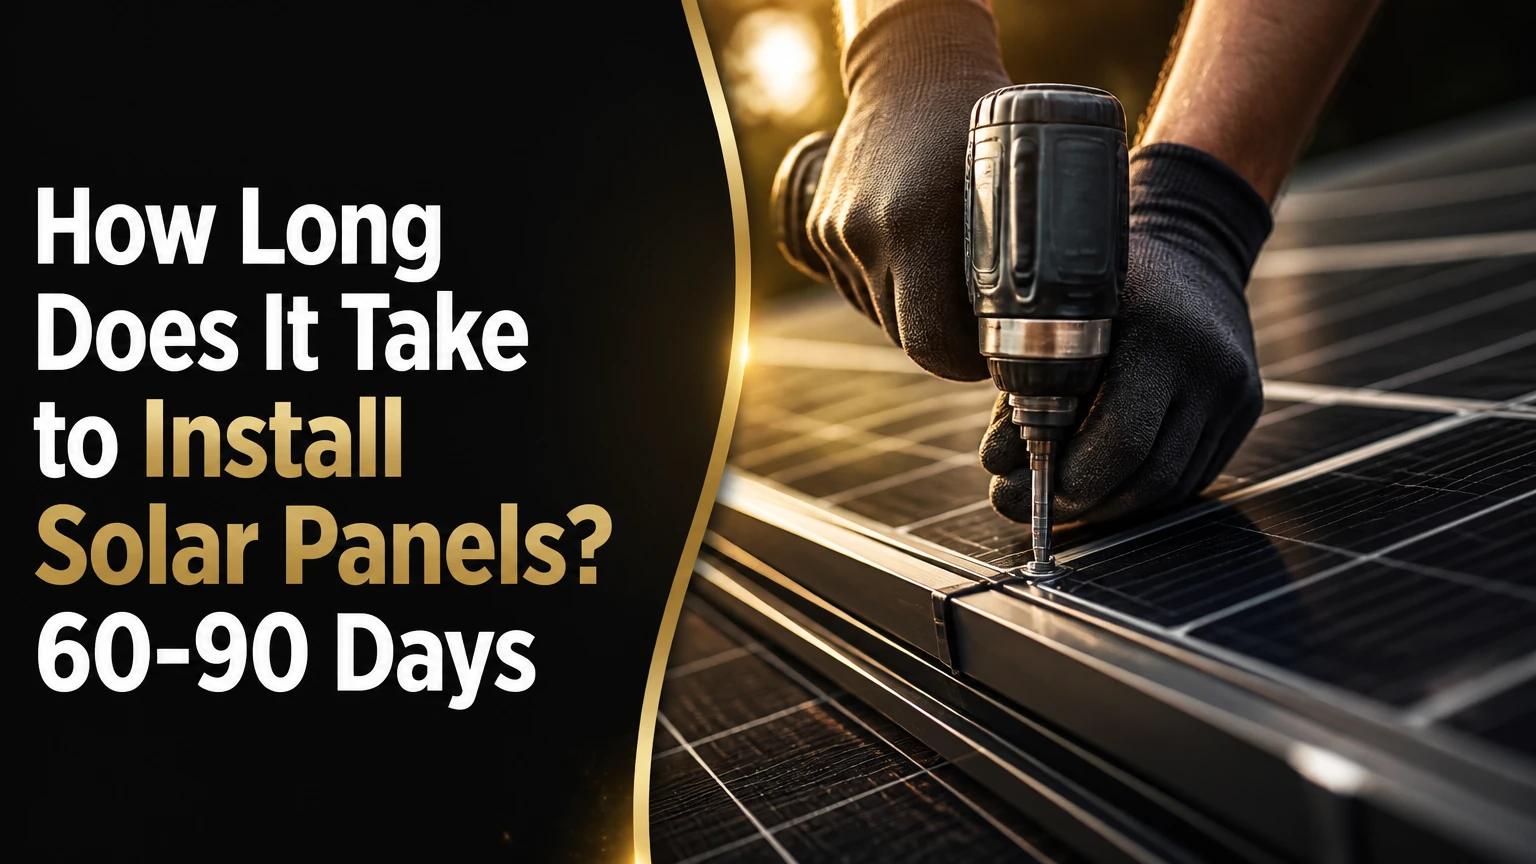
A residential solar photovoltaic system usually takes 1-3 days for physical rooftop installation, while the complete process from consultation through legal activation typically takes 60-90 days. Permitting, utility approval, inspection scheduling, roof condition, system complexity, and local backlogs determine the total solar installation timeline.
Solar Installation Time at a Glance
- A standard grid-tied rooftop solar array commonly takes one or two crew days to install.
- A battery-equipped system generally requires two to four installation days, including storage wiring and backup-load configuration.
- The end-to-end residential process typically takes two to three months, although local permitting can make the schedule shorter or longer.
- Installation completion does not equal permission to operate. The utility must approve interconnection before normal grid export begins.
- A roof replacement should usually happen before solar installation when the roof has limited remaining service life.
- Weather, equipment availability, electrical upgrades, and failed inspections create the largest avoidable delays.
How Long Does It Take to Install Solar Panels?
The physical installation of a typical 6-10 kilowatt residential solar system takes 1-3 days. The full solar project, including design, permitting, utility interconnection, inspection, and permission to operate, normally takes 60-90 days in the United States.
A simple roof, available equipment, and a responsive permitting office can reduce the schedule to roughly 4-8 weeks. A battery, tile roof, main-panel upgrade, ground mount, or utility backlog can extend the project to 3-6 months. These are typical planning ranges, not guaranteed service levels.
The distinction matters because an installer may describe a project as “installed” when the panels, inverter, and wiring are physically complete. A homeowner may still be unable to turn on the system until the local authority approves the work and the utility grants permission to operate.
What Happens Before Installation?
Solar installation begins with technical validation, not panel delivery. The installer must confirm that the roof, electrical service, shade conditions, equipment layout, and utility requirements support the proposed photovoltaic design.
The U.S. Department of Energy describes photovoltaic systems as technology that “convert[s] sunlight directly into electricity.” In practice, silicon solar cells produce direct current, an inverter converts DC to alternating current, and the home’s service panel distributes AC power to household circuits. Excess electricity may flow to a battery or through a bidirectional meter to the grid.
Step 1: Complete the Site Survey and Design
A site survey and engineering design generally take one to two weeks, although an installer may complete the site visit in a few hours. The team measures roof planes, checks shading, identifies rafters, evaluates roof coverings, and confirms the location of the inverter, disconnect, conduit, and optional battery.
The design also establishes system capacity, panel arrangement, rapid-shutdown equipment, setbacks, wire routes, and attachment points. A structural concern may trigger an attic inspection or stamped engineering revision, adding several days or weeks.
| Survey item | Typical field time | Possible schedule effect | Homeowner preparation |
|---|---|---|---|
| Roof measurement and shade scan | 2-4 hours | Same-day design start | Clear roof access and attic hatch |
| Rafter and sheathing check | 1-3 hours | 2-10 extra days if reinforcement is needed | Provide attic access |
| Main electrical panel review | 30-90 minutes | 3-21 days for upgrade planning | Remove stored items around panel |
| Utility bill and load review | 1-3 business days | 2-7 days if documents are missing | Supply 12 months of bills |
| Battery and backup-load design | 2-5 business days | 3-14 days for revised drawings | Identify refrigerator, medical, and network circuits |
Practitioner rule: the fastest rooftop installation is often created during design. A complete roof and panel review prevents crews from discovering unsuitable shingles, blocked attic access, or an undersized service panel after the project has started.
Step 2: Secure Permits and Utility Approval
Building and electrical permits commonly take 2-6 weeks, while utility interconnection review often takes 2-4 weeks. These processes may run concurrently, but the exact order depends on the authority having jurisdiction, local utility, system size, and whether batteries are included.
The installer submits drawings, equipment specifications, structural details, electrical calculations, and site plans. A permitting official may request a correction if the plan shows inadequate roof setbacks, missing rapid-shutdown details, incorrect conductor sizing, or a service-panel calculation that does not satisfy the adopted electrical code.
| Administrative stage | Typical duration | Responsible party | Common delay |
|---|---|---|---|
| Installer engineering package | 3-10 business days | Solar contractor | Missing roof or electrical data |
| Building permit review | 5-30 business days | Local permitting office | Plan corrections or backlog |
| Utility interconnection review | 10-30 business days | Electric utility | Incomplete application or feeder limits |
| Permit issuance and scheduling | 2-10 business days | Local authority and installer | Unpaid fee or missing signature |
| Battery approval, where required | 5-30 business days | Local authority and utility | Backup-load or fire-clearance revision |
The National Renewable Energy Laboratory’s SolarAPP+ program was created to help jurisdictions automate code-compliant residential solar permitting, which can reduce administrative processing in participating locations. It does not eliminate utility review, inspection, equipment lead times, or site-specific engineering.
What Happens During the Physical Installation?
A standard rooftop installation usually follows four field activities: roof preparation, racking, module placement, and electrical commissioning. A crew may complete those activities in one long day on a small, accessible roof, while a larger or more complex system can require three days.
Day 1: Mounting and Roof Preparation
Installers establish fall protection, verify the layout, locate rafters, and attach roof mounts or rails. For a typical asphalt-shingle roof, crews also install flashing or weather-sealing components around penetrations.
Tile roofs require careful tile removal and replacement. Metal roofs may use specialized attachments or approved seams. Flat roofs may use a ballasted or mechanically attached racking system, with wind-load calculations that can lengthen preparation.
Day 2: Module Placement and Wiring
Crews place the photovoltaic modules, secure them to the racking, connect module-level equipment or string wiring, and route conductors through approved conduit. The installation team also installs grounding and bonding components, labels circuits, and prepares the inverter connection.
Panel count affects labor, but roof access often matters more. A 20-panel array with a clear two-story roof can take less time than a 12-panel array divided across three roof planes.
Day 3: Inverter, Battery, and Commissioning Work
Electricians connect the inverter, solar breaker, disconnect, monitoring equipment, and, when specified, battery storage. They test polarity, voltage, grounding, communications, rapid shutdown, and error reporting before requesting inspection.
A battery adds more than physical equipment. The design may require a backup-load subpanel, larger conductors, wall clearance, ventilation considerations, fire-code review, and a revised utility application.
How Long Do Inspection and Permission to Operate Take?
Final inspection commonly occurs within one to two weeks after physical completion, while utility permission to operate may take one to four additional weeks. Some jurisdictions schedule the inspection within days, but a failed inspection or utility meter appointment can extend activation by several weeks.
The inspector checks mounting, roof attachments, conduit, labels, disconnects, grounding, equipment clearances, and code compliance. If the inspector identifies a defect, the installer corrects it and requests reinspection. A corrected permit does not automatically equal utility approval.
Permission to operate, often called PTO, is the utility’s authorization to energize and interconnect the system. Depending on the utility, PTO may involve remote approval, a meter exchange, a field visit, or confirmation that the existing meter supports bidirectional power flow.
| Post-installation event | Typical time after installation | What must be complete | Result |
|---|---|---|---|
| Installer quality check | 1-2 business days | Equipment and monitoring tests | Inspection request |
| Local electrical inspection | 3-14 days | Code-compliant wiring and labels | Passed permit |
| Reinspection, if needed | 3-14 additional days | Corrected deficiencies | Closed permit |
| Utility PTO review | 5-30 days | Approved permit and interconnection file | Legal authorization |
| Meter exchange, if required | 3-21 days | Utility appointment or remote work | Bidirectional metering |
Can solar panels be turned on immediately after installation? Usually not. A grid-tied photovoltaic system must remain off or operate under the installer’s controlled commissioning procedure until the utility and local rules authorize interconnection. Turning on an unapproved system can violate the interconnection agreement and create unsafe backfeed conditions.
Which Solar System Type Takes the Least Time?
A grid-tied rooftop system without batteries is usually the fastest option, often requiring 1-2 physical installation days. Hybrid systems with batteries commonly take 2-4 days, while off-grid systems can require 3-7 days because they need larger storage, generator integration, control programming, and more extensive commissioning.
| System architecture | Physical installation | Typical total process | Main time driver |
|---|---|---|---|
| Grid-tied, no battery | 1-2 days | 45-90 days | Permits and utility approval |
| Hybrid, one battery | 2-4 days | 60-120 days | Storage design and inspection |
| Hybrid, multiple batteries | 3-5 days | 75-150 days | Load management and equipment |
| Off-grid residential | 3-7 days | 60-150 days | Battery, generator, and controls |
A grid-tied system is not suitable for blackout protection unless it includes approved storage and backup circuitry. Standard grid-tied inverters shut down during outages to prevent energized lines from endangering utility workers.
Off-grid systems are also poor choices for homeowners who simply want lower utility bills. They require enough battery capacity for nighttime use and poor-weather periods, plus a carefully sized inverter and often a generator.
How Do Roof and Mounting Type Change the Schedule?
Roof material, pitch, access, and structural condition can change physical installation time by one to several days. Ground mounts generally take longer than standard roof mounts because they may require surveying, excavation, concrete, trenching, underground conduit, and additional inspections.
| Mounting configuration | Typical physical time | Additional work | Best schedule condition |
|---|---|---|---|
| Asphalt-shingle flush mount | 1-2 days | Rafters, flashing, rails, conduit | Clear roof with one plane |
| Metal-roof mount | 1-3 days | Specialized clamps or attachments | Approved metal profile |
| Tile-roof mount | 2-4 days | Tile removal, replacement, breakage allowance | Spare matching tiles available |
| Ballasted flat roof | 2-4 days | Wind calculations and ballast placement | Strong, accessible roof |
| Fixed ground mount | 3-7 days | Footings, trenching, inspection | Dry soil and open equipment access |
| Solar tracker | 5-10 days | Motors, controls, foundations | Large commercial or rural site |
Ground mounting is easier to access for cleaning and maintenance, but it is not automatically faster. Rocky soil, wetlands, buried utilities, frost-depth requirements, or long trench runs can add weeks before construction begins.
How Does Battery Storage Change the Schedule?
Battery storage typically adds one to two field days and may add one to four weeks of administrative review. The extra time comes from backup-load selection, battery placement, disconnects, communications, fire-clearance rules, and separate utility requirements.
A battery can back up selected circuits rather than the entire home. A practical backup panel may include a refrigerator, lighting, internet equipment, garage door, and medical equipment, while excluding electric resistance heating, large air conditioners, or vehicle charging unless the system is sized for those loads.
Battery chemistry also affects design. Lithium iron phosphate batteries are common in residential systems because manufacturers specify thermal and operating characteristics suited to stationary storage, but model-specific clearances and installation instructions still govern the project.
What Causes Solar Installation Delays?
The most common solar delays are permit backlogs, utility review, roof repairs, electrical upgrades, equipment shortages, weather, and failed inspections. Homeowners can often prevent the first three weeks of avoidable delay by resolving roof age, service-panel capacity, document collection, and equipment availability before signing a contract.
Roof Repairs and Replacement
Solar panels should not cover a roof that is likely to need replacement soon. Removing and reinstalling an array later adds labor, scheduling coordination, and potential roofing damage. A roof with fewer than roughly 10 years of practical service life deserves a replacement quote before solar construction, although climate, material, and inspection findings determine the actual decision.
Main Electrical Panel Upgrades
A 100-amp service panel may not automatically prevent solar installation, but the installer must complete a code-compliant load and busbar calculation. An upgrade can add one to three weeks and approximately $2,000-$5,000 in typical U.S. residential work, depending on service capacity, trenching, utility coordination, and local labor.
Weather and Seasonal Scheduling
Rain can stop roof penetrations and electrical work. High winds can prevent panel lifting, while snow or extreme heat can limit roof access. Weather usually affects the physical work by days, but a missed inspection appointment during a busy season can create a longer calendar delay.
Equipment Availability
A substitute inverter or battery is not always interchangeable. Changing equipment can require revised drawings, new permit documents, updated utility forms, and different commissioning procedures. Confirming model numbers and expected delivery dates before installation reduces this risk.
How Should Homeowners Prepare for Installation Day?
Homeowners can reduce installation friction by preparing access, paperwork, parking, communications, and household expectations before the crew arrives. Most preparation takes one to three hours, but a roof or electrical problem cannot be solved on installation day.
Use this checklist:
- Provide clear access to the main electrical panel, attic, garage, and proposed inverter location.
- Move vehicles and outdoor furniture away from ladders, roof edges, and conduit routes.
- Secure pets and notify nearby occupants about drilling, roof noise, and temporary power interruptions.
- Keep the latest utility bill, permit contact information, and equipment agreement available.
- Confirm where the monitoring gateway will connect to internet service.
- Ask the installer when power will be interrupted and how long the interruption should last.
- Verify that the contract identifies who requests inspection and PTO.
- Photograph existing roof, siding, landscaping, and electrical equipment before work begins.
The homeowner should never open energized electrical equipment or troubleshoot exposed DC wiring. A qualified electrician or solar installer should handle live electrical diagnosis.
What Does a Typical Installation Cost?
A typical U.S. residential solar system costs approximately $2.50-$3.50 per watt before incentives, placing a 6-8 kilowatt system around $15,000-$28,000 gross. Battery storage, reroofing, service upgrades, difficult access, and ground mounting can raise the invoice substantially.
| System size | Gross solar price at $2.50-$3.50/W | Typical panel count at 400 W | Physical installation |
|---|---|---|---|
| 4 kW | $10,000-$14,000 | 10 panels | 1-2 days |
| 6 kW | $15,000-$21,000 | 15 panels | 1-2 days |
| 8 kW | $20,000-$28,000 | 20 panels | 1-3 days |
| 10 kW | $25,000-$35,000 | 25 panels | 2-4 days |
EnergySage reports that solar pricing varies by system size, location, equipment, labor, and incentives, so a national range cannot replace a site-specific quote. The U.S. Department of Energy also notes that local permitting and interconnection procedures affect project timing and cost.
Installation price is separate from payback. A system may have a shorter financial return where utility electricity rates are high, solar export credits are favorable, and production is strong. A battery may improve outage resilience without producing the shortest bill-payback period.
What If the System Does Not Work After Installation?
A photovoltaic system that does not produce power after PTO may have a monitoring, disconnect, inverter, grid-voltage, or rapid-shutdown issue. Homeowners can check visible switches and monitoring status, but they should not remove covers, disconnect conductors, or test live terminals.
Safe checks include:
- Confirm that the utility disconnect and labeled solar breaker match the installer’s handover instructions.
- Check whether the inverter display or monitoring app shows an error code.
- Confirm that the rapid-shutdown device was not deliberately activated during inspection.
- Record the time, weather, error message, and production value before contacting the installer.
- Ask the installer to verify grid voltage, communications, grounding, and inverter commissioning.
Low output on a cloudless day can result from shading, a tripped circuit, inverter clipping, communication failure, soiling, or an equipment fault. A qualified technician should diagnose ground faults and high-voltage errors because DC arcs can remain hazardous in daylight.
How Long Does Solar Installation Take in Different Situations?
The fastest schedule belongs to a small, uncomplicated grid-tied system on a sound asphalt-shingle roof. Larger homes, multifamily properties, rural sites, and battery projects require more design coordination and often more inspections.
| Situation | Physical work | End-to-end planning range | Main constraint |
|---|---|---|---|
| Small suburban roof, no battery | 1 day | 45-75 days | Permit and PTO queue |
| Large home, complex roof | 2-4 days | 60-120 days | Multiple roof planes and conduit |
| Home with battery backup | 2-4 days | 60-120 days | Storage approval and backup loads |
| Roof replacement plus solar | 3-7 days combined | 75-150 days | Roofing before solar |
| Rural ground mount | 3-7 days | 90-180 days | Foundations, trenching, utility distance |
| Multifamily or commercial array | 1-4 weeks | 90-240 days | Engineering, fire access, tenant coordination |
Commercial and multifamily projects should not be estimated using a single-family rooftop benchmark. Structural engineering, transformer capacity, fire-department access, tenant scheduling, and larger interconnection studies can dominate the calendar.
Frequently Asked Questions
Does solar installation damage the roof?
A properly designed roof-mounted system should use approved attachments, flashing, sealants, and structural connections that preserve weather resistance. Roof damage usually results from unsuitable installation practices, poor flashing, aging roofing materials, or unplanned maintenance rather than from the photovoltaic modules themselves.
How many panels can installers mount in one day?
A residential crew may install approximately 10-30 modules per day, but panel count alone does not predict completion. Roof pitch, tile handling, attic access, rafter layout, conduit distance, inverter location, and weather can make a smaller array take longer than a larger, accessible array.
Can solar panels be installed in winter?
Solar panels can be installed in winter when roof conditions, temperature, wind, and local safety rules permit. Snow, ice, short daylight, frozen roofing materials, and weather cancellations can reduce daily productivity, but winter installation does not inherently prevent a system from operating correctly.
Should I install solar before replacing my roof?
Homeowners should generally replace a roof before installing solar when the roof has limited remaining life or shows moisture and structural problems. Installing panels first can create a later removal and reinstallation expense, while a sound roof allows the array to remain in place for its expected service period.
Does a solar loan change the installation timeline?
A solar loan usually does not change construction time after approval, but financing verification can delay contract completion, equipment ordering, or scheduling. The homeowner should confirm whether loan disbursement depends on inspection, PTO, or mechanical completion because those conditions affect payment timing.
What is the difference between installation completion and PTO?
Installation completion means the equipment is physically mounted, wired, and ready for inspection. Permission to operate means the utility has authorized grid interconnection under its rules. A system can be mechanically complete yet legally prohibited from exporting electricity until PTO is issued.
The Bottom Line
The answer to how long does it take to install solar panels has two parts: 1-3 days for rooftop construction and approximately 60-90 days for the complete residential process. A simple grid-tied system on a healthy roof usually follows the shorter schedule, while batteries, roof repairs, service upgrades, ground mounts, weather, and utility backlogs extend the timeline. Ask the installer for separate dates for design approval, permit issuance, physical installation, inspection, and PTO rather than accepting one vague completion estimate.