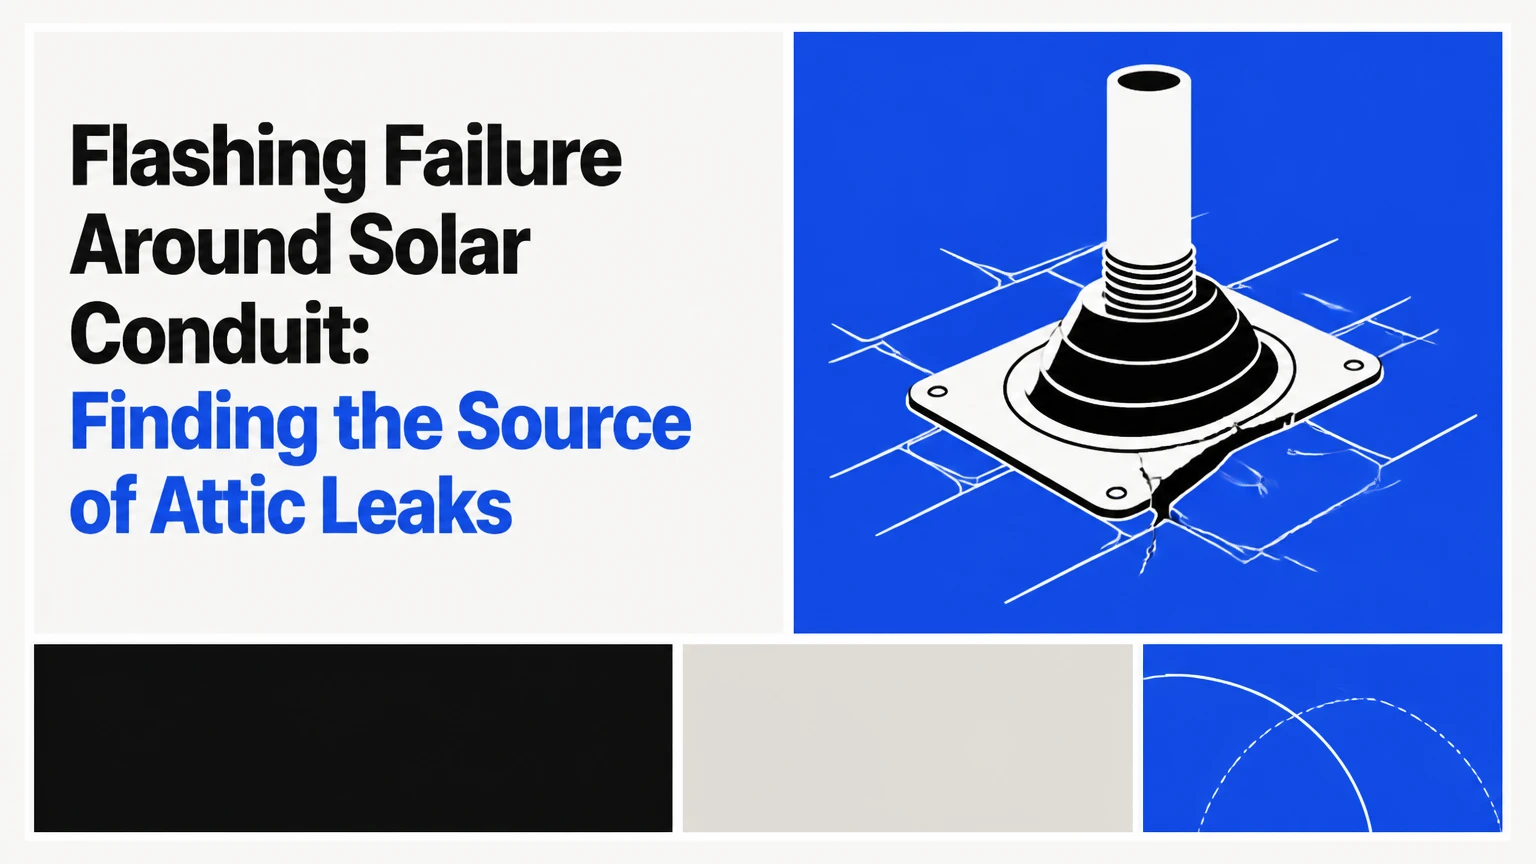
Flashing failure around solar conduit occurs when the roof penetration no longer sheds water around the conduit or the collar no longer seals its exterior. Confirm the source from inside the attic, trace moisture uphill, and inspect the roof assembly before replacing a boot, junction box, fastener, or surrounding shingles.
Key Facts at a Glance
- Solar conduit flashing is a roof-water-management assembly, not an electrical disconnect or a substitute for a junction box.
- A ceiling stain can appear several feet downhill from the actual penetration because water follows roof decking, underlayment, rafters, or conduit.
- Turning off AC and DC disconnects does not necessarily eliminate voltage in PV conductors exposed to sunlight.
- A sealant patch can slow an active leak, but it cannot restore missing shingle overlap, a displaced flange, or a failed mechanical collar.
- Typical U.S. repair pricing ranges from about $150-$400 for accessible roof work and $600-$1,200 or more when panel removal and electrical work are required.
- A conduit penetration under a module needs coordinated roofing and solar work, not improvised panel handling by an unqualified homeowner.
What Is Solar Conduit Flashing?
Solar conduit flashing is the weatherproof roof assembly surrounding a conduit that carries photovoltaic wiring through the roof deck. The assembly commonly includes a metal or polymer base flange, an EPDM or silicone collar, a clamp or molded compression feature, and compatible sealants or fasteners.
The base flange is integrated with the roof covering so water flows over its upper edge and across its lower edge. The collar grips the conduit’s outside diameter. The roof boot does not protect wire insulation from electrical faults, provide strain relief for a poorly supported conduit run, or replace a listed junction box.
A useful distinction matters during diagnosis: a conduit may enter the attic through a standalone pipe boot, a manufacturer-specific solar flashing, or a deck-mounted junction enclosure. Each has different replacement steps. A wraparound retrofit boot may work where the conduit cannot be disconnected, while a conventional boot may require the conduit or wiring to be separated.
What Parts Should You Inspect?
| Component | Typical material | Failure signature | Inspection target |
|---|---|---|---|
| Base flange | Aluminum, galvanized steel, polymer | Uphill or side leakage | Shingle overlap, bends, corrosion, exposed nails |
| Rubber collar | EPDM or silicone | Drip at pipe interface | Splits, shrinkage, hardening, UV cracks |
| Compression clamp | Stainless steel | Loose collar, wind-driven leak | Missing screw, rust, uneven pressure |
| Conduit | EMT, PVC, liquidtight conduit | Movement or damaged seal | Unsupported span, abrasion, cracked fitting |
| Roof deck | OSB or plywood | Interior staining or rot | Softness, darkened wood, fastener rust |
| Underlayment | Synthetic sheet or asphalt felt | Delayed tracking | Torn area, uphill wetting, poor lap |
How Does the Assembly Stop Water?
Solar conduit flashing stops water through shingle-course overlap, surface drainage, and compression around the conduit. The upper part of the flange must shed water onto the lower roof covering, while the collar limits water entry at the circular pipe opening.
Water can bypass a penetration in several ways. It can run under a side edge, enter through a nail hole, move by capillary action beneath a tight lap, or travel along the underside of underlayment before dripping into the attic. A rubber collar also experiences daily temperature movement, especially when dark conduit and roofing absorb direct sunlight.
The most important geometry is the upper edge of the flange. If that edge sits on top of all shingle courses, water can enter behind it. A bead of caulk around the visible perimeter cannot reliably correct that reverse-lapped arrangement.
What Does a Correct Installation Look Like?
| Installation feature | Typical requirement | Why it matters | Observable check |
|---|---|---|---|
| Upper flange edge | Under upper shingle course | Preserves downhill drainage | No exposed uphill flange edge |
| Lower flange edge | Over lower shingle course | Lets water exit | Water path remains unobstructed |
| Collar fit | Sized to conduit outside diameter | Creates compression seal | No open gap around conduit |
| Clamp position | Evenly tightened above collar seal | Maintains contact pressure | Clamp is present and not cutting rubber |
| Conduit support | Secured near penetration | Limits movement | Pipe does not lever against boot |
| Fasteners | Covered or properly placed | Prevents direct water entry | No exposed uphill nail heads |
How Do You Confirm the Conduit Is the Leak Source?
Confirming a solar conduit leak requires comparing the attic entry point with the roof penetration, not matching the ceiling stain to the conduit by eye. Inspect during rainfall if safe, or perform a controlled exterior hose test in small roof sections while a second person watches from the attic.
Start inside. Use a bright light to inspect the conduit’s underside, the roof deck within 12 inches of the penetration, nearby rafters, insulation, and electrical supports. Water on the outside of the conduit is stronger evidence than a stain merely located below it. Mark damp boundaries with a pencil and photograph them.
Test one suspected penetration at a time. Begin below the flashing and work upward, applying a gentle stream rather than a pressure jet for 5-10 minutes per area. Stop if water reaches energized equipment. A moisture meter can identify changing moisture levels, but it cannot determine the leak path through layered roof materials.
What Other Sources Can Mimic a Conduit Leak?
| Lookalike source | Typical location | Distinguishing clue | Confirmation method |
|---|---|---|---|
| Roof vent boot | Uphill or adjacent roof area | Water enters around plumbing vent | Isolate vent with hose test |
| Solar attachment | Near racking foot | Stain aligns with lag or standoff | Inspect sealant and flashing |
| Skylight | Larger framed opening | Damp corners or shaft | Inspect curb and head flashing |
| HVAC or bath duct | Attic interior | Condensation or disconnected duct | Check insulation and vapor path |
| Ridge or wall flashing | Roof edge or transition | Wind-driven staining | Test transition separately |
| Condensation | Cold-weather attic surface | Frost or diffuse dampness | Compare dry-weather readings |
Why Do Solar Conduit Flashings Fail?
Solar conduit flashings fail because water-shedding geometry, collar elasticity, fastener placement, or conduit stability has been compromised. Age-related rubber cracking is only one cause; installation errors often create leaks much earlier than material degradation.
Common causes include a flange installed over rather than under the uphill shingle course, a clamp omitted after conduit installation, and a conduit run that moves enough to fatigue the collar. Roof replacement can also expose a previously sound flashing when new shingles are cut too tightly or the old flange is left in place without proper integration.
Roofing sealants have compatibility limits. A sealant that adheres to galvanized metal may not bond reliably to a silicone boot, and petroleum-based products can damage some elastomers. Follow the flashing manufacturer’s instructions and the roofing manufacturer’s approved sealant list.
Which Failure Mode Matches the Symptom?
| Symptom | Likely mechanism | Priority | Appropriate response |
|---|---|---|---|
| Leak during wind-driven rain | Side lap or exposed uphill edge | High | Rebuild flashing integration |
| Drip at conduit collar | Split, shrinkage, or loose clamp | High | Replace collar or assembly |
| Leak after reroofing | Cut, nail, or lap error | High | Roofing inspection and correction |
| Leak only after long sun exposure | Thermal movement or sealant failure | Medium | Check support and collar elasticity |
| Brown stain downhill | Water tracking under deck | Medium | Inspect uphill area, not stain only |
| Dampness in cold weather | Condensation or air leakage | Medium | Check attic ventilation and insulation |
A practitioner rule is useful here: if the roof deck is wet uphill of the boot but the collar is dry, replacing the collar alone is the wrong repair. The failure is probably in the flange integration, a nearby attachment, or an upslope roof feature.
What Safety Precautions Apply?
Solar conduit work requires electrical, fall, and roof-material safety controls. A photovoltaic module can produce DC voltage whenever light reaches it, so switching off disconnects does not make conductors safe to touch or justify unqualified panel removal.
The National Electrical Code, including NFPA 70 requirements for photovoltaic systems, governs installation and wiring practices in the United States. OSHA’s residential construction guidance addresses fall protection, and OSHA generally requires protection for workers exposed to falls of 6 feet or more in construction settings. Local rules and the work situation can impose stricter requirements.
Do not cut conduit, disconnect PV wiring, remove a module, or open a junction enclosure unless the person doing the work is qualified for that equipment and jurisdiction. A roofer can diagnose roof integration, but electrical isolation and module removal may require a solar electrician.
Before Starting an Inspection
- Photograph the roof, conduit, module position, labels, and attic staining.
- Identify the roof covering, approximate roof age, and whether the penetration is under a panel.
- Keep clear of wet electrical equipment and damaged conductors.
- Use a properly anchored fall-protection system where required.
- Never use a pressure washer or puncture the roof to “find” the leak.
- Arrange a qualified solar contractor when access requires module or wiring removal.
Step-by-Step Diagnostic and Repair Process
A typical diagnosis takes 30-90 minutes, while a simple accessible flashing replacement takes 1-3 hours. Work becomes a coordinated roofing and solar project when a module, wiring harness, or junction box blocks access.
Step 1: Map the Interior Water Path
Inspect the attic from the stain toward the ridge and toward every nearby penetration. Record the first wet point, not the lowest drip point, because roof decking and framing can transport water downhill.
You will know the mapping is useful when the wet area forms a clear uphill boundary or reaches the conduit penetration. A common mistake is removing insulation before photographing its wet pattern, which destroys evidence.
Step 2: Inspect the Conduit and Roof Deck
Look for water on the conduit exterior, rust trails at fasteners, darkened OSB, split rubber, and wet insulation. Check both sides of the conduit because wind-driven rain can enter from a side lap rather than the uphill edge.
Use a non-destructive moisture meter only as a comparison tool. A high reading near the penetration is evidence of moisture, not proof of the entry point.
Step 3: Perform a Controlled Hose Test
Have one person remain in the attic while another wets a limited roof area. Start with the lowest section and move uphill, allowing 5-10 minutes for delayed water travel at each test position.
The success checkpoint is a repeatable wetting pattern that begins at the suspected flashing. If water appears before the conduit area is wetted, inspect the tested lower section and stop assuming the conduit is responsible.
Step 4: Determine Whether Solar Access Is Required
If the flashing is visible beside the array, a roofer may be able to repair it without disturbing modules. If the penetration is underneath a panel, the module and possibly wiring must be handled by a qualified solar professional.
Never slide a panel, lift it by its cables, or rely on an AC disconnect as proof of zero voltage. The common mistake at this stage is treating roof access as separate from electrical risk.
Step 5: Select the Replacement Assembly
Match the replacement to conduit outside diameter, roof covering, roof pitch, exposure, and whether the conduit can be disconnected. Confirm that the product is intended for the roof material and outdoor temperature range.
A retrofit boot is useful when the conduit cannot be pulled through a standard collar. It is not automatically superior, because the seam, clips, rivets, or compression mechanism becomes another potential failure point.
Step 6: Rebuild the Water-Shedding Layers
A qualified installer should remove enough shingles to release the old flange, inspect the deck, install the new assembly, and restore the prescribed shingle overlap. Fastener placement and sealant type must follow the product and roofing instructions.
The success checkpoint is a continuous downhill drainage path with no exposed uphill fasteners or open collar gap. Smearing cement around every edge is not a substitute for correct layering.
Step 7: Retest and Document
Retest the repaired area after the roof covering and any module are restored. Photograph the finished flashing, clamp, shingle laps, conduit support, and attic condition, then retain product information and invoices.
A repair is not verified merely because the attic is dry immediately afterward. Water may be delayed by underlayment or deck layers, so inspect again after the next substantial rain.
Which Repair Option Fits the Roof?
The best repair depends on the failure location and access constraint. A replacement flashing assembly is generally more durable than exposed mastic, while a retrofit boot is appropriate when disconnecting a continuous conduit is impractical and the manufacturer permits that application.
| Repair option | Typical material cost | Typical installed cost | Best fit | Main limitation |
|---|---|---|---|---|
| Sealant patch | $15-$60 | $150-$300 | Short-term weather control | Does not repair bad overlap |
| Standard EPDM boot | $25-$90 | $200-$600 | Accessible, disconnectable conduit | May require wire or conduit work |
| Silicone retrofit boot | $60-$180 | $250-$700 | Continuous conduit under array | Mechanical seam needs inspection |
| Full flashing replacement | $40-$200 | $300-$900 | Failed flange or roof integration | Requires shingle disturbance |
| Junction-box upgrade | $150-$500 | $600-$1,500+ | New work or major reconfiguration | Higher electrical and access cost |
Typical service-life estimates vary by exposure and product. EPDM collars are often treated as a 10-20 year component, silicone products may last longer under ultraviolet exposure, and the roof covering may fail before either material reaches its nominal life.
Is a Sealant Patch Ever Appropriate?
A sealant patch is appropriate as a short-duration emergency measure when rain is expected and a permanent repair cannot occur immediately. Clean, dry, compatible surfaces are necessary, and the patch should be treated as temporary rather than a warranty-grade correction.
Do not use a patch to conceal a missing flange, a rotten deck, a loose conduit, or exposed electrical damage. Thick mastic can trap water and make later inspection harder. If the boot is split or the upper flange is reverse-lapped, replacement is the meaningful repair.
How Much Does Repair Cost?
Typical U.S. solar-conduit leak repairs cost $150-$400 for an accessible boot or flashing correction and $600-$1,200 or more when module removal, electrical isolation, difficult roof access, or deck repair is involved. Local labor rates, roof pitch, array density, and roof material create large differences.
| Cost item | Typical range | Time range | Cost driver |
|---|---|---|---|
| Attic and roof diagnosis | $100-$300 | 0.5-1.5 hours | Travel and leak tracing |
| Accessible boot replacement | $150-$500 | 1-2 hours | Roof pitch and shingles |
| Module removal and replacement | $250-$800 | 1-3 hours | Array layout and contractor availability |
| Electrical reconnection | $150-$500 | 0.5-2 hours | Conduit continuity and testing |
| Roof-deck repair | $200-$900 | 1-4 hours | Rot area and shingle matching |
| Tile or metal flashing work | $300-$1,200 | 1-4 hours | Custom cutting and profile fitting |
These are typical planning figures, not a guaranteed quote. A very low quote may omit module handling, electrical testing, permit requirements, or replacement of damaged decking.
When Is Replacement Better Than Repair?
Full flashing replacement is preferable when the collar has cracks, the flange is corroded or deformed, fasteners have penetrated the drainage path, or a previous patch has concealed the original assembly. Replacement is also sensible when the roof is being renewed and the existing penetration cannot be integrated cleanly into the new covering.
The roof’s remaining life affects the decision. Installing an expensive new junction arrangement on shingles near the end of their service life can create duplicated labor when the roof is replaced. Conversely, preserving a failed boot on a relatively new roof risks interior rot and electrical equipment damage.
Roof-Material Variations
| Roof material | Preferred flashing approach | Frequent failure | Repair consideration |
|---|---|---|---|
| Asphalt shingles | Metal flange woven into courses | Exposed or reverse-lapped flange | Replace damaged shingles |
| Clay tile | Formed aluminum or lead-compatible base | Broken tile or poor profile fit | Preserve tile drainage channels |
| Concrete tile | Malleable or proprietary tile flashing | Cracked tile and blocked water path | Do not flatten high ribs |
| Standing-seam metal | Manufacturer-approved penetration boot | Fastener, seam, or sealant failure | Avoid unapproved roof penetrations |
| Corrugated metal | Profiled boot with compression seal | Loose screws and aged washer | Replace failed washers and boot |
| Low-slope membrane | Reinforced curb or membrane flashing | Ponding and seam failure | Use membrane-compatible details |
Metal roofs deserve special caution. A plumbing-style boot attached with exposed screws may fail through washer deterioration or panel movement even when its rubber collar appears intact.
Troubleshooting by Leak Pattern
Leak timing and location narrow the search, but neither proves the diagnosis alone. Heavy-rain leaks usually implicate drainage capacity, wind-driven side entry, or a defective upslope lap, while slow drips can arise from a small collar split or delayed underlayment travel.
| Observed pattern | More likely explanation | Inspection focus | Repair direction |
|---|---|---|---|
| Only during wind from one direction | Side-lap or exposed edge | Windward flange side | Correct lap and edge detail |
| Only after prolonged rain | Saturated underlayment or deck | Uphill wetting and ponding | Rebuild drainage path |
| Drip continues after rain stops | Stored water in insulation or deck | Moisture extent | Dry materials and find entry |
| Stain appears 2-3 feet downhill | Tracking under roof layers | Uphill from stain | Open only after mapping |
| Winter-only dampness | Condensation or air leakage | Ventilation and insulation | Correct attic air barrier |
| Leak follows roof cleaning | Damaged collar or displaced shingle | Recent work area | Replace damaged component |
A counterintuitive diagnostic point is that a dry conduit does not clear the flashing. Water may enter at the top edge of the flange, move beneath underlayment, and drip beside the conduit without wetting its exterior.
What Documentation Helps With Warranty and Insurance?
Photographs, invoices, product data sheets, roof-age records, and solar installation documents establish what failed and who controlled the component. Insurance coverage depends on the policy, cause, exclusions, maintenance history, and whether resulting interior damage is treated differently from the failed roof component.
Document the first visible stain, the attic moisture path, the roof penetration before repair, damaged decking, and the completed flashing. Keep the solar installer’s warranty and roof warranty separate because a roof leak may involve workmanship, a product defect, storm damage, or incompatible later work.
Do not claim storm damage without evidence. An adjuster may distinguish hail or wind damage from aging EPDM, poor installation, and deferred maintenance.
Prevention and Inspection Schedule
Inspect conduit flashings at least annually and after reroofing, severe wind, hail, nearby construction, or solar service. Commercial property managers often use six-month roof inspections, but inspection frequency should increase where ponding, high ultraviolet exposure, coastal salt, snow movement, or frequent rooftop access exists.
During an inspection, check collar elasticity, clamp condition, flange overlap, exposed fasteners, conduit support, shingle granule loss, and attic moisture. Do not coat EPDM or silicone with a generic roof coating unless the product manufacturer specifically approves compatibility; an incompatible coating can hide cracking and weaken adhesion.
A practical installer rule is to photograph every penetration before the array is commissioned. Those images create a baseline for later warranty disputes and make concealed-under-panel diagnosis more efficient.
Frequently Asked Questions
Can rain enter around solar conduit without damaging the electrical wires?
Yes. Rain can wet the roof deck, insulation, and framing while the wire insulation remains electrically intact. Water may also reach a junction box, connector, or conduit fitting later. Treat unexplained moisture near PV wiring as a safety issue, keep clear of wet electrical equipment, and arrange qualified inspection before resetting or servicing the system.
Should the roof boot be replaced when the roof is replaced?
Usually, replacement is prudent when the existing boot is aged, brittle, incompatible with the new roof detail, or difficult to integrate without disturbing new shingles. A reusable flashing may remain serviceable, but the roofer should verify collar condition, conduit diameter, flange placement, and manufacturer requirements before covering the assembly.
Can a roofer repair solar conduit flashing without a solar electrician?
A roofer can often repair visible roofing layers without touching PV wiring or modules. A solar electrician is needed when the repair requires disconnecting conductors, removing a module, opening a junction box, modifying conduit, or testing the photovoltaic circuit. The division of work should be agreed before the roof is opened.
Does attic insulation cause a solar-conduit leak?
Insulation does not normally create a roof penetration leak, but it can hide the first wet point and retain water after rainfall. In cold weather, missing air sealing around a warm conduit or ceiling penetration can also contribute to condensation. Compare wetting during rain with dry, cold-weather conditions before choosing a roof repair.
How long can a temporary flashing patch last?
A temporary patch may slow leakage for days or months, but six to twelve months should not be treated as a reliable service-life promise. Ultraviolet exposure, roof movement, surface moisture, and sealant compatibility control durability. Schedule a proper flashing or collar replacement promptly, especially when attic decking is already damp.
The Bottom Line
Flashing failure around solar conduit is confirmed by tracing water to the roof penetration, not by the position of an interior ceiling stain. Inspect the flange, collar, clamp, conduit support, shingle overlap, and nearby solar attachments as one drainage system. Use a compatible replacement assembly when the geometry or rubber seal has failed, and involve qualified solar personnel whenever module or PV wiring access is required.