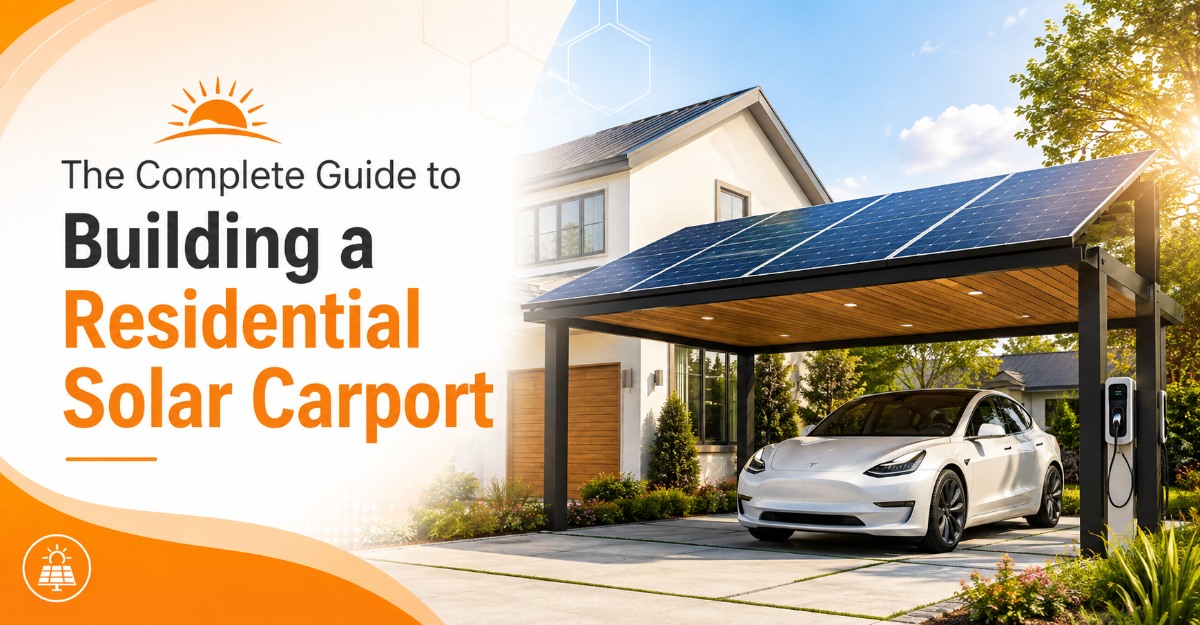
A residential solar carport is a dual-purpose, ground-mounted canopy structure designed to shield vehicles while acting as a dedicated overhead solar photovoltaic power plant. Unlike traditional carports that rely on standard roofing materials, these structures integrate solar panels directly into the roof architecture to generate clean energy.
How does a residential solar carport actually work?
A residential solar carport captures solar radiation and converts it into household electricity through a straightforward four-step mechanical process. Sunlight hits the photovoltaic panels mounted at a calculated pitch on top of the canopy framework. The internal silicon cells absorb this sunlight and generate Direct Current (DC) electricity throughout the day. Because homes cannot use raw DC power, the system routes this energy down the structural columns through weather-sealed conduits.
The DC electricity flows into a dedicated inverter system, which may be a centralized string inverter mounted on a support post or microinverters attached directly underneath each panel. The inverter converts the DC energy into usable Alternating Current (AC). From there, the AC electricity travels through an underground trench to the home’s main electrical panel.
Once integrated into the main breaker box, the energy either powers active household appliances or flows directly into an integrated Level 2 Electric Vehicle (EV) charger. If the canopy produces more electricity than the household currently requires, the system pushes the excess energy into a home battery bank for nighttime use. Alternatively, the excess power exports to the local utility grid via Net Energy Metering (NEM), earning the homeowner financial credits on their future utility bills.
Structural Designs and Roofing Methods
Solar canopies require robust engineering to safely suspend hundreds of pounds of glass and metal over parked vehicles. Homeowners must choose a foundational structure and a specific panel mounting technique based on their local climate and aesthetic preferences.
The structure dictates how vehicles enter the space and how the weight distributes into the ground. Cantilever designs rely on a single row of heavy-duty posts positioned exclusively at the rear or center of the canopy. This layout provides massive door clearance and removes the risk of doors striking columns. Multi-column structures use standard posts at all four corners. The four-post approach requires more ground disruption but offers superior load distribution for heavy snowpack.
The roofing method determines the water resistance of the structure. Standard racking covers involve building a traditional corrugated metal roof and bolting standard solar rails on top. Building-Integrated Photovoltaics (BIPV) completely eliminate the sub-roof. In a BIPV setup, the solar modules act as the primary roof surface, utilizing specialized rubber EPDM gaskets and integrated aluminum drainage channels between the panels to create a waterproof barrier underneath.
| Feature | Cantilever (Single-Post) | Multi-Column (Four-Post) | Wood Timber Frame |
| Primary Material | Heavy-gauge anodized aluminum | Hot-dip galvanized steel | Pressure-treated lumber |
| Door Clearance | Maximum (No side posts) | Limited (Posts on all corners) | Limited (Thick structural posts) |
| Wind Load Capacity | Up to 110 MPH | Up to 175 MPH | Up to 130 MPH |
| Snow Load Capacity | 30 PSF (Pounds per Square Foot) | 60+ PSF (Ideal for alpine zones) | 40 PSF |
| Cost Premium | Highest (Requires massive footings) | Lowest (Distributes weight evenly) | Medium (High labor fabrication) |
How much does a residential solar carport cost?
A residential solar carport requires a higher initial capital investment than a traditional roof-mounted system due to the raw materials required to build a freestanding structure. The average cost currently sits at $3.62 per watt. In comparison, standard rooftop solar averages $2.80 per watt. According to the National Renewable Energy Laboratory (2024), specialized ground structures face an average cost premium of $0.82 per watt compared to direct roof mounts.
A single-car canopy requires approximately 3 to 4 kilowatts of capacity to cover the footprint. This size typically costs between $11,400 and $15,000 fully installed. A two-car canopy allows for a 6 to 7 kilowatt array, pushing the total out-the-door price to between $18,000 and $26,000. These figures represent the gross cost before applying any federal or state financial incentives.
The federal Investment Tax Credit (ITC) allows homeowners to deduct 30% of the entire project cost from their federal taxes. This deduction applies to both the solar equipment and the structural framing required to support it. When factoring in the 30% credit, local utility rebates, and monthly energy savings, the typical return on investment ranges from 5 to 15 years.
| System Size | Estimated Capacity | Gross Cost Range | Cost After 30% Tax Credit | Annual Energy Output (Typical) |
| 1-Car Canopy | 3.5 kW | $11,400 – $14,000 | $7,980 – $9,800 | 4,500 – 5,500 kWh |
| 2-Car Canopy | 6.5 kW | $18,000 – $24,000 | $12,600 – $16,800 | 8,500 – 10,500 kWh |
| 3-Car Canopy | 10.0 kW | $32,000 – $38,000 | $22,400 – $26,600 | 13,000 – 16,000 kWh |
| Custom EV Port | 5.0 kW + Charger | $16,000 – $20,000 | $11,200 – $14,000 | 6,500 – 7,800 kWh |
Step-by-Step Implementation Process
Constructing a canopy is a heavy construction project that blends civil engineering with high-voltage electrical work. The physical build takes less than a week, but the bureaucratic approval process requires patience.
Step 1: Feasibility and Site Design
Assess the property space to ensure a wide, accessible footprint away from tall trees and property line boundaries. Most municipalities enforce strict zoning setbacks, requiring accessory structures to sit at least 5 to 10 feet away from property lines. Evaluate local shading throughout the day and analyze the soil conditions. Soft soil requires much deeper foundations than rocky clay. Determine whether a 1-car or 2-car structure best fits your household energy requirements and physical driveway dimensions.
Step 2: Permitting and Structural Engineering
Submit formal structural engineering designs to the local building department. The blueprints must feature an engineer’s stamp verifying the structure can satisfy local wind and snow load regulations. Secure a zoning permit for the structure location and an electrical permit for the high-voltage grid tie-in. Homeowners within governed neighborhoods must also submit architectural renderings to their Homeowners Association for visual approval. You will know this step is complete when the city issues the official building placards.
Step 3: Foundation Excavation and Framing
Rent heavy machinery to excavate the foundation holes. Pour heavy concrete footings rated for a minimum of 3,000 PSI to anchor the structure. Alternatively, soft soil locations may deploy helical ground screws driven deep into the earth. Once the foundation cures, erect the primary steel or aluminum framing. Use heavy lifting equipment to hoist the crossbeams into place and secure them with galvanized structural bolts.
Step 4: Electrical Integration and Trenching
Mount the solar panels onto the upper racking rails. Dig a trench at least 18 to 24 inches deep from the canopy structure to the main house. Route the DC and AC wiring through outdoor-rated Schedule 40 PVC conduit. Connect the panel array to the inverter, tie the AC output into the home’s main breaker box using 6 AWG copper wire, and install an EV charging station on one of the support columns. A common mistake at this stage is undersizing the wire gauge for long trench runs, which causes significant voltage drops.
Step 5: Final Inspection and Permission to Operate
Leave all electrical trenches open for the local municipal building inspector. The inspector verifies the concrete footing depths, structural connections, and electrical safety standards. Once the city passes the build, the utility company performs a final check on the grid interconnections. The utility will then issue a formal Permission to Operate (PTO) letter. You cannot legally flip the system switch until this PTO letter arrives.
How does this system compare to traditional rooftop solar?
A ground-mounted canopy solves many of the physical limitations that disqualify houses from standard solar installations. However, this independence from the house architecture introduces entirely different financial and legal hurdles.
The primary advantage is optimized energy production. A canopy can be perfectly angled toward the true south and tilted at an optimal 15-degree pitch, regardless of how the main house faces. It shields vehicles from paint-damaging UV rays, heavy hail, snow, and rain. It is ideal for homeowners with historical tile roofs, structural weak points, or heavy roof shading from neighboring chimneys. Furthermore, locating the panels close to the driveway enables perfect EV synergy. Shorter wiring runs to localized EV chargers enable highly efficient sun-to-tank vehicle fueling.
The main disadvantage is the high upfront capital requirement. Building a dedicated structural foundation and heavy metal frame is significantly more expensive than bolting rails to an existing roof. These structures face rigid permitting laws, demanding stringent structural engineering approvals and zoning variances. They also face aesthetic hurdles and frequent pushback from restrictive Homeowners Associations regarding visual profiles. Finally, space limitations mean homeowners must dedicate a wide, accessible driveway footprint permanently to the structure.
| Evaluation Criterion | Residential Solar Carport | Traditional Rooftop Solar |
| Angle and Orientation | Fully customizable for max yield | Restricted by existing roof pitch |
| Installation Cost | High ($3.62 per watt average) | Moderate ($2.80 per watt average) |
| Roof Condition Dependency | Zero impact from roof age | Requires a roof newer than 10 years |
| Zoning and Permit Difficulty | High (Requires civil and structural permits) | Low (Standard electrical permits) |
| Property Tax Impact | Often adds taxable square footage | Usually exempt from property tax hikes |
Common Engineering Mistakes to Avoid
Purchasing cheap, uncertified materials or cutting corners during site preparation leads to rapid system degradation and potential structural collapse.
Neglecting a comprehensive waterproofing plan is the most frequent consumer error. Choosing a cheap, open-gapped racking system over a tightly sealed BIPV configuration allows dirty rainwater and debris to drip directly between the panels onto freshly washed cars. Homeowners must specify watertight gaskets during the design phase.
Inadequate vertical clearances cause daily friction. Building with less than 2.2 to 2.4 meters of vertical clearance creates a hazard for taller SUVs, roof boxes, or service vans. Always measure the tallest vehicle in the household and add at least 18 inches of clearance for suspension bounce and roof racks.
Underestimating wind and snow loads destroys investments. Purchasing uncertified, pre-engineered online kits that cannot handle local weather extremes risks catastrophic collapse during severe storms. Finally, poor trenching planning cripples energy yields. Failing to calculate the voltage drop of long wire runs from a distant driveway to the main house panel compromises system efficiency before the power ever reaches the breaker box.
Maintenance and Troubleshooting Protocols
Outdoor electrical structures face extreme temperature swings, physical vibrations, and wildlife interference. Preventative maintenance keeps the inverter running smoothly and ensures the system hits its 25-year projected lifespan. Data from the Solar Energy Industries Association (2023) indicates that 15% of new residential photovoltaic installations now include a secondary structure, making these troubleshooting steps increasingly standard for local electricians.
Sudden energy drops usually stem from physical blockages. Check for dirt, fallen autumn leaves, or bird droppings accumulated on the lower edges of the flat-pitched modules. Clean the surface regularly using a soft brush, mild soap, and a standard garden hose. Never use a high-pressure washer, which can compromise the watertight gaskets.
Inverter faults frequently occur due to thermal overload. Solar carports expose central string inverters to high outdoor ambient temperatures. Ensure the installation crew mounts the inverter on the shaded underside of a north-facing post away from direct afternoon sun.
| Common Issue | Primary Cause | Recommended Solution |
| Sudden Energy Drop (10-20%) | Debris buildup on panel edges | Clean panels with a soft brush and hose water. |
| Inverter Thermal Shutdown | Direct sunlight hitting the inverter box | Relocate inverter to a shaded, north-facing column. |
| Ground Fault Interruption (GFI) | Moisture entry in underground conduit | Replace junction boxes with NEMA 4X watertight seals. |
| Dripping Water Underneath | Failed EPDM rubber gaskets between panels | Reapply marine-grade silicone sealant along the seams. |
Which configuration should you choose?
Your daily driving habits and local weather patterns dictate the specific engineering choices required for your property.
The EV Urban Commuter
The best choice for a city-based electric vehicle owner is a 2-Car Cantilever Aluminum Carport paired with an Integrated Level 2 EV Charger. Aluminum prevents rust from car exhaust or damp coastal environments. The cantilever design pushes all structural supports to the back boundary of the driveway. This eliminates side posts, making it effortless to back in and plug your vehicle into a sun-to-tank charging system without dinging your doors.
The Extreme Weather Homeowner
Residents in heavy snow or high-wind zones require a Four-Post Hot-Dip Galvanized Steel Frame featuring a 15-Degree Single Slope BIPV Roof. Galvanized steel offers the highest load rating available, ensuring the structure can handle heavy snow build-up and 130 MPH winds without buckling. The aggressive 15-degree pitch forces heavy snow to slide off naturally and ensures clean water drainage during torrential rains.
The Budget-Conscious DIYer
Homeowners looking to minimize upfront costs should select a Standard Pre-Engineered Multi-Column Solar Carport Kit. Purchasing a standardized kit drastically cuts down on custom structural engineering and fabrication fees. A capable DIYer can dig the footings and assemble the structural metal frame themselves over a weekend. You can then hire a certified electrician solely to complete the high-voltage inverter grid hookups and sign off on the trenching.
Frequently Asked Questions
Do solar carports increase home value?
Yes. Homes with integrated solar infrastructure command a premium on the real estate market. The addition of a covered parking structure combined with active energy generation typically increases property value by 3 to 5 percent, depending on regional electricity rates.
Can I add a solar carport if I already have rooftop panels?
Yes. You can install a canopy as a completely independent system with its own inverter, or you can tie it into your existing solar array if your current central inverter has available electrical capacity and dual Maximum Power Point Tracking (MPPT) inputs.
How deep do the concrete footings need to be?
Footing depth depends entirely on your local frost line and soil bearing capacity. In warm climates with dense clay, footings may only require a 24-inch depth. In northern climates, footings must extend below the frost line, frequently requiring excavation depths of 48 to 60 inches.
Are these structures fully waterproof?
Standard racking structures are not waterproof and will allow rain to drip between the panels. To achieve a 100 percent waterproof barrier, you must specifically request a Building-Integrated Photovoltaic (BIPV) system, which utilizes specialized rubber gaskets and water channels to seal the gaps.
Will my homeowners association allow this?
HOA regulations vary wildly by neighborhood. While many states have solar access laws preventing HOAs from banning rooftop solar, these protections often do not extend to secondary ground structures. You must submit full architectural renderings and setback measurements for approval before breaking ground.