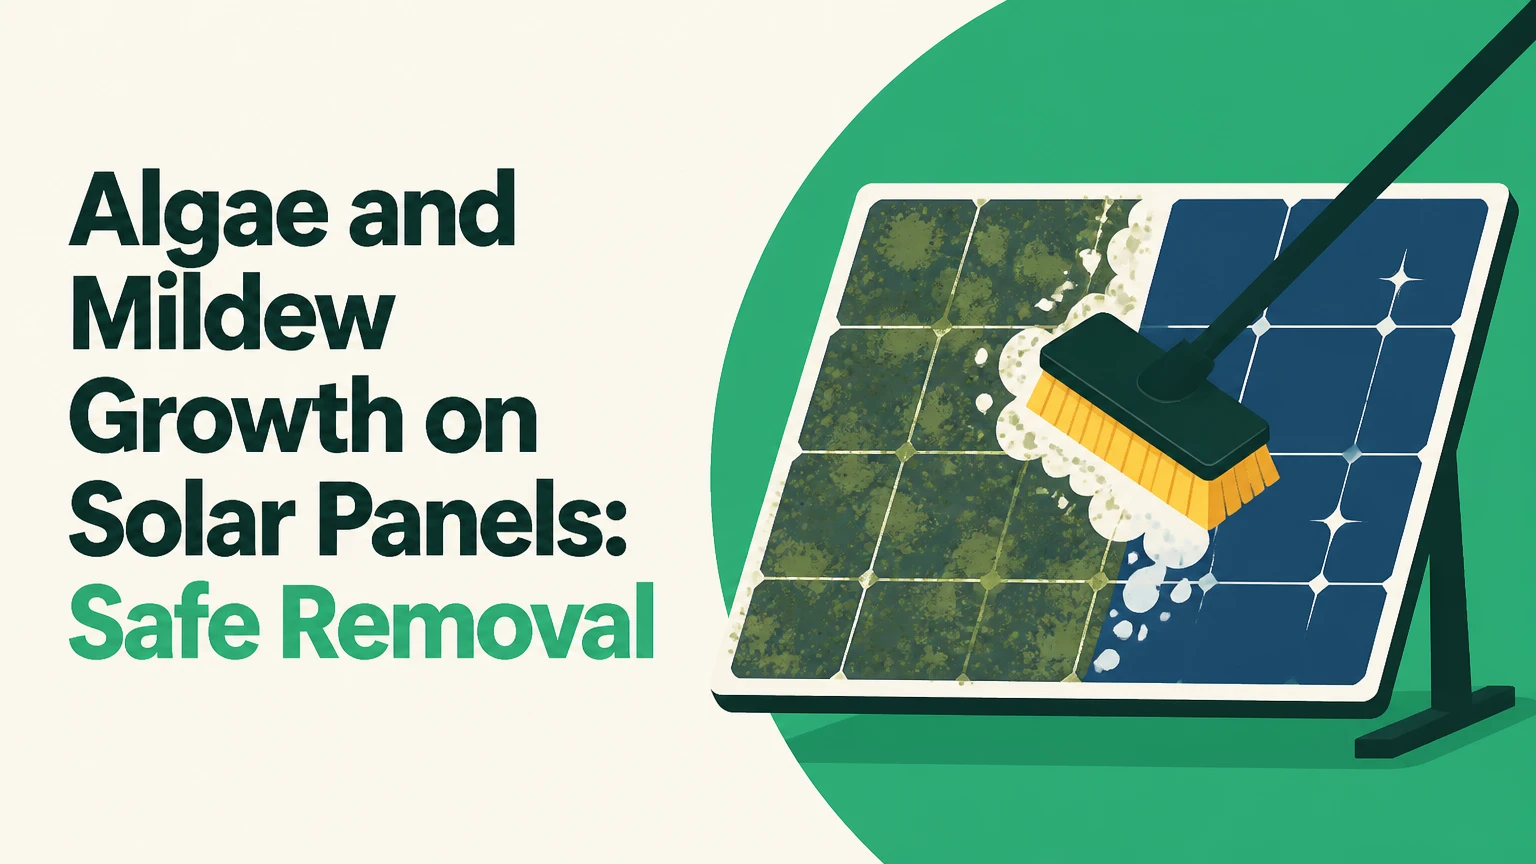
Algae and mildew growth on solar panels is best removed with cool, purified water, a soft nylon or microfiber brush, and low mechanical force. Isolate the photovoltaic system according to the manufacturer’s instructions, avoid bleach, abrasives, and pressure washers, and use a solar-compatible biocide only for persistent lichen or frame contamination.
Key Facts / At a Glance
Surface algae usually reduces light transmission, but a fixed 5%-15% loss cannot be assumed for every array.
Deionized or reverse-osmosis water with a low mineral content prevents calcium spotting better than hard tap water.
A soft water-fed brush is safer than a scraper, wire brush, abrasive pad, or pressure washer.
Cleaning chemicals must be approved for photovoltaic glass, coatings, seals, and aluminum frames.
Cleaning frequency should follow visual growth, measured output, rainfall, dust loading, and panel tilt.
A cracked module, damaged cable, hot connector, or abnormal string voltage requires a qualified solar technician, not more washing.
What Grows on Solar Panels in Humid Climates?
Algae, mildew, lichen, moss, and mixed biofilm are different forms of biological soiling that can accumulate on photovoltaic glass, frame lips, drainage gaps, and nearby roof surfaces. Warm humid air supplies moisture, while pollen, dust, bird droppings, and leaf residue supply nutrients that help spores remain attached.
Algae commonly appears as green, brown, or dark translucent film. Mildew tends to form gray, black, or white powdery patches on organic residue and shaded frame areas. Lichen is more firmly attached because it combines fungal tissue with a photosynthetic partner, while moss creates a raised, water-retaining mat.
The visible glass is only part of the problem. Growth often survives in the lower aluminum frame channel, under clamps, beside cable clips, and at the roof edge. If those reservoirs remain wet and dirty, freshly cleaned glass can show regrowth within weeks.
How Does Biofilm Develop?
Humid-climate biofilm usually develops through five stages:
- Organic dust and pollen settle on the glass.
- Spores attach to the damp residue.
- Algae or mildew creates a thin adhesive film.
- Lichen or moss anchors into accumulated debris.
- Repeated wetting and drying leave stains, scale, and residue.
Panel tilt changes the outcome. A steep module sheds water and leaves more readily, whereas a shallow roof array can retain a damp strip along its lower frame. Bird droppings and leaf litter create localized growth even on otherwise clean modules.
Can Biological Growth Damage Solar Panels?
Biological growth can reduce photovoltaic output and increase localized shading, but surface algae does not automatically cause a destructive hotspot. The electrical risk becomes more serious when persistent opaque growth shades part of a cell, bypass-diode region, or module section while neighboring cells continue producing current.
A shaded cell can operate under reverse-bias conditions and dissipate power as heat. Modern modules use bypass diodes to limit some shade-related stress, but diode protection does not make severe, fixed shading harmless. Sandia National Laboratories’ photovoltaic reliability work treats hotspots, cracks, delamination, and bypass-diode faults as inspection concerns rather than simple cleaning problems.
The often-repeated claim that mild algae always causes a 5%-15% efficiency loss, or that lichen blocks 35% of light, is not a universal engineering rule. Actual loss depends on coverage, opacity, cell layout, irradiance, module temperature, inverter tracking, and whether the growth covers active cell areas or only the frame.
| Condition | Typical visual coverage | Likely electrical effect | Correct response |
|---|---|---|---|
| Thin green film | 5%-20% of glass | Small to moderate soiling loss | Clean and compare output |
| Lower-edge mildew | 10%-30% of one module | Localized shading | Clean frame channel and glass |
| Opaque lichen patches | 20%-60% of a module | Moderate mismatch risk | Professional cleaning and inspection |
| Moss over drainage edge | 1-5 cm thick growth | Water retention and frame contamination | Remove root material carefully |
| Cracked or delaminated module | Any coverage | Possible insulation or safety fault | Stop work and call a technician |
What Are the Warning Signs?
Stop routine cleaning when a module has cracked glass, a lifted backsheet, exposed conductors, melted connectors, burn marks, water inside the junction box, or a persistent output drop after the glass is clean. A thermal camera, insulation tester, IV-curve tracer, or string-level monitoring can distinguish biological shading from electrical failure.
How Should You Remove Algae and Mildew?
Safe solar-panel cleaning follows a controlled sequence: inspect, isolate, remove dry grit, wet with purified water, gently agitate, rinse, dry, and verify output. A small residential array usually takes 45-120 minutes, excluding roof access, while a professional two-person crew may clean 20-40 modules in one working session.
Before You Start
| Requirement | Residential baseline | Commercial baseline |
|---|---|---|
| Cleaning time | 45-120 minutes | 2-6 hours |
| Crew | 1 ground-access operator | 2 trained workers |
| Water volume | 2-5 liters per module | 1-3 liters per module with pure-water equipment |
| Brush | 30-60 cm soft nylon head | Water-fed brush, 6-12 m pole |
| Water target | Preferably below 10-30 ppm TDS | Deionized or RO-polished water |
| Access condition | Ground or stable platform | Documented roof-access plan |
Do not clean a pitched roof without suitable fall protection, stable access, and a clear electrical work procedure. Panel shutdown reduces electrical generation, but modules can still produce DC voltage in daylight, and wet roofs increase slip risk.
Step 1: Check the Manual and the Array
Read the module manufacturer’s cleaning instructions before selecting a detergent, brush, pressure setting, or biocide. Canadian Solar and LONGi installation documentation, for example, warns against abrasive materials and inappropriate cleaning agents, but exact instructions vary by module design and warranty terms.
Record the current inverter output, alarm status, weather, and visibly affected modules. Photograph thick growth before cleaning. The record gives you a defensible comparison after remediation.
Success checkpoint: You know the module model, array access route, isolation procedure, and starting production value.
Common mistake: Treating every module as interchangeable and applying a chemical that the warranty excludes.
Step 2: Choose a Cool, Calm Cleaning Window
Clean when the glass is cool and wind is low, typically in the morning after surface condensation has evaporated or in the late afternoon. Avoid washing a sun-heated module with cold water because rapid temperature change can stress glass, coatings, and seals.
A universal 25°C air-temperature limit is unnecessarily rigid. Glass temperature, water temperature, manufacturer instructions, direct sun, and wind matter more than air temperature alone. The practical rule is simple: do not wet hot glass, and do not let cleaning solution dry on the module.
Success checkpoint: The module feels cool, the roof is dry enough for safe access, and rain or wind will not interrupt the work.
Common mistake: Starting at midday because the array is easier to see while producing maximum power.
Step 3: Isolate the Photovoltaic System
Follow the site’s documented shutdown order for the inverter, AC isolator, DC isolator, and battery equipment. Do not invent a sequence from a generic internet guide because equipment layouts differ, and some systems have rapid-shutdown devices or multiple arrays.
A shutdown is not proof that conductors are de-energized. Only a qualified person with appropriate test equipment should verify electrical conditions or open electrical enclosures. Keep water away from inverters, isolators, junction boxes, cable connectors, and roof penetrations.
Success checkpoint: The inverter is in the manufacturer-approved shutdown state, no alarms are present, and the cleaning area is electrically controlled.
Common mistake: Spraying first and switching off the inverter afterward.
Step 4: Remove Dry Grit and Organic Debris
Use a soft, dry microfiber or nylon brush to lift loose leaves, pollen, twigs, and grit. Work from the upper edge toward the lower edge without pressing your body weight onto the glass.
Dry grit is abrasive when dragged across wet glass. Remove bird droppings by wetting them first if they are hardened, because scraping them dry can scratch the surface or damage an anti-reflective coating.
Success checkpoint: Loose debris is off the glass, and no sand or gravel remains under the brush head.
Common mistake: Using a household broom whose stiff fibers trap grit and sweep it across the module.
Step 5: Apply Purified Water
Apply deionized, distilled, or reverse-osmosis water with a low mineral content. A TDS reading below 10 ppm is a useful operational target for spot-free final rinsing, although local water quality and the module manual should determine the exact requirement.
Hard tap water can dry into calcium carbonate or silica residue. Mineral scale scatters light, holds new spores, and may require acidic treatment that is more hazardous than the original biofilm.
For thick lichen, use only a biodegradable product specifically labeled as compatible with photovoltaic glass, coatings, seals, and frames. Product dilution and dwell time are not interchangeable. Follow the label, and do not allow the solution to dry.
Success checkpoint: The surface is uniformly wet, mineral spotting is absent, and the product remains within its stated contact time, often 3-5 minutes.
Common mistake: Mixing a stronger chemical solution to shorten the job.
Step 6: Agitate With a Soft Water-Fed Brush
Use a soft nylon, microfiber, or manufacturer-approved photovoltaic brush on an extension pole. Apply only enough force to release the film, and make overlapping passes rather than grinding at one stubborn patch.
A garden hose can provide adequate rinsing flow, while high-pressure washing can force water beneath seals, damage coatings, loosen labels, and drive contamination into connectors. A generic “under 400 PSI” limit is not a safe universal specification because nozzle distance, flow, spray pattern, and module instructions change the actual exposure.
Success checkpoint: Green or gray film lifts without visible scratching, and the final rinse carries residue to the lower edge.
Common mistake: Using a pressure washer because lichen appears firmly attached.
Step 7: Rinse, Dry, and Inspect the Edges
Rinse from the high side downward with purified water. Remove remaining droplets with a clean, soft rubber squeegee if the module manufacturer permits it, keeping the blade free of grit and avoiding force against frame seals.
Inspect the lower frame lip, clamp gaps, cable clips, roof drains, and the area beneath the array. Remove accumulated organic material from the roof without pulling on module cables. Do not dismantle frames or junction boxes during routine cleaning.
Success checkpoint: The glass dries clear, frame channels are free of wet organic residue, and no cracks, loose cables, or new leaks are visible.
Common mistake: Declaring success when the glass is clean but the lower frame remains a biological reservoir.
Step 8: Restore Operation and Verify Production
Return the system to service using the documented startup order. Check inverter alarms, string-level monitoring, and daily energy production after the array has dried and irradiance has stabilized.
Compare like with like. A cloudy day before cleaning and a sunny day afterward cannot prove the cleaning caused a gain. Compare normalized output against irradiance, temperature, and a similar prior day, or use module-level monitoring where available.
Success checkpoint: The inverter reports normal operation and affected modules no longer show abnormal shading or persistent alarms.
Common mistake: Expecting an instant percentage gain without controlling for weather, temperature, and inverter clipping.
Which Water and Tools Are Safe?
Purified water and a soft photovoltaic brush are the safest routine combination for most arrays, while a labeled solar-compatible biocide is reserved for persistent biological attachment. Household detergents, bleach, ammonia, abrasive pads, and metal tools create more material and warranty risk than they remove.
| Cleaning option | Typical use | Equipment or product cost | Main limitation |
|---|---|---|---|
| Soft manual brush | 1-20 residential modules | $20-$150 | Requires safe physical access |
| Water-fed pole | 10-100 accessible modules | $100-$800 | Pole handling and water supply |
| RO or deionized system | Recurring commercial work | $500-$3,000 | Filter maintenance and storage |
| Solar-compatible biocide | Stubborn lichen or frame growth | $20-$80 per container | Product compatibility and dilution |
| Cleaning robot | Large flat-roof arrays | $5,000-$30,000 or more | High capital cost and layout limits |
| Professional service | Pitched, high, or complex roofs | $10-$40 per module, typical | Recurring labor expense |
Costs vary substantially by country, roof height, travel, water treatment, array size, and insurance requirements. The BDT 50,000-250,000 equipment range for pure-water systems and BDT 500,000-plus price range for larger robots can occur in Bangladesh markets, but those figures are not globally transferable.
Should You Use Soap, Bleach, or Vinegar?
Do not use bleach, ammonia, laundry detergent, dish soap, or an unapproved acidic cleaner on photovoltaic modules. These products can leave surfactant film, attack metals or seals, alter coating appearance, harm nearby vegetation, or create disposal problems.
A product labeled “biodegradable” is not automatically solar-safe. Check the technical data sheet for glass, polymer coating, EPDM or silicone seal, anodized aluminum, and photovoltaic compatibility. If no compatibility statement exists, use purified water and professional advice instead.
Vinegar can dissolve some mineral deposits, but its acidity does not make it suitable for every coating, frame, seal, or roof. Persistent scale should be assessed before treatment rather than scrubbed aggressively.
Which Cleaning Method Fits the Array?
Manual purified-water cleaning fits small arrays with ground-level or professionally secured access. Pure-water systems become economical when repeated cleaning, hard water, or large module counts make spotting and labor expensive, while robots suit selected flat commercial layouts rather than steep residential roofs.
| Array situation | Preferred method | Typical interval | Reason |
|---|---|---|---|
| 4-16 modules, ground access | Soft brush and purified water | 1-2 times yearly | Lowest equipment burden |
| Pitched residential roof | Insured professional cleaner | Based on inspection | Fall risk exceeds cleaning complexity |
| Flat commercial roof | Water-fed crew or robot | Quarterly to semiannually | Access and output tracking are practical |
| Shallow humid roof | Pure water plus frame cleaning | 2-4 inspections yearly | Lower edge retains moisture |
| Utility-scale site | Mechanized low-moisture system | Trigger-based or scheduled | Labor and water logistics dominate |
The best method is determined by access and contamination, not by the label attached to the equipment. A costly robot cannot solve moss trapped under a frame, and a manual pole cannot make an unsafe roof safe.
When Is a Biocide Justified?
A photovoltaic-compatible biocide is justified when repeated purified-water cleaning leaves attached lichen, moss roots, or rapid regrowth in frame channels. The treatment should loosen or suppress growth, not replace physical removal and inspection.
Apply the product only at its stated dilution, protect roof membranes and vegetation where required, observe contact time, and rinse completely. Never combine products. Test a small inconspicuous area when the manufacturer permits testing.
How Often Should Humid-Climate Panels Be Cleaned?
Humid-climate panels commonly need visual inspection every 1-3 months and cleaning once or twice yearly, while shallow arrays beneath trees may need two to four cleanings annually. Fixed quarterly cleaning is justified for commercial output targets only when monitoring shows a financial return.
Rain removes loose dust but does not reliably remove oily pollen, bird droppings, lichen, or frame deposits. The National Renewable Energy Laboratory identifies soiling as a site-specific performance factor influenced by rainfall, tilt, surface conditions, and local deposition rather than a universal loss percentage.
Use a cleaning trigger when one or more conditions occur:
- Biological coverage is visible across active cell areas.
- Normalized output falls against a clean reference period.
- Bird droppings remain for several days.
- The lower frame stays damp and contaminated.
- A production contract sets a documented loss threshold.
- Nearby construction, agriculture, trees, or coastal salt increase deposition.
What Does Cleaning Cost?
Residential solar-panel cleaning typically costs $150-$500 for a small accessible array, while complex pitched roofs, lifts, travel, and heavy lichen can raise the invoice to $500-$1,500. Commercial contracts commonly price by module, square meter, visit, or recovered kilowatt-hour, so the quote must identify the charging basis.
| Cost component | Typical residential range | Typical commercial range |
|---|---|---|
| Manual labor | $75-$300 | $40-$120 per labor hour |
| Purified water | $5-$40 | $0.05-$0.30 per liter |
| Access equipment | $0-$300 | $200-$2,000 per visit |
| Biocide treatment | $20-$100 | $100-$1,000 per project |
| Inspection or thermal scan | $0-$250 | $250-$2,000 |
| Replacement module | $150-$500 plus labor | Contract and model dependent |
Use a simple payback test: estimate recovered monthly energy, multiply by the electricity tariff, and compare the result with cleaning cost. Cleaning is financially weak when output loss is small, access is hazardous, or the array is already clipping at the inverter limit during the relevant hours.
Which Cleaning Methods Should You Avoid?
Avoid pressure washers, wire brushes, razor scrapers, steel wool, abrasive pads, walking on modules, unapproved chemicals, and cold-water washing of hot glass. Each method can create scratches, microcracks, coating damage, seal failure, mineral scale, or a fall hazard.
Why Is Pressure Washing Risky?
Pressure washing can drive water under frame joints and seals, damage anti-reflective surfaces, and loosen contamination into electrical components. A low pressure number alone does not guarantee safety because the nozzle may be close, the spray may be concentrated, and the module maker may specify a lower limit or prohibit the method entirely.
Why Is Walking on Panels Unsafe?
Walking on photovoltaic modules can create microcracks that are invisible during cleaning but later cause inactive cell regions, hot areas, or insulation faults. Use roof walkways, crawl boards designed for the roof system, or ground-based tools instead.
Why Does Growth Return Quickly?
Algae and mildew return quickly when spores remain in frame channels, roof debris remains beneath the array, surfaces stay shaded and wet, or the panel tilt allows water to pool. Cleaning only the visible glass removes the symptom while leaving the moisture and nutrient source intact.
Reduce regrowth by clearing leaves beneath accessible array edges, improving roof drainage, trimming branches, correcting gutter overflow, and removing organic deposits from frame lips. Do not drill, reframe, or alter module mounting without an installer because drainage changes can affect warranty and roof integrity.
| Regrowth pattern | Probable cause | Corrective action |
|---|---|---|
| Green film in 2-4 weeks | Residual spores and damp glass | Clean frame channels and improve drying |
| White scale after washing | Hard-water minerals | Rewash with low-TDS water and dry |
| Black patches near clamps | Organic debris and shade | Professional detail cleaning |
| Moss at lower edge | Shallow tilt and retained moisture | Remove moss, inspect drainage |
| Output stays low after cleaning | Electrical or inverter fault | Perform string and module diagnostics |
What If Cleaning Does Not Restore Output?
Cleaning is the wrong diagnosis when output remains low after clear glass, normal irradiance, and verified inverter operation. Shade from new construction, failed bypass diodes, module degradation, connector resistance, cable damage, inverter clipping, and monitoring errors can all mimic soiling.
Compare string currents and voltages, inspect inverter alarms, and arrange a qualified electrical inspection when one string differs materially from comparable strings. A thermal scan under suitable irradiance can locate hot cells, connectors, and junction-box abnormalities, but it should be interpreted by a trained technician.
Do not use stronger chemicals to solve an electrical fault. Chemistry cannot repair a cracked cell or failed diode.
How Should Commercial Arrays Be Managed?
Commercial facility managers should combine cleaning with production monitoring, roof safety controls, water management, and documented quality checks. A quarterly schedule can be appropriate for a humid, shallow commercial roof, but a monitored trigger can reduce unnecessary visits when rainfall and output remain favorable.
Create a work record containing module count, date, weather, water TDS, cleaning agent and dilution, damaged-module observations, inverter status, and before-and-after production. For large arrays, sample output by string or module rather than relying on a single site meter.
Robots can reduce repetitive labor on compatible flat layouts, but they do not replace edge inspection, cable checks, drainage cleaning, or periodic human quality control. Lightweight waterless systems also require confirmation that brushes do not drag grit across the glass.
FAQ
Can Rain Remove Algae From Solar Panels?
Rain can remove loose dust and pollen, but it rarely removes established algae, mildew, lichen, or moss. Rainwater may also redistribute organic residue toward the lower frame, where moisture persists. Inspect the glass and frame after major storms instead of assuming rainfall completed the cleaning.
Is Deionized Water Better Than Distilled Water?
Both deionized and distilled water can leave fewer mineral spots than hard tap water when their dissolved-solids content is low. Deionized water is usually more practical for water-fed cleaning systems, while distilled water suits small spot-cleaning jobs. A TDS meter provides a better check than the product name alone.
Can I Clean Solar Panels With a Garden Hose?
A garden hose can rinse a small array when the water is not mineral-heavy and the spray is gentle. A hose does not remove bonded lichen by itself, and hard water can leave scale. Use a soft brush, avoid concentrated spray, and finish with purified water when spotting is likely.
Are Algae and Mildew Covered by a Solar Warranty?
Solar warranties commonly cover manufacturing defects, but they generally do not cover ordinary soiling, neglected maintenance, chemical damage, scratches, or improper cleaning. Warranty terms differ by module manufacturer. Keep cleaning records and use approved methods if warranty protection matters.
Should Solar Panels Be Cleaned Before or After Rain?
Clean before a forecast dry period rather than immediately before heavy rain when practical. A dry interval allows inspection and output verification, while rain can carry roof debris back onto the lower frame. Avoid cleaning during lightning, strong wind, or unsafe roof conditions.
How Can I Tell Algae From Mineral Scale?
Algae usually appears green, brown, gray, or slimy and changes when wetted or brushed. Mineral scale appears white, chalky, or crystalline and remains after ordinary rinsing. Use low-TDS water first, avoid scraping, and seek product-compatible treatment advice when scale is bonded to the coating.
The Bottom Line
Algae and Mildew Growth on Solar Panels: Safe Removal Methods for Humid Climates begins with inspection, not chemicals. Isolate the system properly, remove grit with a soft brush, wash cool glass with low-mineral water, use only photovoltaic-compatible treatments for persistent lichen, and verify production after drying.
The safest routine method is purified water plus gentle agitation. Professional cleaning is the better decision when the roof is steep, the array is large, biological growth is attached beneath frames, or output remains abnormal after the glass is clean.