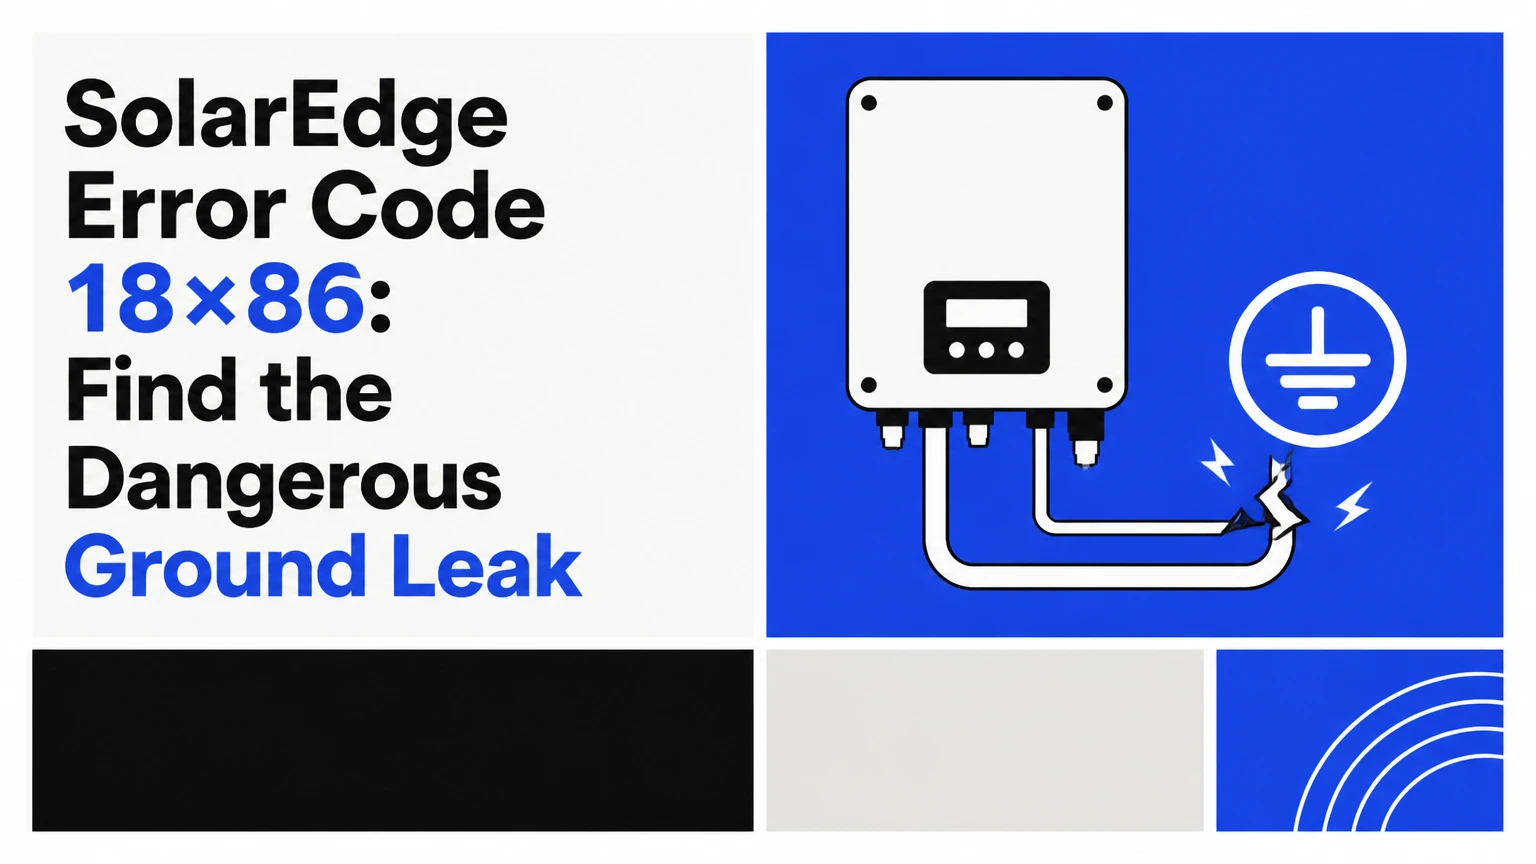
SolarEdge Error Code 18×86 indicates an isolation fault, meaning the photovoltaic array has insufficient electrical resistance between a live DC conductor and ground. The inverter shuts down to reduce shock, fire, and equipment risks. Do not repeatedly reset the system; the physical fault may be a wet connector, damaged cable, module, optimizer, or rooftop junction.
Key facts
SolarEdge Error Code 18×86 is associated with low DC insulation resistance, often labeled low RISO or an isolation fault.
The fault can exist anywhere from the inverter’s DC inputs to the far end of a PV string.
Rain, dew, condensation, and washing can make an intermittent insulation fault appear or disappear.
A standard multimeter cannot reliably replace an insulation resistance tester for this diagnosis.
Homeowners should record the code, isolate hazards, and contact the installer rather than opening the inverter wiring compartment.
The displayed isolation percentage is an approximate diagnostic aid, not proof that a particular optimizer has failed.
What Does SolarEdge Error Code 18×86 Mean?
SolarEdge Error Code 18×86 means the inverter measured inadequate isolation between the array’s energized DC circuit and the equipment grounding path. The inverter interprets low resistance as unwanted leakage and prevents normal energy conversion until the condition clears or a technician repairs it. SolarEdge’s official troubleshooting material groups this condition under isolation-fault diagnosis.
The code does not identify one defective part. A positive home-run conductor, negative home-run conductor, connector, optimizer, module, junction box, rooftop conduit, or grounding-related installation defect can produce the same inverter response. Code formats also vary by inverter family, firmware, display, and SetApp version, so the complete on-screen message matters more than the number alone.
An isolation fault is different from a normal inverter ground connection. The equipment grounding conductor is intentionally bonded to exposed metal and protective hardware. The fault occurs when an energized positive or negative conductor, or an internal live circuit, develops an unintended conductive path to grounded metal or earth.
Why Does a Low RISO Fault Stop the Inverter?
A SolarEdge inverter stops production because low insulation resistance indicates that current may travel through an unintended path, including metal racking, module frames, conduit, wet roofing materials, or a person. The shutdown is protective, not a software failure, and clearing the display without repairing the leakage does not make the array safe.
During its insulation check, the inverter evaluates the electrical relationship between the DC conductors and ground. SolarEdge documentation describes isolation resistance as a condition that must remain above the applicable operating limit before the inverter can connect and produce power. The exact threshold depends on inverter design, array voltage, firmware, and the manufacturer’s test method.
The often-repeated figures of 600 kΩ for some single-phase units and 1 MΩ for some three-phase units should not be treated as universal values. Use the installation manual and service documentation for the exact model. A technician should also account for array size, distributed electronics, test temperature, connected equipment, and whether the measurement is made by the inverter or an external tester.
What Does RISO Measure?
RISO is insulation resistance, expressed in ohms, typically kilo-ohms or mega-ohms. Higher resistance means less conductive leakage from an energized conductor to ground; lower resistance means the inverter has less electrical separation from grounded structures.
A low reading can be stable or intermittent. A connector that is dry at noon may fall below the inverter’s limit at dawn when condensation bridges a contaminated seal. A cable with a crushed jacket may produce a low reading whenever wind moves the module or water reaches the abrasion.
A fault may therefore disappear after a restart without being repaired. That temporary recovery is evidence about timing, not evidence that the system is healthy.
Is SolarEdge Error Code 18×86 Dangerous?
SolarEdge Error Code 18×86 should be treated as a live electrical safety warning, even when the inverter is not producing power. PV modules generate DC voltage whenever light reaches them, and turning off the inverter does not automatically remove voltage from every conductor on the roof.
Stop and call a qualified solar electrician if the inverter reports the fault repeatedly, the fault follows rain, burning odor, visible cable damage, water inside a connector, arcing, smoke, or a tripped breaker. Do not touch exposed conductors, disconnect rooftop connectors, remove inverter covers, or walk on wet roofing while investigating.
| Situation | Homeowner action | Technician action |
|---|---|---|
| One isolated code after heavy rain | Photograph the message and contact installer | Check event history and moisture-dependent sections |
| Repeated code in dry weather | Leave the system off according to the user manual | Segment strings and test array insulation |
| Smoke, heat, arcing, or burning odor | Move away and call emergency services if fire is developing | De-energize under site and utility procedures |
| Battery-equipped system | Use only documented user shutdown controls | Follow inverter, battery, and manufacturer shutdown sequence |
| Rooftop cable visibly damaged | Do not touch or cover the cable | Replace the affected cable or component and retest |
The SolarEdge user documentation states, “Do not touch the PV panels or any connected system components when the inverter is on.” That instruction is more useful than a generic reset recipe because it recognizes that sunlight can keep the array energized.
What Usually Causes a SolarEdge Isolation Fault?
Moisture intrusion and mechanical cable damage are the most productive first suspects because both can lower insulation resistance without immediately destroying a component. The inverter code alone cannot distinguish them, so timing, weather, physical inspection, and controlled testing must be combined.
| Suspected source | Typical symptom | Confirmation method | Typical repair range |
|---|---|---|---|
| Wet or poorly assembled connector | Fault at dawn, after rain, or during washing | Qualified inspection and insulation test by section | $150-$450 |
| Pinched or abraded PV cable | Persistent fault or fault during wind | Visual inspection plus conductor-to-ground testing | $250-$900 |
| Rodent or bird damage | Teeth marks, exposed conductor, droppings | Rooftop inspection and cable replacement | $400-$1,500 |
| Failed optimizer | One module circuit remains abnormal after cable checks | Component isolation and replacement test | $250-$700 |
| Cracked module backsheet | Fault follows one module or wet conditions | Module insulation test and visual examination | $300-$1,200 |
| Rooftop junction or conduit water | Fault limited to a roof section | Sectional testing and enclosure inspection | $300-$1,000 |
| Inverter-side DC wiring | Fault remains with array sections disconnected | Isolated inverter input testing by technician | $300-$1,500 |
Costs are typical U.S. service ranges, not published SolarEdge prices. Roof pitch, travel, scaffolding, panel removal, regional labor rates, and warranty coverage can change the total substantially.
Why Does the Fault Appear Only in the Morning?
A morning-only isolation fault usually indicates moisture, condensation, or a contaminated connector rather than a harmless software condition. Dew can create a temporary conductive bridge across a damaged seal, then evaporate as the array warms.
Record the exact time, outdoor weather, and whether the code clears after sunlight reaches the array. Tell the installer if the fault occurs after rain but not after several dry days. Testing only in the afternoon can miss the condition and produce a false “no fault found” result.
A technician may inspect connectors, cable loops, module backsheets, rooftop junction boxes, and low points where water can collect. Replacing a connector without finding why water entered it can create a repeat failure.
How Should a Homeowner Respond First?
A homeowner should document the alarm, use only the normal user-accessible shutdown controls described for the exact system, and arrange qualified service. The homeowner should not open the lower wiring compartment, separate MC4-style connectors, perform a megohmmeter test, or climb onto the roof to locate the leak.
Use this safe response sequence:
- Photograph the inverter screen or monitoring-app event.
- Record the date, time, weather, and whether production stopped completely.
- Note any battery warning, rapid-shutdown warning, breaker trip, odor, heat, or visible damage from ground level.
- Follow the system owner’s manual for normal shutdown if the installer or utility requires it.
- Contact the installer, service provider, or SolarEdge support channel.
- Ask whether the system has active component warranties and whether a safe string-disconnection procedure is available.
Do not perform repeated power cycles to see whether the alarm disappears. Every restart can hide an intermittent defect while leaving the physical leakage in place.
How Does a Technician Find the Faulty String?
A qualified technician generally finds the faulty string by separating array inputs under the manufacturer’s procedure, restarting the inverter under controlled conditions, and observing whether the isolation fault returns. The exact process depends on the inverter model, number of inputs, optimizer architecture, battery interface, and local electrical rules.
A professional workflow commonly follows these stages:
- Confirm the alarm. Record the full error text, event timestamp, inverter model, firmware, and weather conditions.
- Make the system safe. Apply the model-specific AC, DC, battery, and lockout procedures. The technician verifies absence of hazardous voltage where appropriate.
- Review topology. Identify strings, optimizer count, roof sections, extensions, junction boxes, and shared conductors.
- Separate sections. Disconnect or isolate only as permitted by SolarEdge documentation and the equipment design.
- Test one section at a time. Reconnect and evaluate each input while monitoring isolation status and array voltage.
- Confirm electrically. Use a suitable insulation resistance tester after isolating sensitive electronics according to manufacturer instructions.
- Inspect the physical area. Check the suspected cable route, connectors, module backsheets, optimizer leads, and support hardware.
- Repair and retest. Verify insulation resistance, polarity, grounding continuity, optimizer communication, inverter startup, and production.
The SolarEdge isolation-fault application note recommends a structured process that uses inverter diagnostics and progressive isolation rather than random component replacement. Technicians should use the current document for the particular inverter family because connector arrangements and diagnostic menus differ.
Does the Isolation Percentage Identify the Bad Optimizer?
The SolarEdge isolation percentage can help estimate the location of a fault along a string, but it cannot prove that the optimizer at the calculated position is defective. The percentage is an approximate directional clue whose accuracy depends on string layout, cable lengths, fault impedance, connected electronics, and inverter model.
A simplified field estimate is:
Approximate position = optimizer count × displayed percentage
For example, 10 optimizers and a 40% indication suggest an area near the fourth optimizer when counting in the documented string direction. That result should direct inspection toward a zone, not authorize replacement of optimizer four.
| Displayed indication | Practical interpretation | What it does not prove | Next check |
|---|---|---|---|
| Near 0% | Fault may be near inverter-side positive wiring | The first optimizer has failed | Test home-run cables and first section |
| Around 25% | Fault may be near the first quarter of string | The optimizer at 25% is defective | Inspect cable routing and connectors |
| Around 50% | Fault may be near the string midpoint | Equal cable and optimizer spacing exists | Test both adjacent sections |
| Around 75% | Fault may be near the far section | The last quarter contains the defect | Inspect module leads and roof junctions |
| Near 100% | Fault may be near the far-end wiring | The final optimizer is necessarily bad | Test negative home-run and termination |
The calculation becomes less reliable when optimizers have unequal cable runs, when a string has branches or extensions, or when the fault is distributed across wet surfaces. SolarEdge’s documentation should control the interpretation of the displayed percentage.
Which Tools Can Find the Leakage?
An insulation resistance tester, commonly called a megohmmeter or Megger, is the appropriate instrument for measuring high-resistance leakage after the circuit is configured for testing. A standard multimeter is useful for voltage, continuity, and polarity checks, but it does not replace an insulation tester.
| Tool | Typical test function | Typical output | Main limitation |
|---|---|---|---|
| Digital multimeter | DC voltage, polarity, continuity | 0-1,000 V DC model-dependent | Low test voltage may miss insulation defects |
| Insulation resistance tester | Conductor-to-ground resistance | 250, 500, or 1,000 V test settings | Incorrect use can damage connected electronics |
| Clamp meter | Current on accessible conductors | 0.01-600 A model-dependent | Does not locate high-resistance insulation leakage |
| Thermal camera | Hot connector or cable resistance symptom | Surface temperature image | A cold, wet fault may produce no heat |
| SolarEdge SetApp | Inverter status and diagnostics | Isolation status and percentage, model-dependent | Does not replace physical electrical testing |
A technician must disconnect or protect equipment that the test voltage could damage, including optimizers, surge protective devices, batteries, and inverter electronics. The correct test voltage and pass threshold come from the equipment instructions and applicable electrical requirements, not from a universal “under 200 MΩ” rule. SolarEdge’s application note and installation documentation should be consulted before testing.
What Is the Safest Repair Sequence?
The safest repair sequence is to confirm the affected section, replace or correct the defective part, and repeat insulation and operational tests before returning the system to service. Recrimping a connector or swapping an optimizer without a final test can leave a second fault undiscovered.
Typical repair decisions include:
| Finding | Corrective action | Verification | Typical duration |
|---|---|---|---|
| Water-damaged connector | Replace compatible connector assembly and correct cable support | Insulation and polarity tests | 1-3 hours |
| Abraded cable | Replace the full damaged run or approved section | Conductor-to-ground test | 2-6 hours |
| Failed optimizer | Replace with compatible SolarEdge model | Communication and production check | 1-4 hours |
| Damaged module backsheet | Replace module under warranty if eligible | Module and string insulation test | 2-6 hours |
| Wet junction box | Repair enclosure, cable entries, and drainage issue | Sectional insulation test | 2-5 hours |
| Inverter-side defect | Service or replace inverter input hardware | Manufacturer commissioning procedure | 3-10 hours |
A proper post-repair check includes no active isolation alarm, acceptable insulation resistance, correct string voltage, optimizer communication, normal inverter startup, and stable production during the available sunlight window. The installer should provide the test result and replaced-part details for warranty records.
Can the System Run With One String Disconnected?
A SolarEdge system may operate with one string disconnected, but only if the inverter, array design, optimizer arrangement, and installer’s procedure permit safe isolation. Removing a bad string can reduce production while preventing the faulty section from holding the entire inverter offline, but an owner should not improvise this change.
Some SolarEdge installations use shared or parallel input arrangements, batteries, external rapid-shutdown equipment, or wiring layouts that make casual disconnection unsafe. The installer should identify the affected string, secure unused connectors, update monitoring expectations, and confirm that remaining inputs stay within design voltage and current limits.
Partial operation is a practical service option, not a repair. A disconnected string can still contain energized module conductors in daylight, and the remaining system can still experience a new fault elsewhere.
How Much Does an 18×86 Repair Cost?
A typical residential SolarEdge isolation-fault visit costs approximately $200-$600 for diagnosis, while a complete repair commonly ranges from $300-$1,500 before difficult roof access or major component replacement. Warranty parts may reduce the hardware cost, but labor, travel, testing, and roof work often remain chargeable.
| Repair scenario | Typical U.S. total | Typical field time | Cost drivers |
|---|---|---|---|
| Diagnostic visit only | $200-$600 | 1-3 hours | Travel, testing, inverter access |
| Connector replacement | $250-$650 | 1-3 hours | Connector type, crimping, moisture source |
| Cable replacement | $400-$1,200 | 2-6 hours | Roof access, cable length, panel removal |
| Optimizer replacement | $300-$900 | 2-5 hours | Warranty, module removal, model compatibility |
| Module replacement | $500-$1,500 | 2-6 hours | Module availability, labor, roof pitch |
| Multiple damaged circuits | $1,000-$3,000+ | 1-2 days | Rodent damage, scaffolding, extensive rewiring |
These ranges are practitioner estimates rather than SolarEdge price schedules. Ask for an itemized quotation separating diagnostic labor, test reports, replacement parts, roof access, taxes, and warranty credits.
Common Mistakes and How to Fix Them
Repeated resets, dry-weather testing, and incorrect instrument use are the most common reasons an isolation fault remains unresolved. Each mistake either adds risk or removes the environmental condition that made the fault detectable.
- Resetting until production returns: Leave the system in the documented safe state and preserve the event record. A cleared code is not proof of repair.
- Testing only after the roof dries: Report rain and dawn behavior, then request testing during the fault window. Moisture-related defects can disappear by afternoon.
- Using a multimeter as a megohmmeter: Use the multimeter for voltage and polarity only. A qualified technician must select the insulation tester setting and isolate sensitive components.
- Replacing the optimizer suggested by the percentage: Treat the percentage as a search zone. Confirm the optimizer, cable, connector, and module independently.
- Reusing a connector after water entry: Replace the affected connector with a compatible assembly and correct cable routing. Drying alone does not restore a compromised seal.
- Ignoring cable support: Keep PV cables clear of sharp edges, standing water, roof surfaces, and moving metal. Mechanical abrasion often causes a delayed isolation fault.
A useful practitioner rule is to correlate three signals before choosing a part: the alarm’s timing, the electrical test result, and the physical location. Any one signal alone can misidentify the repair.
What Information Should You Send the Installer?
Send the installer the inverter model, full error text, event time, weather conditions, monitoring screenshot, battery status, and whether production returned without intervention. This information can reduce the first visit from a broad inspection to a targeted diagnostic appointment.
Include the following:
- A clear photograph of the inverter display.
- SolarEdge monitoring screenshots showing the event and production gap.
- The date and approximate time of each occurrence.
- Recent rain, frost, washing, roof work, pest activity, or electrical work.
- Whether the alarm clears after drying or returns immediately.
- The installation date and any prior optimizer, module, or connector replacements.
- Inverter and battery model numbers, if present.
- Warranty documents, commissioning records, and previous service reports.
Do not send only the numeric code. SolarEdge model families can present related isolation messages differently, and the surrounding status information can change the diagnostic path.
When Should You Escalate to SolarEdge or the Installer?
Escalate immediately when the fault persists after the installer’s controlled repair attempt, returns after a component replacement, or involves smoke, heat, arcing, water inside the inverter, or a battery warning. The installer should remain the primary contact because array wiring, commissioning data, and warranty records are normally tied to the original installation.
SolarEdge’s support process may request inverter serial numbers, event logs, SetApp information, optimizer data, and test results. A complete service record should state which strings were isolated, what test method was used, what component was replaced, and what post-repair result was obtained.
An unresolved intermittent fault deserves escalation even if the system produces normally on sunny afternoons. Intermittent insulation failures can become permanent after repeated wetting, ultraviolet exposure, thermal cycling, or mechanical movement.
FAQ
Can rain permanently damage a SolarEdge inverter?
Rain usually exposes a fault in the array rather than damaging the inverter directly. Water can enter a connector, junction box, cable breach, or module edge and lower insulation resistance. If water is visible inside the inverter enclosure, switch to the documented safe state without opening it and request urgent professional service.
How long does SolarEdge Error Code 18×86 take to clear?
A temporary moisture-related alarm may clear within minutes to several hours after the array dries, while a damaged cable, optimizer, or module will usually remain faulted. Clearing time does not diagnose the cause. The installer should test during the wet condition or reproduce it through an approved controlled method.
Can a ground fault damage solar panels?
A ground fault can damage connectors, cables, optimizers, modules, or inverter input components when leakage creates heating or arcing. The code does not prove that a panel is damaged. Electrical testing must separate a module defect from wiring and connector faults before replacement.
Does SolarEdge warranty cover an isolation fault?
SolarEdge warranty coverage may apply to eligible inverters, optimizers, or other covered components, but coverage does not automatically include roof labor, diagnostic visits, shipping, or installation defects. The installer should verify the component serial number, warranty term, installation date, and applicable service conditions.
Can an electrician fix the error without solar certification?
An electrician with verified photovoltaic and SolarEdge experience may be qualified, but ordinary residential electrical experience alone is not enough for every array. The technician must understand energized PV DC circuits, optimizer systems, insulation testing, rapid shutdown, battery interfaces, and the manufacturer’s service procedures.
The Bottom Line
SolarEdge Error Code 18×86 identifies a low-isolation condition between the PV array and ground, not a simple software glitch. Treat the alarm as a safety warning, stop repeated resets, document when and where it occurs, and have a qualified technician isolate the affected circuit with model-appropriate diagnostics and insulation testing.
The most reliable diagnosis combines the SolarEdge isolation status, weather timing, string segmentation, physical inspection, and post-repair verification. The displayed percentage can narrow the search, but only electrical testing can confirm whether the dangerous ground leak is a cable, connector, optimizer, module, junction box, or inverter-side component.