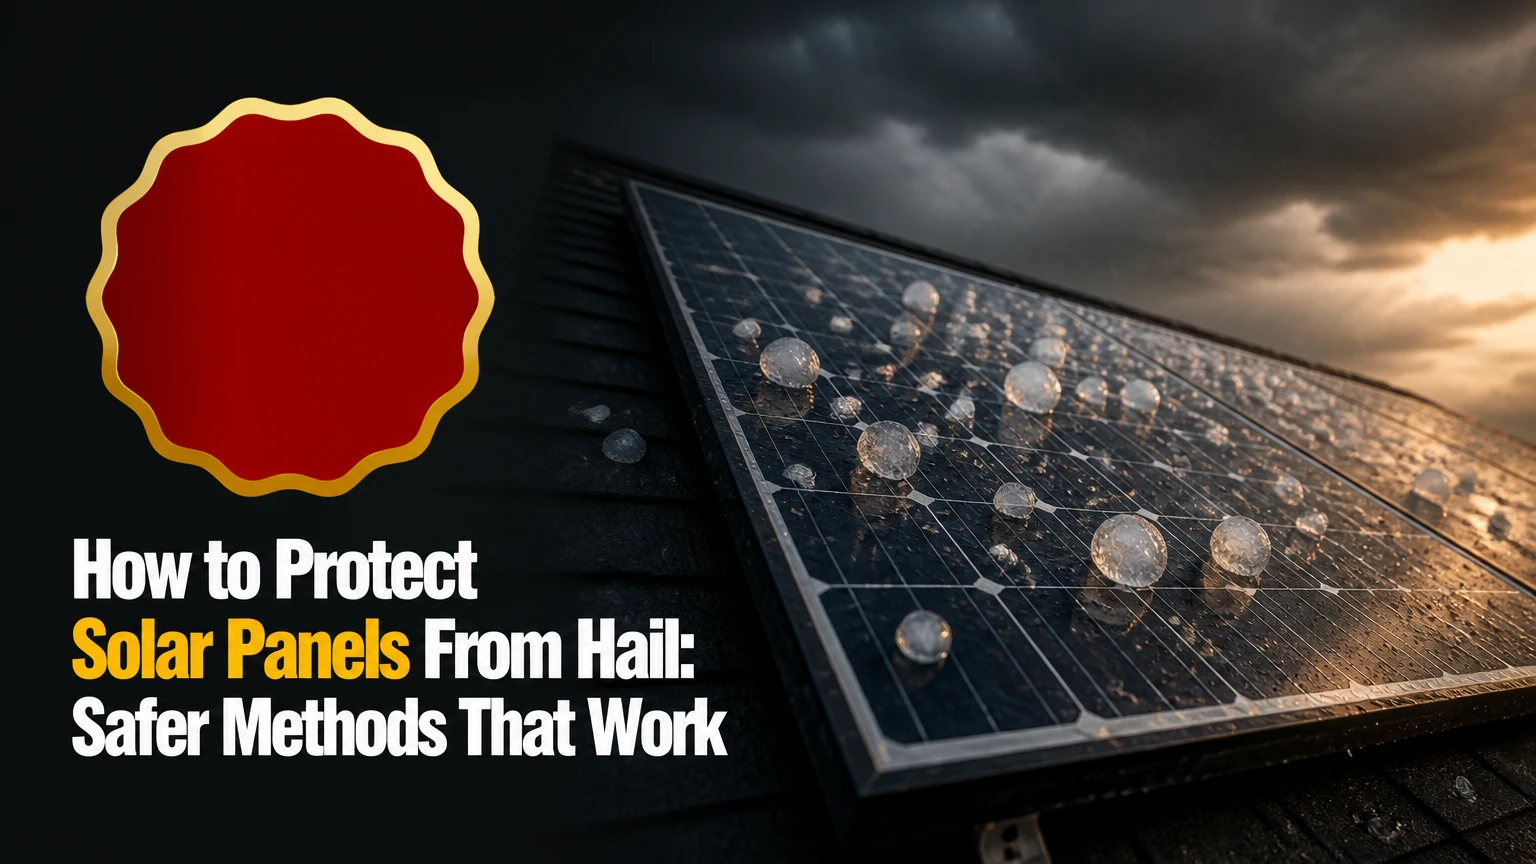
To protect solar panels from hail, combine certified impact-resistant modules, sound mounting, weather monitoring, safe storm procedures, and appropriate insurance. Most modern modules pass standardized hail-impact testing, but unusually large hail, wind-driven impacts, aging glass, and poor installation can still cause cracks, hot spots, or water intrusion. Physical covers help only when professionally engineered and safely deployed.
Key Facts at a Glance
IEC 61215 hail testing commonly uses a 25 mm ice ball fired at approximately 23 m/s, but certification does not make a panel immune to larger or faster hail.
Hail damage may be invisible from the ground, so a production drop after a storm warrants electrical testing rather than visual inspection alone.
A fixed rooftop array cannot be safely covered by hand once lightning, wind, wet roofing, or hail is present.
Tracker stowing can reduce direct impact exposure, but the correct angle and wind position come from the tracker manufacturer, not a universal “hail mode.”
Polycarbonate shields, nets, and blankets introduce different risks involving heat, shading, wind uplift, attachment stress, and labor.
Home insurance, equipment warranties, and documented pre-storm condition protect different parts of the financial risk.
How Resistant Are Solar Panels to Hail?
Solar panels are generally hail-resistant rather than hailproof. IEC 61215 qualification tests a module by firing ice balls at specified locations and speeds; the test helps verify mechanical durability, but real storms vary in stone diameter, density, velocity, wind direction, impact angle, and repeated impacts.
The National Renewable Energy Laboratory reported that hail is a significant risk for photovoltaic projects, particularly in regions such as the central United States where large hail and severe thunderstorms occur frequently. A panel that survives the laboratory test can still fail when a larger stone strikes an already weakened edge, frame, junction box, or area containing a cell interconnect.
Hail resistance also depends on installation quality. A properly supported module transfers impact loads through its frame and rails, while an incorrectly clamped frame can create stress points that turn an otherwise survivable impact into a glass fracture.
What Determines Actual Hail Damage?
Hail damage depends on the stone’s kinetic energy and the panel’s exposure, not diameter alone. A 40 mm stone traveling at high speed carries substantially more energy than a 25 mm test ice ball, while wind can change a normally glancing roof impact into a near-perpendicular strike.
| Risk factor | Lower-risk condition | Higher-risk condition | Practical implication |
|---|---|---|---|
| Hail diameter | 25 mm or smaller | 50 mm or larger | Larger stones exceed common certification conditions |
| Impact angle | 30-60 degrees from normal | Near-perpendicular strike | Direct impacts concentrate stress in the glass |
| Wind | Under 25 mph | Gusts above 50 mph | Wind changes trajectory and increases debris impact |
| Module age | New, undamaged glass | Existing chips or edge defects | Small defects can propagate under impact |
| Mounting | Continuous rail support | Poor clamps or unsupported edges | Localized frame stress raises breakage risk |
| Roof exposure | Sheltered urban site | Open field or ridge | Wind-driven hail reaches higher effective speed |
What Should You Do Before a Hailstorm?
Before a hailstorm, verify the forecast, check whether a tracker supports manufacturer-approved stowing, photograph the array, and remove loose objects that could become secondary projectiles. Do not climb onto a roof to install a cover after a severe thunderstorm warning, because lightning, wind, slippery surfaces, and falling hail create a greater immediate hazard than the panels themselves.
The National Weather Service describes a severe thunderstorm warning as a situation in which a severe thunderstorm is occurring or imminent. Treat that warning as a deadline for ground-level preparation, not as an invitation to begin rooftop work.
Before You Start
| Preparation item | Typical requirement | Safe timing | Success check |
|---|---|---|---|
| Weather monitoring | NWS alert, local radar, installer app | 6-24 hours before | Large-hail risk identified |
| Array documentation | 6-12 photos, serial numbers, inverter display | Before clouds arrive | Photos show glass, frames, roof, wiring |
| Tracker preparation | Manufacturer stow command and backup control | Before warning escalation | Tracker reports the commanded position |
| Loose-object removal | Patio furniture, tools, branches | Several hours before | No nearby projectile source remains |
| Insurance records | Policy, deductible, purchase invoice | Before storm season | Solar equipment is listed or covered |
| Emergency access | AC disconnect location and manual | Before bad weather | Adult household member can identify it |
Photograph each module from an angle that shows reflections across the glass. Record the inverter’s daily production, export meter reading, battery state of charge, and any existing alerts. Save the files with the date and system address.
An experienced installer also checks rail fasteners, module clamps, cable management, roof penetrations, and drainage before hail season. Loose hardware is both a storm hazard and a warranty problem.
Step 1: Monitor Hail Alerts and Set a Trigger
Monitor the National Weather Service, local emergency alerts, radar, and the solar manufacturer’s weather application during the storm window. Use a preselected trigger, such as a severe thunderstorm warning that includes hail or a radar indication of large hail, so decisions do not depend on last-minute judgment.
A trigger plan prevents two common errors: covering panels too early for routine rain and attempting dangerous work after hail has begun. Ground-mounted owners may have more options, but they still need enough lead time to secure a cover before wind reaches the array.
You will know this step worked when: the household knows who receives the alert, which action follows it, and where the inverter and disconnect instructions are stored.
Common mistake: relying on a generic weather app that reports thunderstorms but does not provide a hail-size warning.
Step 2: Activate Approved Tracker Stowing
Activate the tracker’s approved storm or hail stow command before the warning reaches the array. Do not assume that every tracker uses a 50, 60, or 77-degree position, because stow angle depends on the tracker design, wind direction, actuator limits, terrain, and software settings.
Tracker stowing changes the angle of incidence. Hail then hits the module more obliquely, which can reduce the effective impact component, but stowing does not eliminate hail damage or protect exposed backsheets and electrical components.
| Tracker feature | Typical value or condition | Benefit | Limitation |
|---|---|---|---|
| Hail stow angle | Manufacturer-specific, often 60-77 degrees | Reduces direct glass exposure | No universal safe angle |
| Command source | SCADA, app, controller, or sensor | Enables remote action | Requires power and communications |
| Response time | Seconds to several minutes | Useful before storm arrival | Too late after hail begins |
| Backup control | Local manual or autonomous logic | Helps during network loss | Requires commissioning and testing |
| Wind stow | Separate position from hail stow | Protects against uplift | May not optimize hail exposure |
| Recovery | Automatic or operator-confirmed | Restores production | Premature recovery can expose panels |
You will know this step worked when: the controller confirms the stow position and the array remains in that position until the manufacturer’s recovery condition is met.
Common mistake: sending a hail command without checking whether the tracker has sufficient battery, hydraulic pressure, communications, or actuator travel.
Step 3: Keep Rooftop Covers Off the Array Unless Engineered
Use a professionally designed shield or hail net only when its attachment, optical performance, thermal behavior, and wind loading have been evaluated for the specific module and mounting system. Ordinary tarps, plywood, blankets, and bungee cords are poor rooftop solutions because they can abrade glass, trap heat, lift in wind, or strike the array themselves.
Hard polycarbonate panels can divert some impact energy, but an improperly supported sheet may flex into the module or concentrate force at a clamp. A protective layer also changes module temperature and airflow, which can reduce output and accelerate material aging.
Which Physical Protection Method Fits an Array?
For a permanently installed residential roof, no aftermarket cover is automatically the best choice. For a low ground array, a professionally framed hail net may be practical; for a commercial tracker, automated stowing usually scales better than manual labor.
| Method | Typical installed range | Deployment or life | Energy and safety trade-off |
|---|---|---|---|
| Polycarbonate shield | $30-$60 per panel for material, higher with labor | Permanent, typically 5-10 years if UV-rated | May reduce transmission and increase heat |
| Hail net | $1,500-$4,000 for a residential ground array | Permanent, often 7-12 years for UV-stabilized netting | Requires 0.3-0.6 m clearance and wind structure |
| Padded blanket | $150-$300 per large blanket | Temporary, reusable if dry and undamaged | Blocks 100% of light and requires manual handling |
| Tracker stow software | Often included, or several thousand dollars in tracker cost | Seconds to minutes per event | Requires operational controls and power |
| Module replacement reserve | Panel-specific, commonly hundreds per module | Available after damage | Does not prevent outage or labor costs |
The figures above are typical planning ranges, not universal retail prices. Labor, roof access, engineering, freight, local permitting, array size, and module dimensions can change the total substantially.
Are Polycarbonate Covers Worth Installing?
Polycarbonate covers can make sense on accessible, low-angle ground arrays where a structural frame keeps the sheet away from the module and the owner accepts some optical and thermal loss. They are usually a poor retrofit for a steep residential roof when installers must drill, alter clamps, or create wind-catching surfaces.
Specify UV-stabilized, transparent polycarbonate with documented impact properties, not generic greenhouse sheet. Confirm that the mounting method leaves drainage and ventilation paths, does not touch the glass, and is accepted by the module warranty.
Do Hail Nets Work?
Hail nets work by intercepting or slowing stones before impact, but the net must be suspended above the modules and supported against wind uplift. Netting placed directly on the glass can rub coatings, hold moisture, shade cells, and transmit impact through the fabric.
A hail net needs a dedicated frame, adequate clearance, UV resistance, drainage, and a design wind load. The structure can cost more than the net itself. It is more defensible for a farm, carport, or ground array than for a typical roof installation.
Do Padded Blankets Work?
Padded blankets can absorb impact on a small, accessible ground-mounted system, but they provide no electricity while deployed and create serious handling risks on roofs. Blankets become heavy when wet, can catch wind, and must be stored dry to prevent mildew and material degradation.
Never deploy a blanket during active lightning, on a wet roof, or while hail is falling. If a cover cannot be installed entirely from a safe ground-level position or a permanently engineered access system, insurance and certified modules are usually safer choices.
Step 4: Protect the Financial Value of the System
Update the homeowners, commercial property, or farm policy before hail season and confirm that modules, racking, inverter, batteries, labor, roof repairs, and lost production are treated correctly. A manufacturer warranty normally covers defects in materials or workmanship, while hail is usually a weather event handled through property insurance, subject to the policy and deductible.
Ask the insurer these specific questions:
- Is the solar array part of the dwelling, other structures, or scheduled equipment?
- Does coverage include rooftop modules, ground mounts, batteries, and inverters?
- Is hail subject to a separate percentage deductible?
- Must the installer be licensed, certified, or preapproved?
- Does the policy pay replacement cost or depreciated value?
- Are roof and solar claims adjusted together?
- Is temporary power, lost production, or battery damage covered?
Store the policy, installation contract, module serial numbers, permit, interconnection approval, inspection records, and dated production screenshots in cloud storage. Documentation cannot prevent damage, but it reduces disputes over pre-existing cracks and ownership.
Step 5: Isolate the System Only When the Procedure Requires It
Use the manufacturer’s shutdown sequence if hail has damaged glass, exposed conductors, the inverter, or the electrical equipment. Turning off the AC disconnect may stop grid export, but photovoltaic modules can still produce DC voltage whenever light reaches them.
| Component | Visible hail symptom | Safe owner action | Professional test |
|---|---|---|---|
| Module glass | Spiderweb cracks or missing glass | Keep people away; follow shutdown instructions | Insulation and IV-curve testing |
| Junction box | Detached cover or hanging cable | Do not touch or move cable | Connector and insulation inspection |
| Inverter | Fault code, water, or impact mark | Isolate only as manual directs | Electrical and surge inspection |
| Racking | Bent rail or displaced clamp | Keep clear of array | Torque, alignment, and structural check |
| Roof | Bruised shingles or punctures | Photograph from ground | Roofing inspection coordinated with solar |
| Battery | Alarm, dent, heat, or water | Follow battery emergency manual | Certified battery technician |
Do not spray water on modules, open a junction box, pull connectors under load, or walk across the array. The DC hazard remains even when the house appears to have no electricity.
Which Protection Strategy Fits Each Owner?
The most suitable strategy depends on access, hail frequency, array value, roof geometry, and whether people can reach the panels without climbing. Certified modules plus insurance are usually the rational baseline for a roof-mounted home; engineered barriers or automated stowing become more attractive when a large, exposed array faces repeated severe hail.
| Owner and array | Recommended baseline | Add-on protection | Usually avoid |
|---|---|---|---|
| Steep residential roof | Certified modules, inspection, insurance | Remote monitoring and documentation | Manual blankets or loose covers |
| Low-slope carport | Certified modules and engineered racking | Designed polycarbonate shield | Drilled DIY sheets |
| Ground-mounted home array | Certified modules and strong frame | Engineered hail net or stored blanket | Net touching glass |
| Off-grid cabin | Spare parts, battery reserve, insurance | Ground-level padded cover | Covering during lightning |
| Farm or agrivoltaic array | Hail-risk assessment and monitoring | Netting or tracker stow | Unrated structures with high wind area |
| Utility or commercial tracker | SCADA alarms and stow testing | Automated hail and wind logic | Manual event response at scale |
A non-obvious rule is that the cheapest protection is often better monitoring, not a physical product. If a cover costs $3,000 and a replacement module costs $500, the cover needs to prevent more than six replacement-equivalent losses before labor, lost generation, and roof risk are considered.
What Are the Common Failure Modes?
Most preventable hail-protection failures involve unsafe access, unapproved attachments, or delayed diagnosis rather than a lack of specialized hardware.
Ordinary Tarps Trap Heat and Create Wind Loads
Opaque tarps stop generation and can hold heat against the module. A loose tarp can flap across glass, lift into nearby property, or pull on wiring. Use no tarp as a permanent hail solution.
Rigid Covers Damage Frames
Over-tightened clamps and contact points can transmit stress into the frame or glass. Any retrofit must follow the module manufacturer’s clamp zones, torque specification, clearances, and warranty conditions.
Roof and Solar Inspections Occur Separately
Hail can bruise shingles, bend flashing, and crack modules in the same event. Have the roofing contractor and solar professional coordinate, because removing modules for roof repair can add labor and create a second opportunity for connector or seal damage.
Visual Inspection Misses Cell Cracks
Tempered glass can look intact while cells underneath contain cracks. A sudden production decline, persistent inverter mismatch, or hot spot requires electrical testing, not a closer rooftop look.
How Do You Inspect Solar Panels After Hail?
After hail, photograph the array from the ground, record inverter and monitoring data, and arrange a qualified solar inspection if production changes or damage is visible. Do not touch cracked glass, exposed wiring, wet electrical equipment, or displaced modules, because photovoltaic DC voltage can remain present in daylight.
Wait until the storm has passed and the roof is dry before any professional access. A useful inspection sequence includes:
- Compare same-weather production with the previous week and prior year.
- Photograph cracks, chips, frame dents, cable damage, and debris.
- Check inverter alerts and module-level monitoring.
- Inspect the roof, gutters, flashing, and mounting penetrations.
- Request an insulation-resistance test and IV-curve trace.
- Use electroluminescence testing for hidden cell cracks when warranted.
- Use infrared thermography under stable sunlight to identify abnormal hot spots.
- Obtain a written report before cleaning or replacing components.
| Post-storm finding | Likely significance | Follow-up | Claim evidence |
|---|---|---|---|
| No visible damage, normal output | No confirmed failure | Continue monitoring for 7 days | Pre and post screenshots |
| Small glass chip | Possible moisture path | Professional module assessment | Close-up and date |
| Cracked glass | Electrical and water hazard | Isolate according to manual | Photos, serial number |
| 10% or greater output decline | Possible string or cell fault | IV and insulation tests | Production history |
| Hot spot on thermal image | Resistive cell or connection issue | Technician diagnosis | Thermal image and report |
| Bent racking | Structural risk | Stop access and inspect frame | Wide and detail photos |
Thermal imaging is a screening tool, not a complete diagnosis. Electroluminescence can reveal cell cracks that normal operation and visual inspection do not reliably identify, while IV-curve testing helps quantify electrical loss.
What Will Insurance and Warranties Usually Cover?
Insurance commonly addresses sudden hail damage to insured property, while module warranties address manufacturing defects and stated performance degradation. Actual coverage depends on policy wording, location, deductible, exclusions, installer status, and whether the array was disclosed to the insurer.
File promptly, but do not authorize permanent repairs before the insurer or adjuster documents the damage unless emergency work is necessary to prevent further loss. Give the claim handler the storm date, official weather alert, pre-storm photos, post-storm photos, production records, installer invoice, serial numbers, inspection report, and repair estimate.
A warranty claim may be rejected when damage results from impact, unauthorized modifications, incorrect mounting, or installation outside the manufacturer’s instructions. Ask the installer to identify whether the failure is impact damage, workmanship damage, a connector failure, inverter damage, or a pre-existing defect.
How Much Should Hail Protection Cost?
Typical hail-protection costs range from nearly zero for monitoring and documentation to several thousand dollars for engineered netting or tracker controls. The right comparison is total risk reduction, including installation, shading, maintenance, roof labor, lost production, deductible, and replacement time.
| Protection decision | Typical upfront cost | Ongoing cost | Best economic case |
|---|---|---|---|
| Weather monitoring and records | $0-$200 | Minimal | Every residential system |
| Insurance adjustment | Policy-specific | Annual premium and deductible | Roof-mounted systems |
| One replacement module | $300-$900 installed, typical planning range | Future labor | Small arrays with low hail frequency |
| Polycarbonate retrofit | $30-$60 material per module | Cleaning and replacement | Accessible, engineered ground arrays |
| Residential hail net | $1,500-$4,000 | Frame and net maintenance | Exposed ground arrays |
| Tracker stow integration | Several thousand dollars, system-specific | Controls and service | Large commercial installations |
These are planning ranges, not quotes. Obtain local bids that separate materials, engineering, permits, roof access, removal, reinstallation, and electrical testing.
Frequently Asked Questions
Can I Cover Solar Panels With Plywood Before Hail?
Plywood can become a dangerous wind projectile and may strike the glass or overload the mounting system. Plywood is not a safe improvised rooftop shield. Use only a professionally engineered barrier with known attachment points and wind loading, or rely on certified modules, monitoring, and insurance.
Do Solar Panels Increase Hail Damage to a Roof?
Solar panels can shield portions of a roof from direct hail, but hail can still damage exposed roofing, flashing, mounts, and penetrations. A roof inspection should include areas beneath and around the array. Solar modules do not guarantee roof protection or eliminate the need for an appropriate roofing warranty.
Should I Buy Hail-Resistant Solar Panels?
Buy modules with documented mechanical-load and hail-test information when your site has recurring severe storms, but treat certification as a baseline rather than a guarantee. Ask the installer for the exact module model, test standard, warranty exclusions, and mounting instructions instead of relying on the phrase “hailproof.”
Can Hail Damage Solar Batteries?
Hail usually threatens an outdoor battery enclosure, wiring, cooling equipment, and control electronics more directly than the cells inside a protected cabinet. Install batteries within the manufacturer’s approved enclosure and location, keep drainage clear, and inspect for dents, water entry, alarms, or damaged conduits after a storm.
How Long Can I Wait Before Filing a Hail Claim?
Notify the insurer as soon as practical and follow the policy’s notice deadline, which varies by jurisdiction and contract. Production loss can become harder to prove with time, so save monitoring data immediately and obtain a professional report before debris removal or module replacement.
What Is the Safest Protection for a Roof-Mounted Array?
For most roof-mounted arrays, the safest combination is certified modules, correct racking, documented insurance, remote production monitoring, and professional post-storm inspection. Manual blankets and improvised covers create fall and electrical hazards that usually outweigh their theoretical impact protection on a residential roof.
The Bottom Line
The most dependable way to protect solar panels from hail is to reduce both physical and financial exposure: choose modules tested under IEC 61215, maintain the racking, monitor severe-weather alerts, use approved tracker stowing where available, and document the system before storms. Avoid climbing onto a wet or lightning-exposed roof, and treat cracked glass or abnormal production as an electrical inspection issue rather than a cosmetic defect.